When you click on links to various merchants on this site and make a purchase, this can result in this site earning a commission. Affiliate programs and affiliations include, but are not limited to, the eBay Partner Network.
So… I was under the impression that to change the shackles I would just jack up the blazer and take the old ones out and slide the new ones in. I didn’t know I had to remove the gas tank! I guess we will see how this goes. I’m going to remove the side rear bumper things and get to it with my air hammer hopefully that works to free the bolts once the gas tank is out of the way. I don’t have new bolts or bushings so I’m hoping I can reuse both of those
On my 1999 four-door, I didn't have to remove the gas tank to replace my shackles.
On my 1999 four-door, I didn't have to remove the gas tank to replace my shackles.
Yes the old chilton says you only need to for 2 dr models because the top bolt won’t clear the gas tank im in the middle of it right now and have the gas tank dropped a bit nothing disconnected and I was able to just slide out the top bolt on the driver side. The bottom drivers bolt is seized real bad my impact hammer won’t even budge it so im taking a break and waiting for the wd40 to put in some work. Hopefully I can get at least the new driver side shackle in by tonight.
Wha I did with my shackle bolts,no air tools available, was use wd40 for a day, then WHILE trying to turn the bolt, hit it with a BFH... I was able to succeed.... I was dead, but not beaten lol...
I had success with the CRC Freeze Off. It rapidly cools the surfaces of what you want to free, introducing cracks into the rust. If the WD-40 doesn't work, you might try that.
When it comes to rusty bolts, a good penetration fluid and time can be our best tool!
Thanks guys those both sound like good ideas, I ended up getting it out!! I could actually not imagine getting these out with only hand tools that’s crazy! It took about 45 minutes or an hour of sheer air hammering for me. I drilled a small hole in the middle of the bolt just enough so the air hammer would catch good and not wander anymore, that and using the air hammer on the other side to free space between the shackle and the bolt got it out. I got both the passenger side nuts off and the top bolt loose before it started getting too dark. The bottom bolt on the passenger seems to be seized just like the bottom driver was so I will try my luck for round 2 again tomorrow
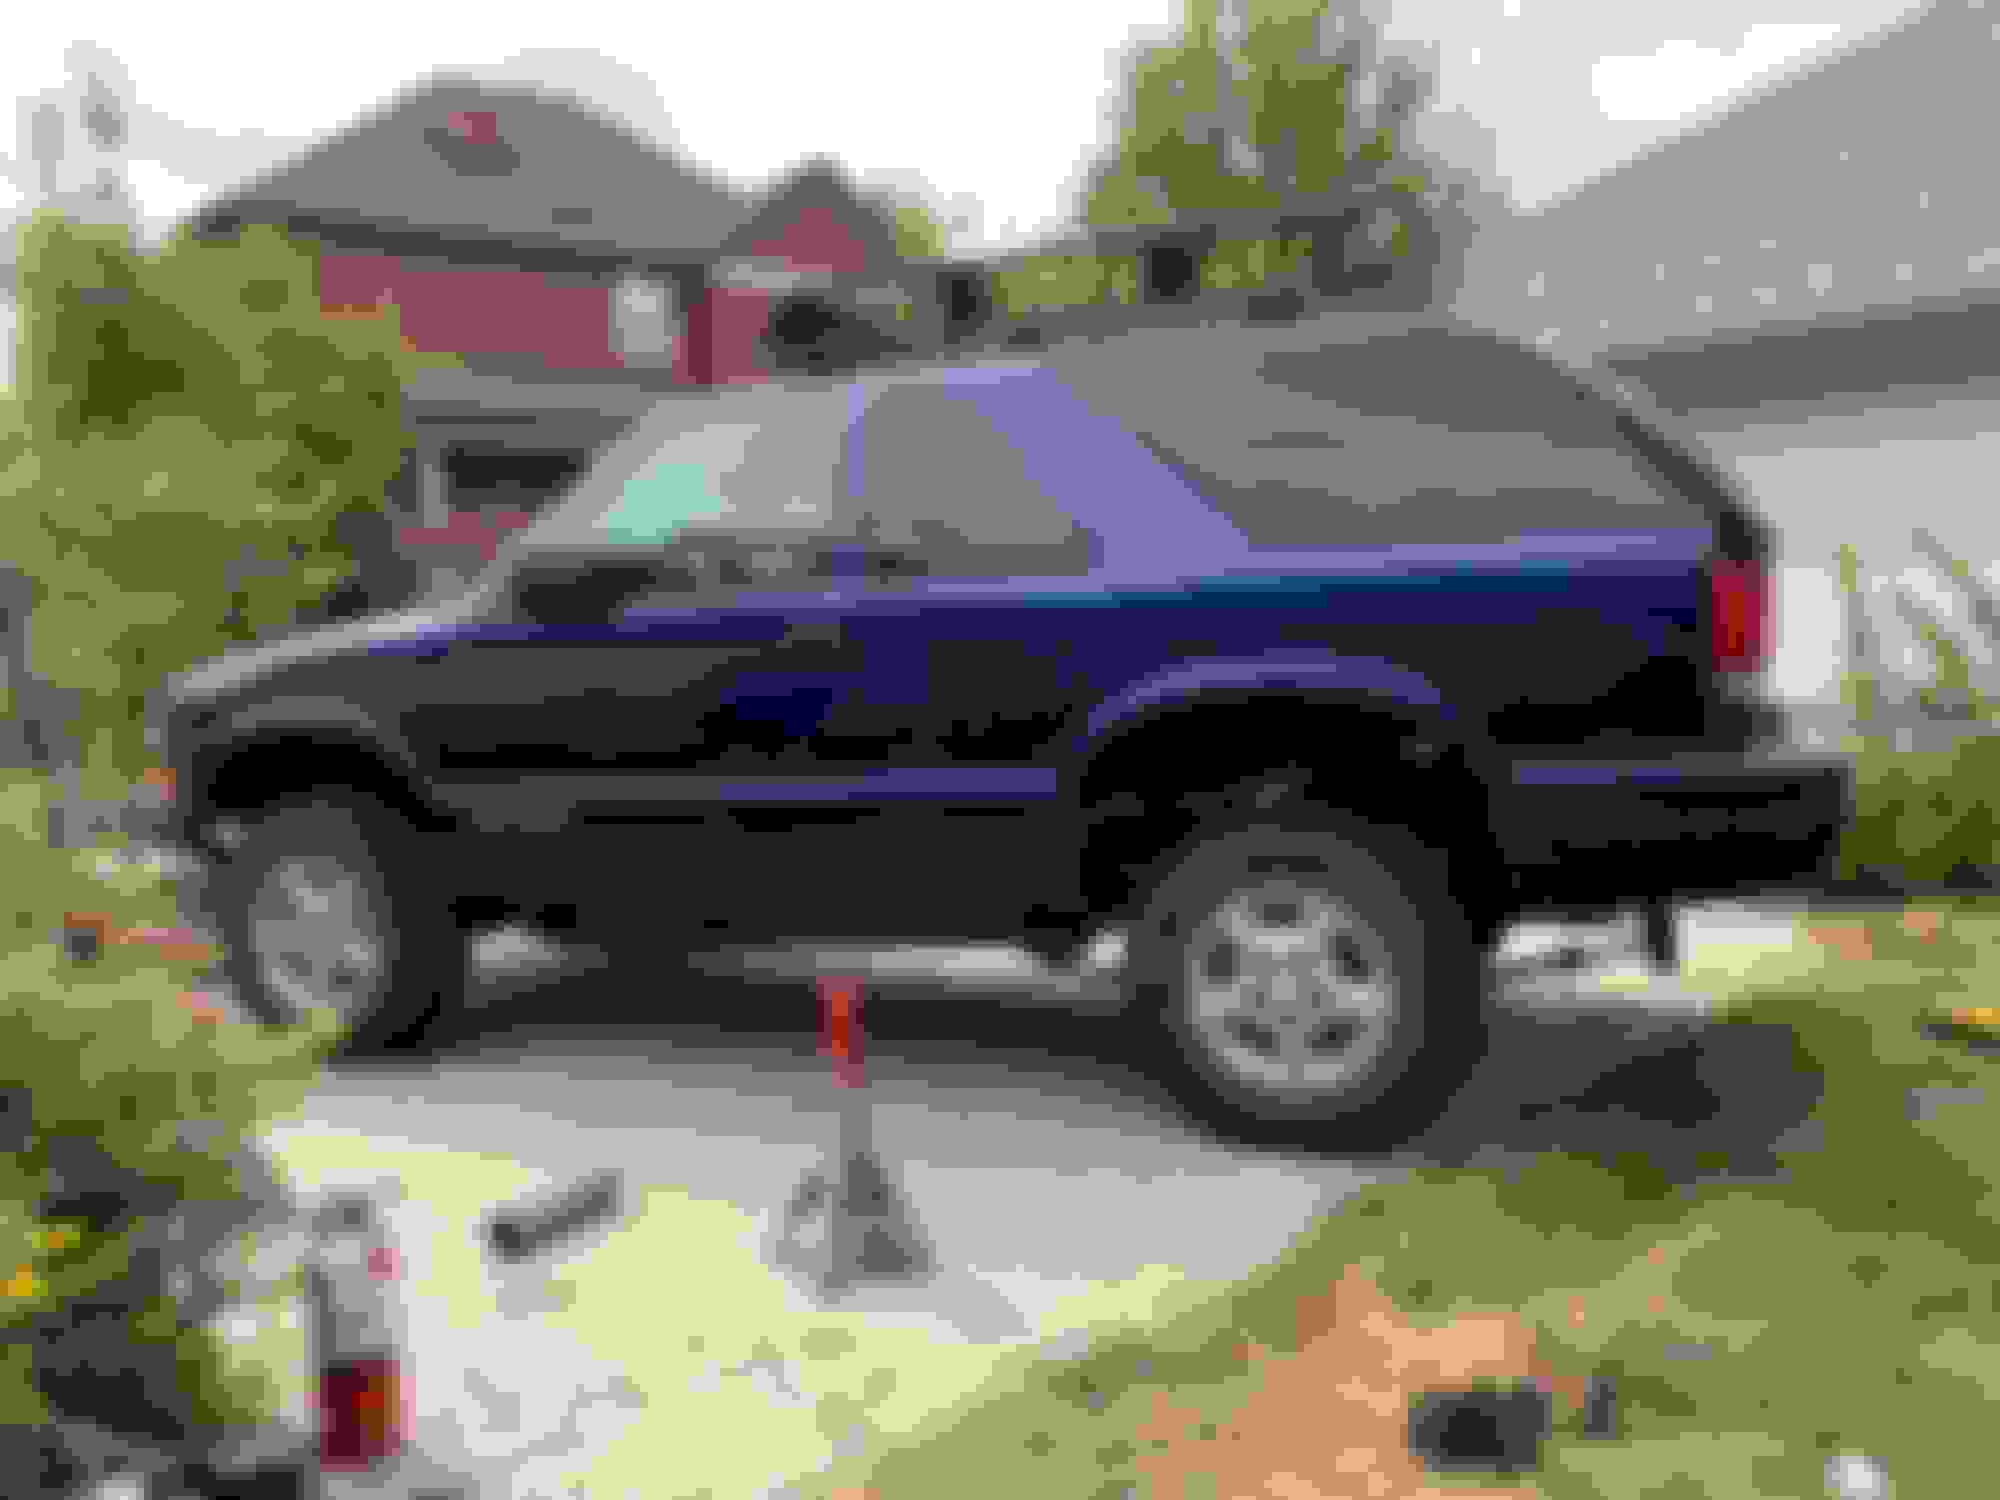
All back together! That bottom passenger shackle bolt was the biggest pain but it came eventually. I needed to call in some buddy's to help me get the new shackle in and pull the leaf springs down. Cranked the t bars 6 turns or 1.5” and I think it looks pretty good! I found that the passenger is sitting about 1” lower than the driver which is weird but it’s all back together for now, headed to the shop tomorrow morning. With 2” lifted shackle on w/o t bar crank T bars cranked!
So you might want to look into som rc upper control arms(or such), and get an alignment... those angles will cause alot of wear on everything up front... and I mean everything lol
Edit: awesome job tho! Lol... I got the same shackles, gave them to my dad to put on the jimmy at some point... i got the lift instead
Thanks! Yes it’s going in for an alignment first thing tomorrow morning and I’m getting the tires and rims mounted together/balanced then too. I might look into new upper control arms as you say but the whole rc kit is just so expensive. Hopefully I’ll be hitting the trails tomorrow afternoon for a test drive after I put the new tire setup on! Haven’t had it on the trails since it was at stock ride height .
You are able to get the control arms alone, they aren't too bad, a lil more then stock ones, which the better angle for less wear on the bj
Originally Posted by DonL
So you might want to look into som rc upper control arms(or such), and get an alignment... those angles will cause alot of wear on everything up front... and I mean everything lol
Edit: awesome job tho! Lol... I got the same shackles, gave them to my dad to put on the jimmy at some point... i got the lift instead
Ditto on the recommendation to get the upper control arms from Rough Country. This is what I did. The ball joints in them are from at least 1/2 ton trucks and the angles for them are better for a lifted suspension. Be sure to get them to tell you the stock application of the ball-joints they used for future reference.
I would also suggest that you consider upgrading the boots over the CV joints. I had the passenger side inner boot slip off and the driver-side one one break. I was able to repair the passenger side one with a large hose clamp and it has stayed in place for a several years. (I do check it frequently.) The other I replaced with a neoprene boot I got at NAPA. I'm waiting for an excuse to pull the passenger side axle to replace that boot too. Replacing the boot was not that hard and it gave me an excuse to repack the CV joint. The neoprene ones are much more flexible than the old stock ones and can accommodate the greater angles when the front suspension is lifted.
 08-25-2021, 06:30 PM


 im in the middle of it right now and have the gas tank dropped a bit nothing disconnected and I was able to just slide out the top bolt on the driver side. The bottom drivers bolt is seized real bad my impact hammer won’t even budge it so im taking a break and waiting for the wd40 to put in some work. Hopefully I can get at least the new driver side shackle in by tonight.