When you click on links to various merchants on this site and make a purchase, this can result in this site earning a commission. Affiliate programs and affiliations include, but are not limited to, the eBay Partner Network.
Well now I've totally snapped the old knock sensor off the stud. Not sure how I'm going to get that out of there. No luck with Chisel & Hammer, Vice Grips, or Channel locks. I have some larger extractor bits, but I'll have to drill into the stud to be able to use them.
If not that then I could try to tack weld the old stud to the stud on the new sensor. . We'll see. Lol I'm ignoring it for now.
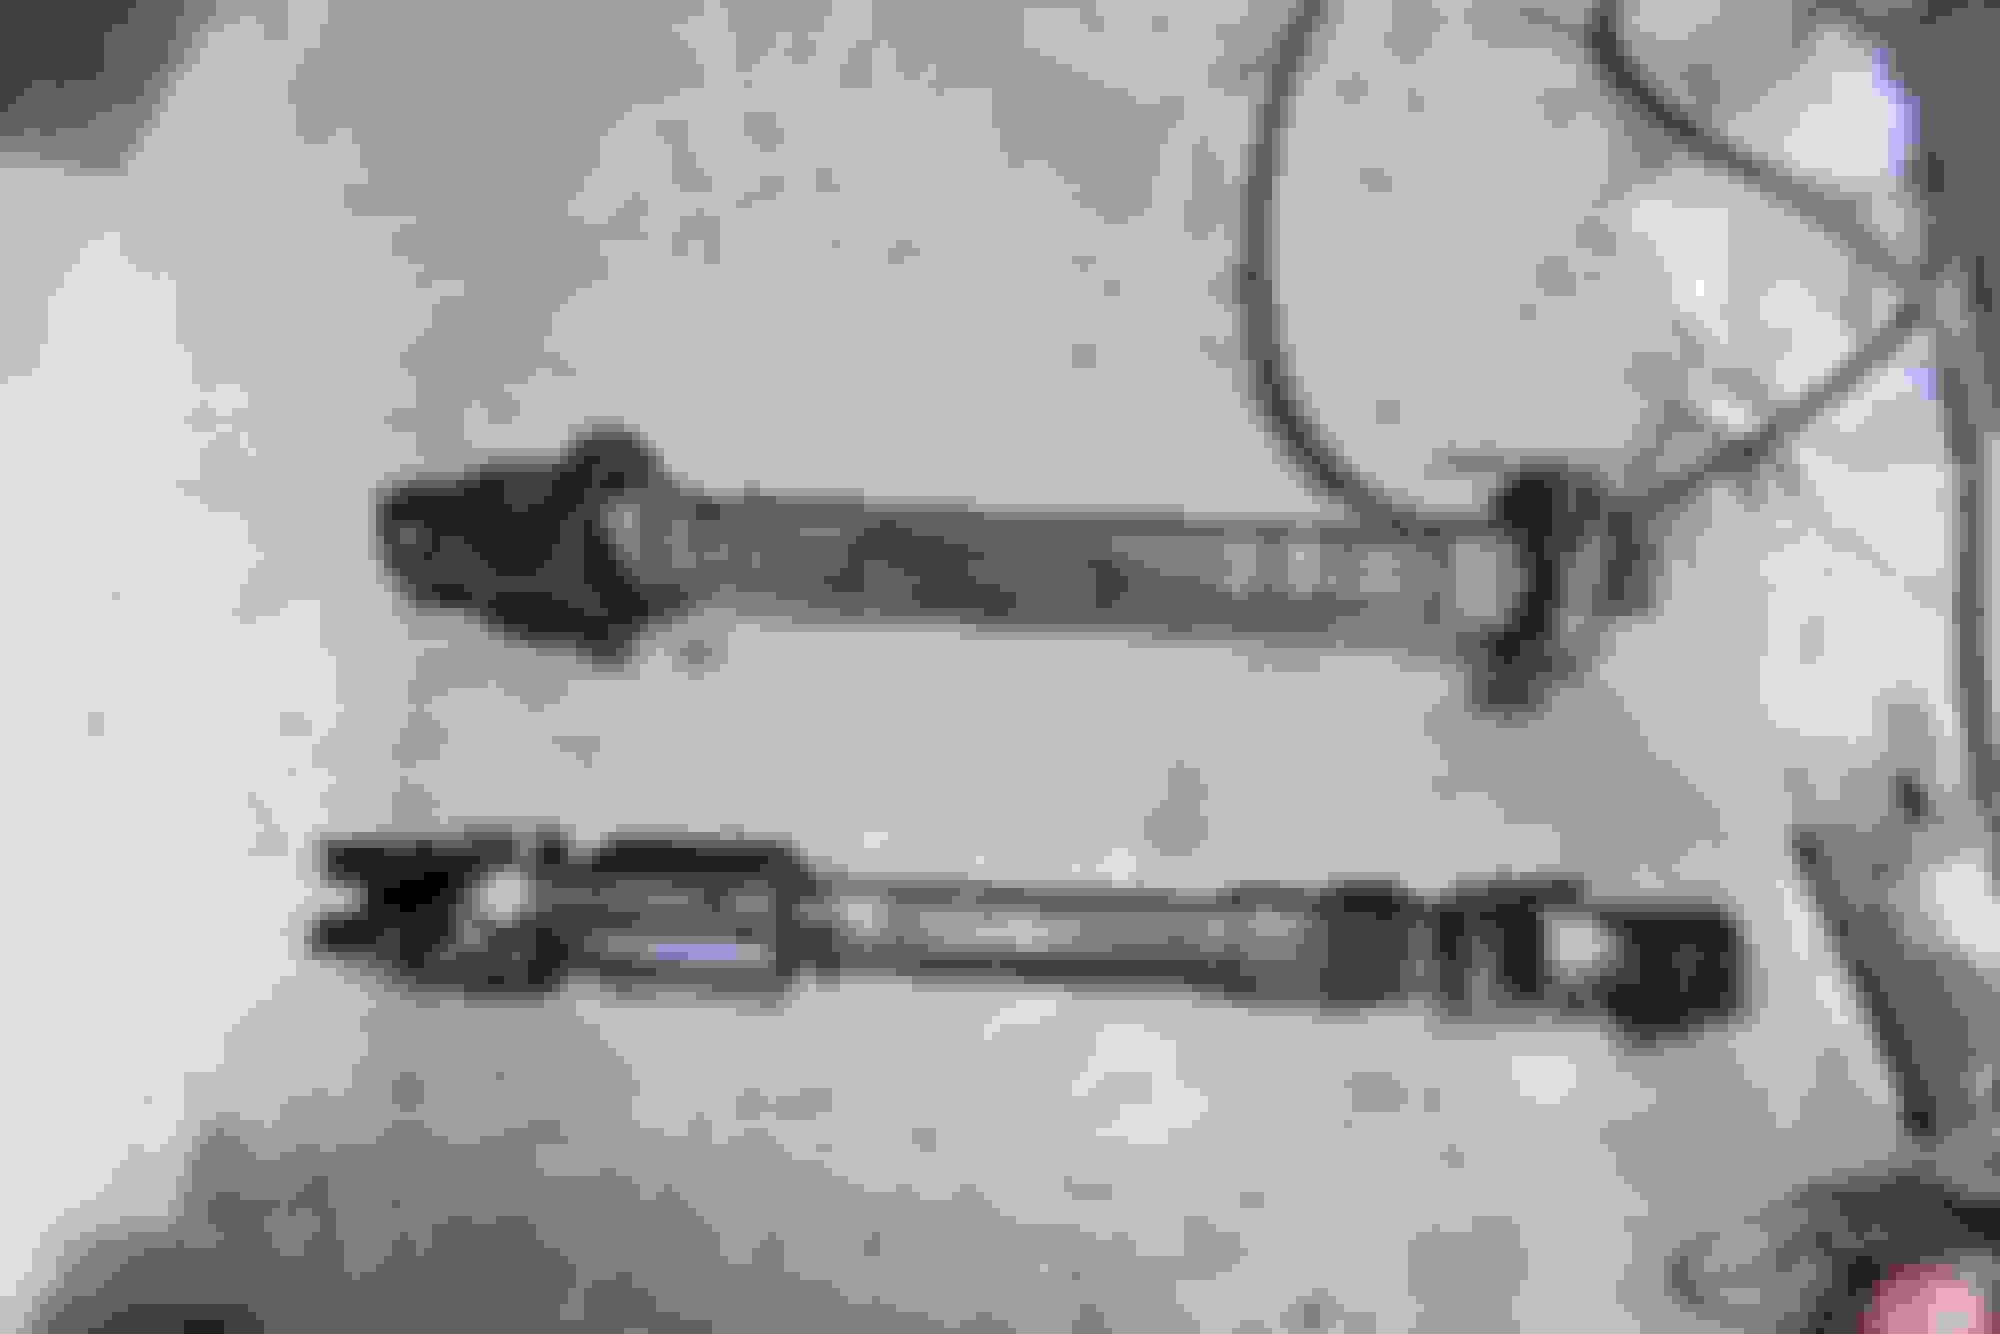
Went back to working on the steering shaft. Finally got it apart with more heat and hammering.
Here is the jeep shaft separated, next to the stock shaft. Idk if I ordered the wrong one or what, but the jeep shaft was way too long.
The lower rag joint was pretty wore out . . .I'm pretty sure that was the main source of slop in my steering.
I ended up making 2 cuts to the hollow tube, and about 6 to the solid shaft. . . . little at a time, until I got it to match the factory shaft compressed length.
Here it is before my final cut. Was still about 1" longer than stock.
Also, after test fitting I decided to remove the rubber boot you see in the picture. It was right next to the exhaust manifold
Here it is installed. . .couldn't get a very good picture with the lighting. Lol if you look closely you can see the stud from my broken knock sensor, behind the tab off the manifold at #3
Overall the shaft upgrade was easier than I expected it to be. Separating the jeep shaft was probably the worst part. I didn't have to notch the end of the column either. I unbolted the cruise control actuator, and the airbox/filter, which made access much better. The only almost mistake I made was having the shaft 180 degrees the wrong way, after I connected one end. . .just pulled it, flipped it, and all good. Tightened down with lots of locktite.
I haven't driven it yet but I'm looking forward to it. Pretty sure that rag joint was the worst spot in the system.
I also got a couple more cans of diflouroethane to finish recharging my A/C. . Lol also know as duster spray, or R-152a. They used to say R-152a on the can, I had to look up to make sure it was still the same stuff. . . I've been using this stuff for a few years now in all my vehicles. 1/3 the cost of 134a, and I've read studies suggesting it's a better refrigerant too!
A/C blows cold now, although I may tinker more as the compressor seems to load the engine more than it should. If my gauge set is correct it doesn't seem to be building much pressure on the high side. I'm content that it works, so will focus on other things for now.
I also stopped at the store earlier and picked up the tensioner pulley. Nice and easy install. . . reverse threaded as I thought. Took about 3 minutes. Now the alternator is the worst noise, so that's next.
Making progress. . . . I'll post again with feedback after I drive it, probably tomorrow.
Yes, Yes, Yes. . . . Just took the blazer to run a few errands and get lunch.
Thrilled to report the jeep shaft made a massive improvement to the steering. . If you're reading this, and you haven't done this upgrade. . .Do yourself a favor and DO IT NOW! Lol you can thank me later. . . .I will also be doing this upgrade to my Trans Am once it's back on the road.
It's still not 100% perfect, but it's no longer terrifying to go over 40 mph. Steering wheel is slightly off center, but had it up to about 60 and it tracks pretty straight.
Definitely have a little bump steer, and need a proper alignment. I'll probably go ahead and order the new Tie Rods from Moog. I do still need to rebuild or replace the steering box, but I'll probably put that off for a while.
Anyway just wanted to share the good news. Saturday will be a year since I bought the blazer. . .so glad to finally be able to use it after all this work.
That�s awesome! I�m going to order one this week. My steering got better with the new idler arm and tie rod ends, but still has about four inches of slop. I�ll do this before replacing the steering box.
Good call on the Moog tie rod ends. The ACDelco ones I installed in December are junk. I have Moog tie rods on the shelf in the garage, waiting to be installed.
You definitely should. Maybe go used/junkyard on the shaft if you can. I bought new, and then beat it up separating it. I thought about cleaning it up and making it look new again, but you can't really see it so I didn't bother. At least I know the U-joints are new. But if I did it again I'd probably try to save the $50 or so more I paid for new.
Might just do the shaft and box at the same time. . I think you said you had a replacement box already. You're already right there. . .I thought about going to buy one when I was swapping the shaft, but still trying to decide which box to get, and trying to save the $$ for now.
I probably have about 1.5-2in play still, but it was like 6-8 in before
I'll do the idler arm next. Took a chance on O'reilly brand for that, since it's easy to swap. But between your feed back on the tie rods, and my cheap ball joint mistake, I'm making sure to get the best quality parts I can for the important things.
Just got a new chrome front bumper, and new set of tail lights.
Here's another shot of the old, dented bumper for comparison:
I originally started trying to get to the bumper bolts from underneath. . then read that the grille needed to come off. . .
All done. . .it also gave me a change to align one of the marker lights, and the grille better than it was before. Lol which I got to do twice because I put the bumper on with out the air dam attached. . . I was painting the rusty bolts. . .thinking it would fit after the bumper was installed. . nope.
Had to loosen everything completely then I was able to squeeze it back in with freshly painted bolts.
I will also be putting the trim back on as well, but I want to get new chrome bolts first, and the bumper didn't come with any.
For the tail lights I stuck with the ones that basically look OE, just a little newer and fresher looking. They didn't have a provision for the inner screws, and aren't as snug to the tail gate as i'd like. . will go back and fiddle with them more to see if I can get the fit perfect.
Here is a reference. . Left side has the new one install, Right is the old one.
Here it is with both installed.
I threw in some LED bulbs for the 194 in the tails too. The new lens do seem to be a bit brighter even with regular bulbs. Will eventually get LEDs for the main bulb, but want to make sure they're high quality.
Now I really need to get on with my other exterior cosmetic work, but it's looking better and better.
Because I'm still just a big kid, as my girlfriend says. . .and who doesn't love this lol
Also, New Grant Wheel arrived. . .Now I just need to order the mounting kit, and a Bowtie center button. . . .will also be tightening the 4 loose column bolts when I take the wheel off. . . . on a side note, I don't think I'll need to the column wiper switch, as they seem to function properly now.
Debated on this one vs the 3 spoke that is basically the jeep cherokee wheel. Picked this since it is most similar to the 4 spoke OE wheel.
I did throw the idler arm on yesterday, maybe an ever so slight improvement. The old one looked nasty, but didn't seem totally worn out.
Earlier today I was able to diagnose the problem I had with the electric rear hatch release. Relay was bad. . $7 later and both dash and key fob buttons pop the rear hatch.
Prob going to head back out and replace the bad output seal I haven't changed yet, and change out the gear oil in the rear diff for the royal purple I have for it.
Just a handful more things to do, then she should almost be ready to serve as my daily driver for a while. . . so I can start fixing the audi.
Love the sun shield. I need to do a similar fix on my rear window. I hear a click, but it doesn't open without the key.
It's pretty funny. . and was only like $10. That's exactly what my hatch did. Found the relay up behind the emergency brake pedal, hanging on it's own little harness. . .lol just follow the clicking.
I'm Still going strong . . .somewhat. Didn't get as much done this weekend as I'd hoped.
Changed Rear Diff Oil. . .had been done before (lots of old RTV) but must have been a long time. . it was pretty nasty.
Also broke out the power washer and washed the whole thing again. . wasn't real dirty but covered in dust from the garage. I did get the roof mostly cleaned up. Still need to go back and buff/polish/wax it. . . Should be soon, when I take the rack off to paint it.
Here are some pics of it all clean in the drive way. . .Hit the front wheels with some foamy degreaser I had. . slight improvement. Will be really working to freshen up the wheels soon too.
Up to about 150 mi now since the trans. Just filled it up again. . .Lol about 9 mpg
Part of that is from me letting it idle a lot while messing with things the last tank. I guess I should throw in a new CTS for good measure. Hoping with that and whenever I figure out the knock sensor issue that mileage should improve.
With driving it around more I'm convinced the u-joints are making a good portion of the road noise. I checked and they still have the OE injected plastic, so look to be original with 232,000 mi.
Ordered 2 new Moog/Precision u-joints off Rock Auto. . Was going to order for the front shaft too, but the applications didn't all seem right, so will work on that later. Will swap out the rears then see how it does. Need to find a local place that can balance it for me after.
I also ordered another Delco Ball Joint for the driver side. Thinking the cheap one is affecting steering a bit. What I still don't understand is that the Moog "Problem Solver" ball joint is the same 2 piece design as what I originally got, but it definitely doesn't seem to be a good design for these trucks.
Gone a little bit crazy again and have also ordered:
-LEDs for the Tail/Brake light from Superbrightleds.com (Should be here today)
-Cheap "line of fire" brake/turn/reverse light for the tailgate
-New Delco Ignition Module
-New Bumper Bolts
Had one more unexpected birthday gift show up too. . .10" Rockville Silm Powerd Subwoofer. . . Was hoping to hide under the seat or behind the spare tire, but doesn't look like it fit either place unfortunately.