When you click on links to various merchants on this site and make a purchase, this can result in this site earning a commission. Affiliate programs and affiliations include, but are not limited to, the eBay Partner Network.
Be sure to take a pictures before you do the lift to compare to after. I Also have a 1999 4dr but only did the torsion bar lift with new shackles with the RC upper control arms. I'll be interested to see how your turns out for comparison.
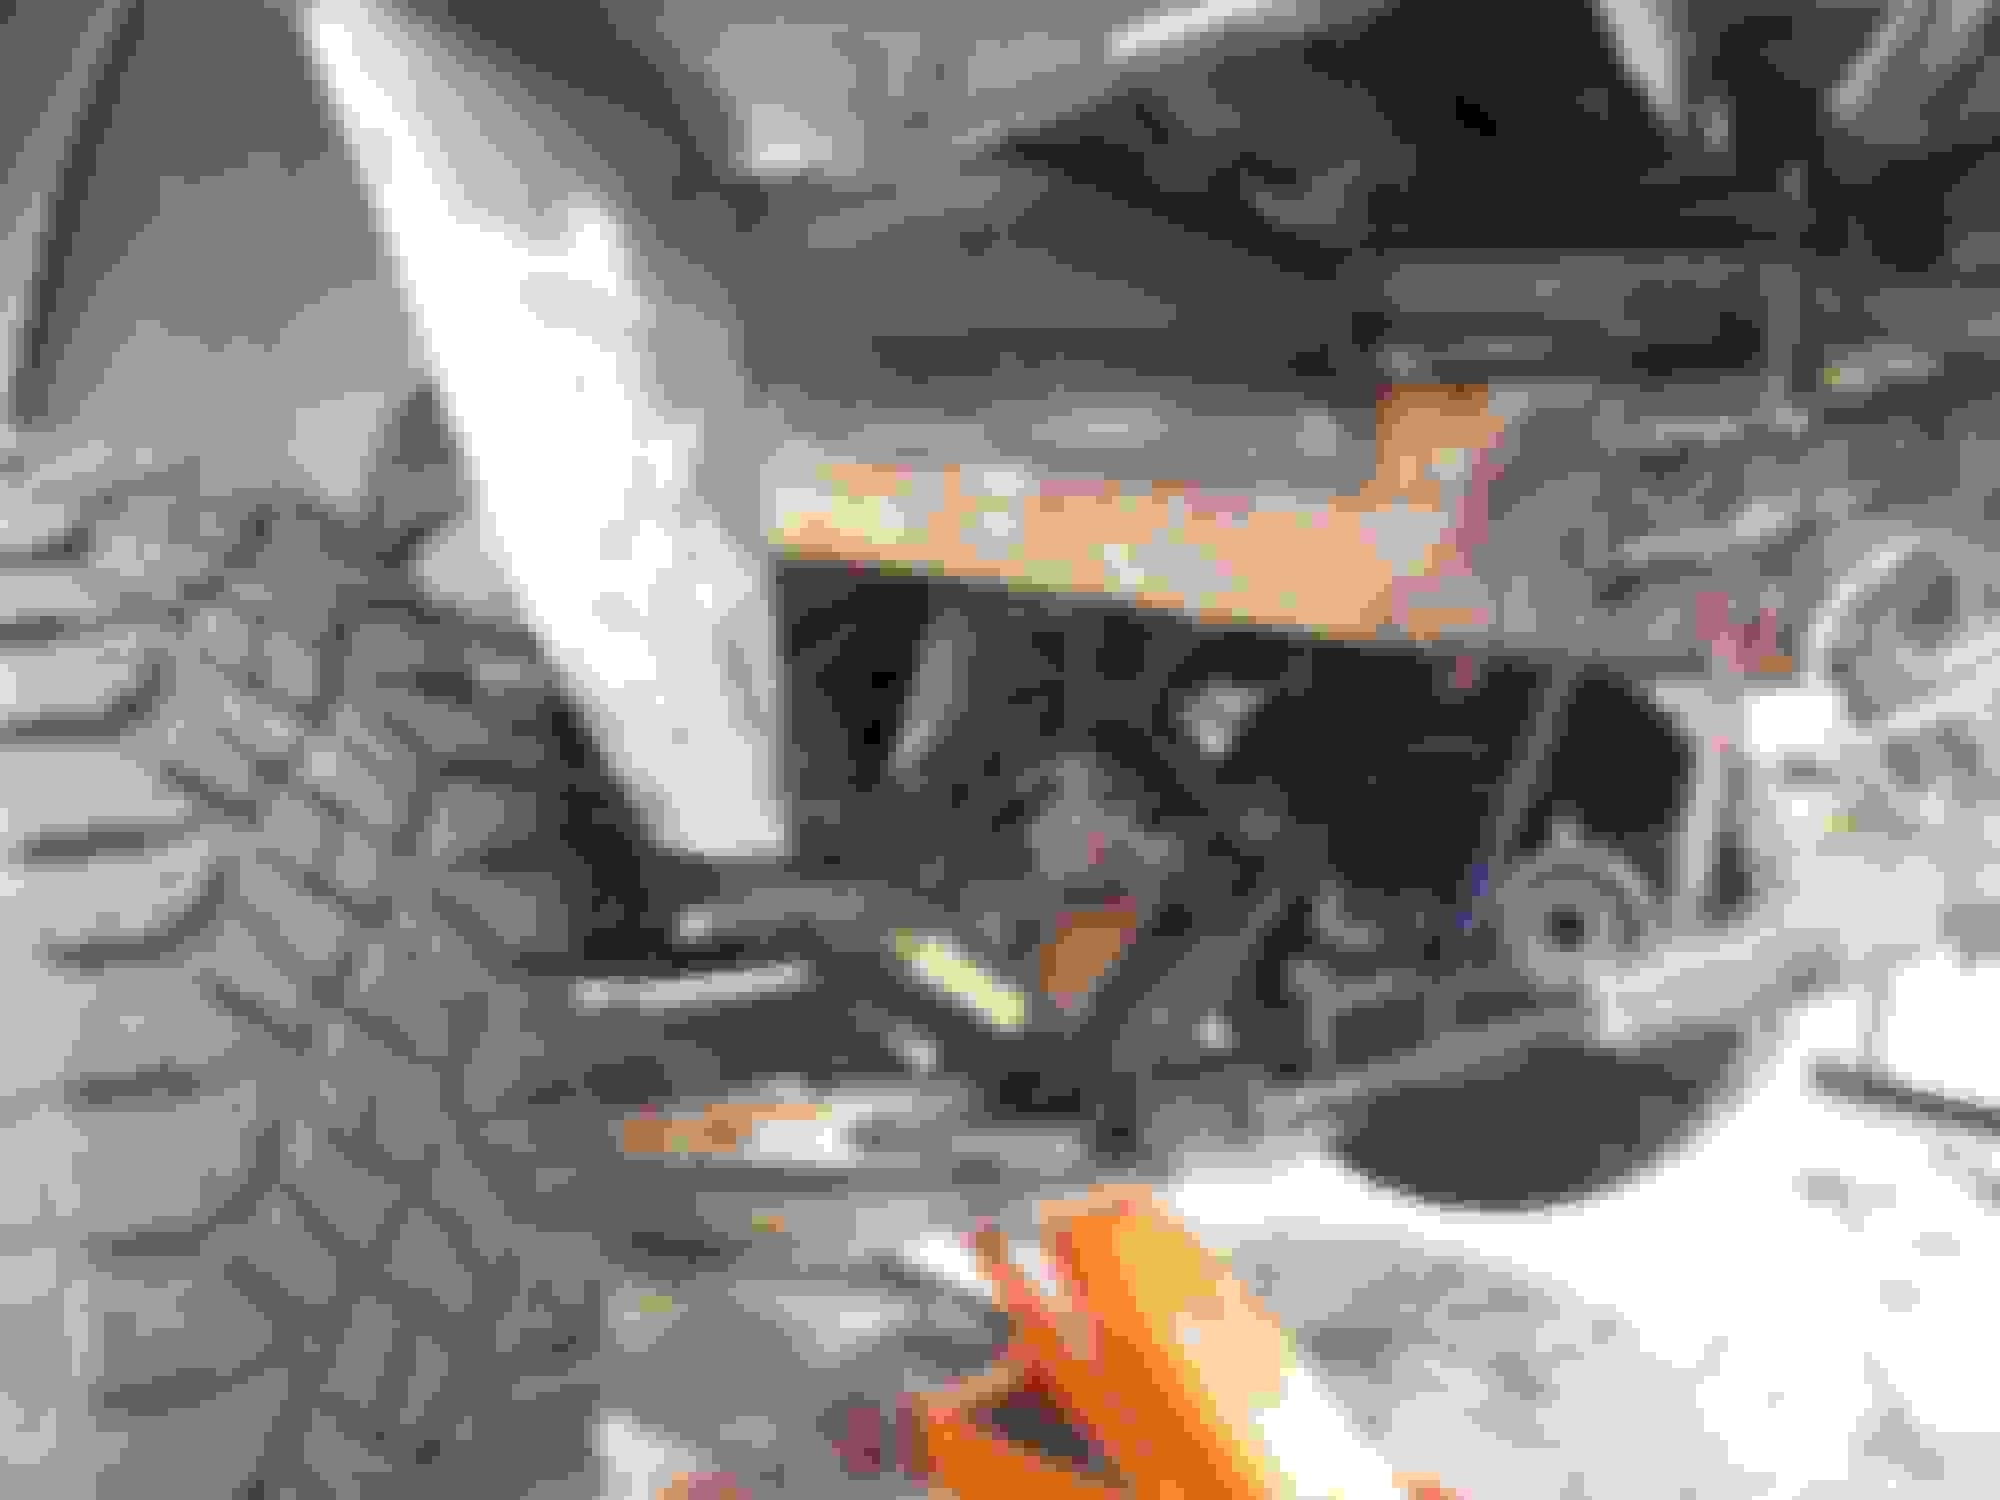
So far the biggest hurdle I've come across is the shackle bolts. I suggest having some sort of sir hammer to pound them out. Aswell I migivered something with the stock jack from the truck to help me install the new shackles...
So it' been rough. But so far I got the lift kit in, other then the torsion keys. Tomorrow I will put in the stearing stabilizer, and the new coupling disk, and bleed the read brakes.
Passenger before Driver before Cut the upper differential mount New upper differential braket mounted Passenger differential spacer installed. Driver side completed. Upper control arm, shock absorber, inner and outer tie rod, sway bar bushing, cv axle.
so far the before height was 5 1/2 inches.
now it sits at 7 1/4 inches with the stock torsion keys.
I was able to use mine. I had to bend the brake line bracket a bit so it wouldn't be rubbing on anything. I'll get some pictures up later. Few more thing to complete this morning and then I'll be taking her out for a test drive.
So I re-attached the side rear bumpers, got the steering stabilizer installed. New hub on passenger side and new inner and outer tie rods. Last things left on the list are:
bleed rear brakes
coupling disc
She's at the shop getting aligned now so I get a little break. Heres the steering stabilizer installed.
So I re-attached the side rear bumpers, got the steering stabilizer installed. New hub on passenger side and new inner and outer tie rods. Last things left on the list are:
bleed rear brakes
coupling disc
She's at the shop getting aligned now so I get a little break.
I've been thinking of installing the RC steering stabilizer. I'll be interested to hear of what you think of it. Was it easy to install?
the steering stabilizer was the easiest install out of all the parts I did over the weekend. 30-45 minute job including a smoke break lol. so now that the weekend is over and I have time to sit infront of a computer, I will post my update.
truck is now complete with the exception of:
-coupling disk
-rear brakes bleeding
-pitman arm
-RC torsion keys. (I will have to get a shop to do this. I do not have the tools or arm strength to been on these bars to get them out.)
so far I am very pleased with the way the truck is sitting and ridding. a lot smoother and a lot less pull. I ordered the puller for the pitman arm so I'm hoping to wrestle that this coming weekend, as well as the bleeding and coupling disk.
the RC kit was an easy enough install. 2nd hardest part was the differential housing bracket. I was not able to drop it out from under the truck, but I was able to cut it with a sawsall while dropped a little. 1st hardest was the rear shackle bolts.
Last edited by DonL; Apr 3, 2018 at 11:27 AM.
Reason: posted without completed writting