
Altoncustomtech's 2001 Jimmy = slow audio build

Thread Starter
|
Senior Member
Joined: Oct 2010
Posts: 931
From: Monroe City, IN

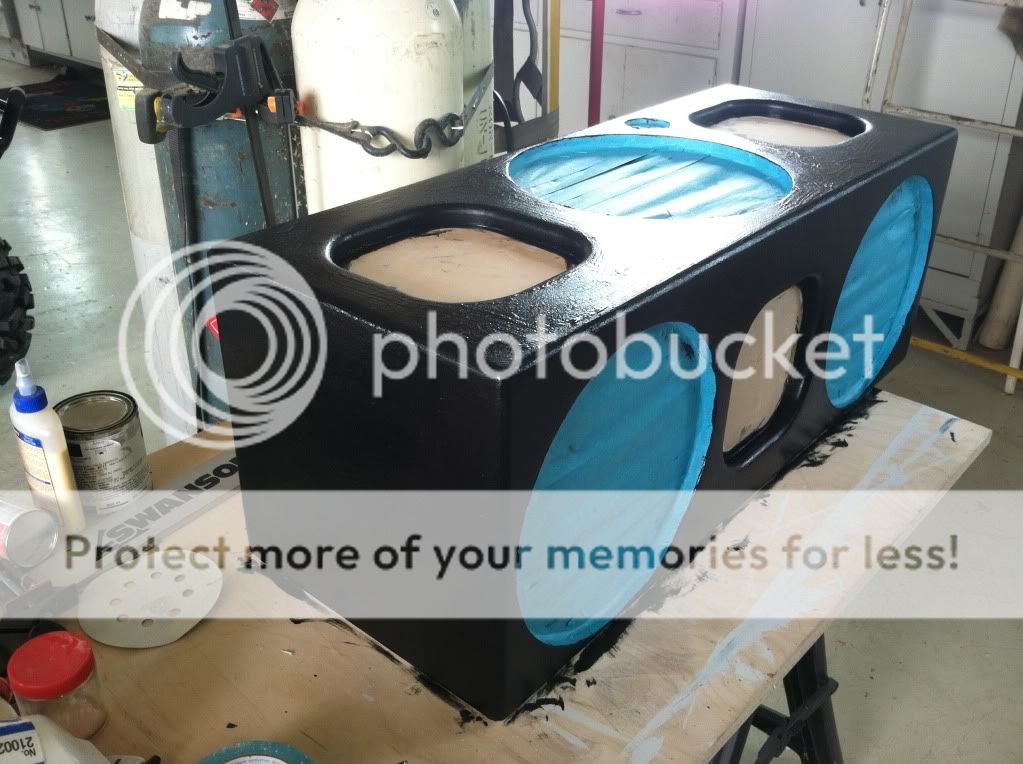
The third coat of paint will be the last. When I looked at it this morning if looked perfect everywhere but a couple of really small places. Far too small to notice without really looking and there's no way they'll be noticeable through the plexi windows after the sub and PR's are mounted.
The only thing I did with it today was sand the primer down smooth with 320 grit sand paper and covered the speakon connector, sub, and PR holes with tape to protect the paint when I go to apply the bed liner next week.
Here's a few pics of the box getting ready for the bed liner. I don't think the difference in the surface of the primer is picked up by the camera.
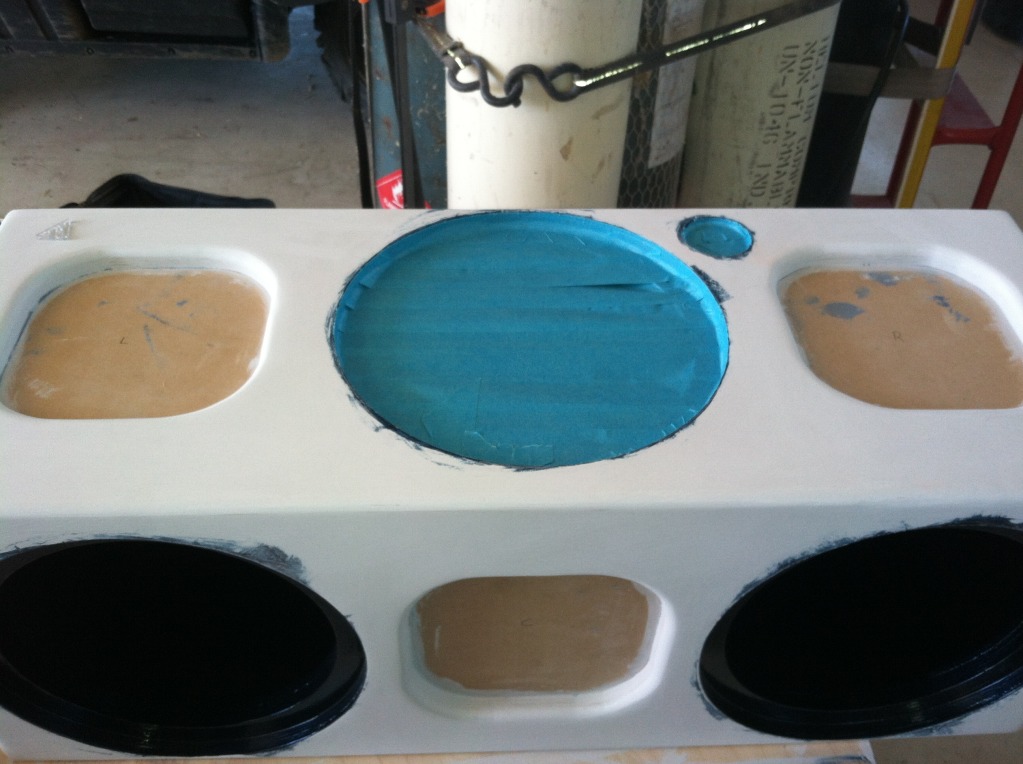

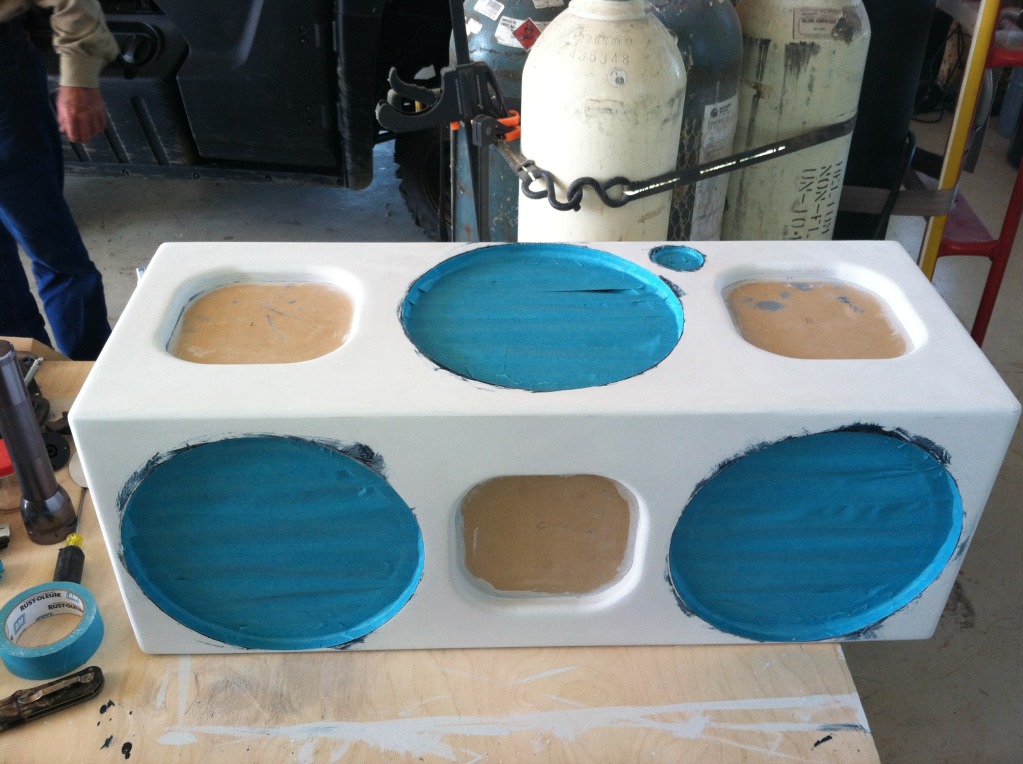
That's it until next week.
The only thing I did with it today was sand the primer down smooth with 320 grit sand paper and covered the speakon connector, sub, and PR holes with tape to protect the paint when I go to apply the bed liner next week.
Here's a few pics of the box getting ready for the bed liner. I don't think the difference in the surface of the primer is picked up by the camera.
That's it until next week.
Thread Starter
|
Senior Member
Joined: Oct 2010
Posts: 931
From: Monroe City, IN
ALRIGHTY THEN!!!
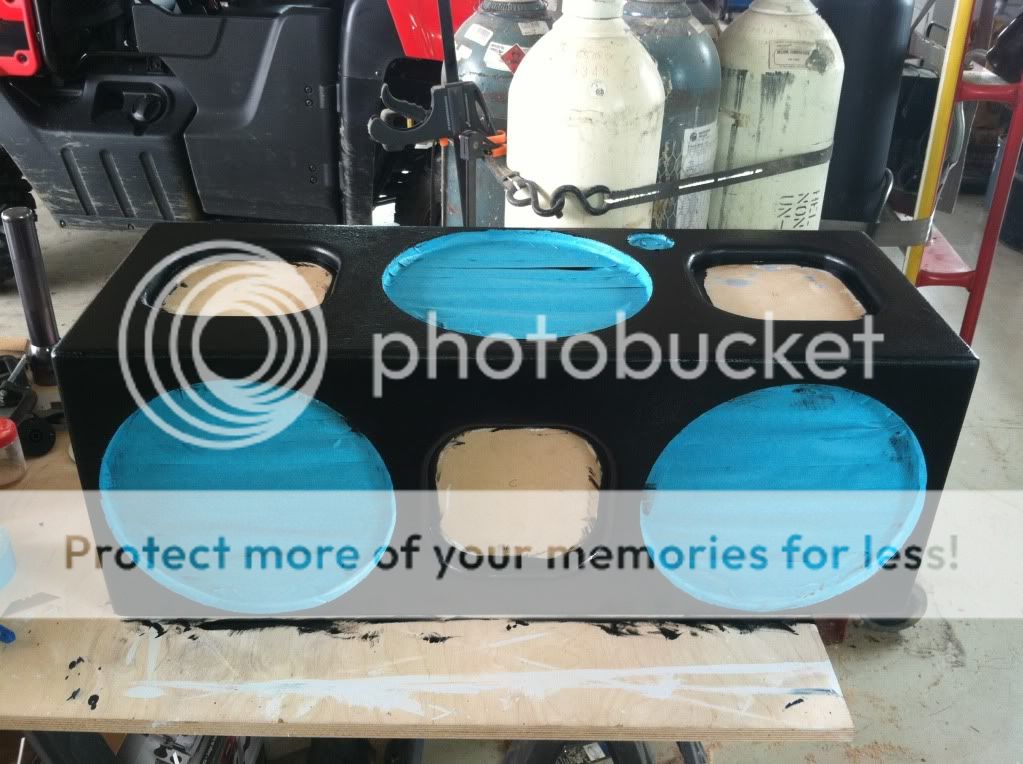
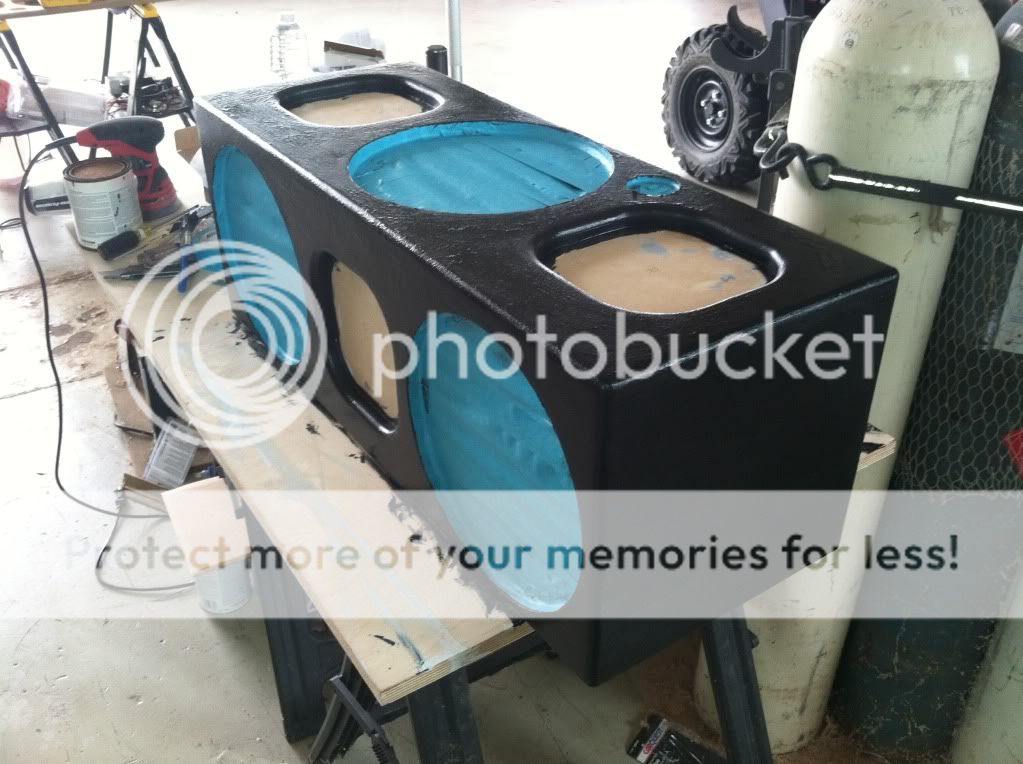
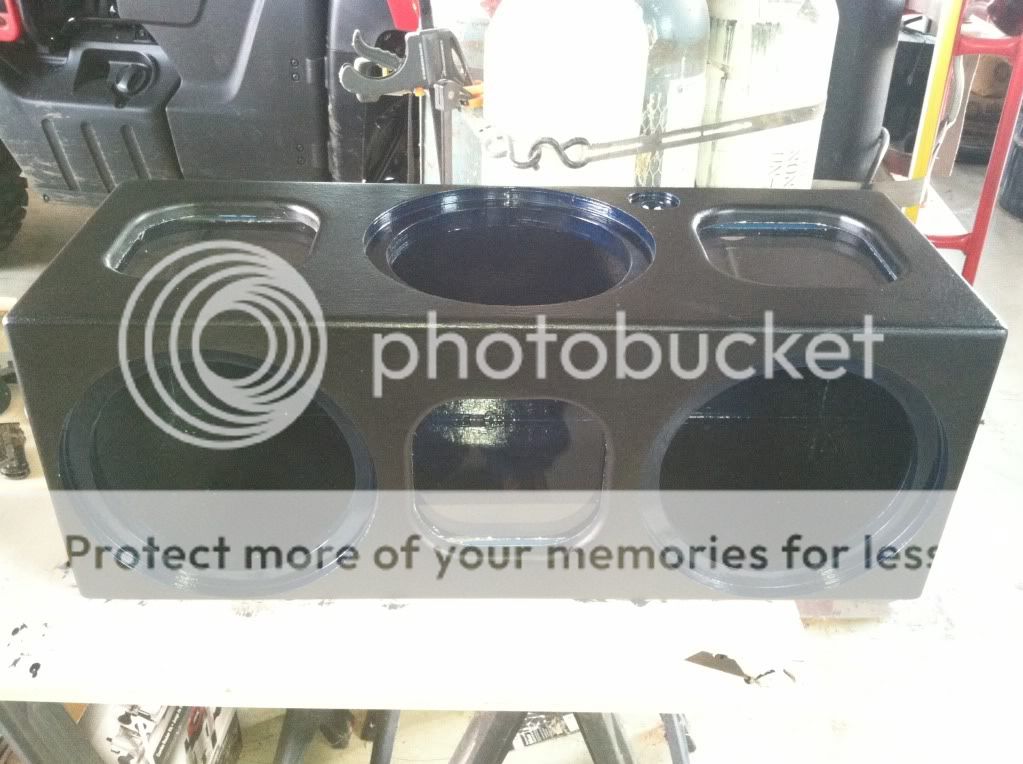
Got the first application of bedliner on the box!! Could be all it needs, the primer really helped, time will tell. If it doesn't need another application of bedliner, then it's done!! Or pretty much so, the only thing left would be to apply it to the bottom (really no biggie), remove the tape covering the mounting locations and remove the protective film from the plexi windows. If it needs another application then that's no biggie either, it wouldn't be much if it did. I can practically see the XCON mounted now! Onto a few pictures.
Damn it, I gotta get the engine in the truck so I can listen to the sub!! LOL I gotta figure out how to get the Jimmy hauled to work. All the guys said they'd help me get it changed out so I need to take them up on the offer ASAP.
Figured I'd toss this on just for fun. Brand new 2013 Honda MUV700 Big Red. We just got it for work to do stuff around the stations and on the right of way. Took it for a couple hour long break in ride and I gotta say it's one hell of a nice machine!

Got the first application of bedliner on the box!! Could be all it needs, the primer really helped, time will tell. If it doesn't need another application of bedliner, then it's done!! Or pretty much so, the only thing left would be to apply it to the bottom (really no biggie), remove the tape covering the mounting locations and remove the protective film from the plexi windows. If it needs another application then that's no biggie either, it wouldn't be much if it did. I can practically see the XCON mounted now! Onto a few pictures.


Damn it, I gotta get the engine in the truck so I can listen to the sub!! LOL I gotta figure out how to get the Jimmy hauled to work. All the guys said they'd help me get it changed out so I need to take them up on the offer ASAP.
Figured I'd toss this on just for fun. Brand new 2013 Honda MUV700 Big Red. We just got it for work to do stuff around the stations and on the right of way. Took it for a couple hour long break in ride and I gotta say it's one hell of a nice machine!

Thread Starter
|
Senior Member
Joined: Oct 2010
Posts: 931
From: Monroe City, IN
Aside from a few little touch ups, etc. the enclosure is DONE!!!
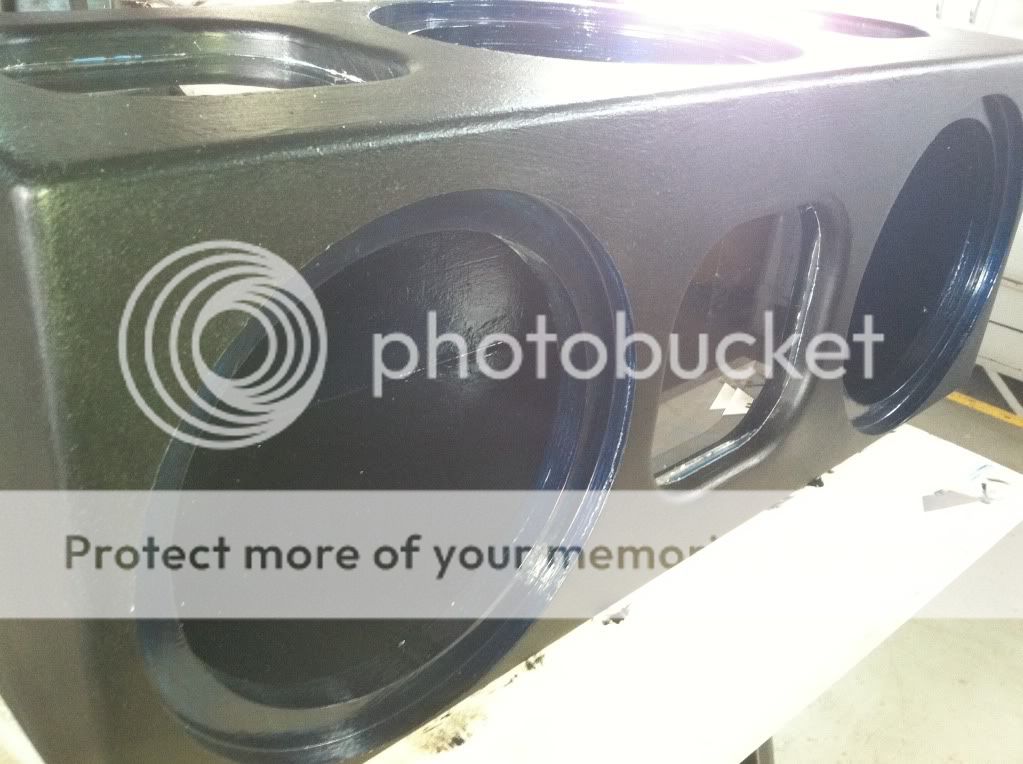
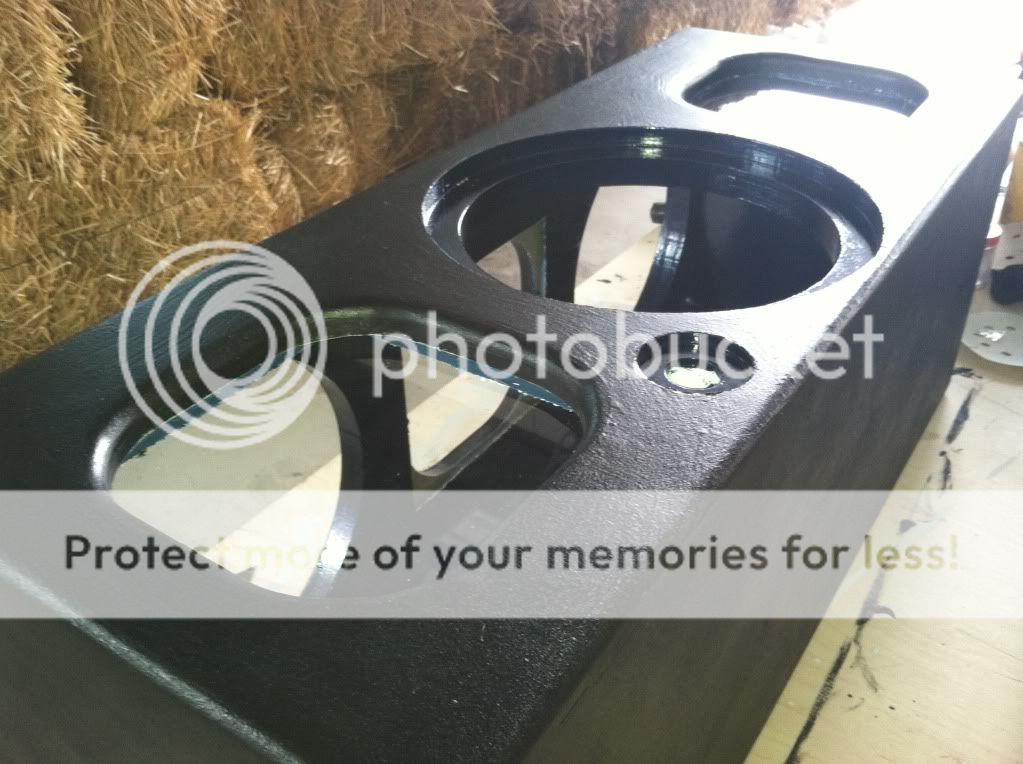
Now, all I gotta do is mount the sub and PR's, get them PR's tuned and it's good to go and wait for the engine to get put in, lol.


Now, all I gotta do is mount the sub and PR's, get them PR's tuned and it's good to go and wait for the engine to get put in, lol.
Thread Starter
|
Senior Member
Joined: Oct 2010
Posts: 931
From: Monroe City, IN
Thread Starter
|
Senior Member
Joined: Oct 2010
Posts: 931
From: Monroe City, IN
You betcha. I got the holes for the screws drilled today but I forgot the gasket tape to seal everything up. Hopefully I can get a few free minutes tomorrow to drop the sub in and get the PR's tuned.
Just for your viewing enjoyment here's a few pictures of the sub and the PR so you can see what the back of it looks like and see how similarly they're built.


As you can see, it's just a sub without a motor assembly, voice coil or tinsel leads. You can easily see the block with the threaded hole for the bolt.
Thread Starter
|
Senior Member
Joined: Oct 2010
Posts: 931
From: Monroe City, IN
Okay, things have been beyond crazy around here lately between work and working on the Jimmy. The guys I work with had me bring the Jimmy to our garage there to pull the engine and swap it out. They've even been helping work on it and for anyone who's ever pulled one of these out you know exactly what I'm saying when I say that no one could do it without help. The engineers at GM really had their heads up their asses when they designed these trucks. It's glaringly obvious the truck was assembled like a Chinese puzzle box on the assembly line with no care given to performing major maintenance later. Enough of that rant I can finally feel like something has been accomplished because the old engine is OUTTA THERE!! Now all I gotta do is swap the necessary items of the old engine to the new reman and shoehorn it back down into that little truck. I have a great deal more respect for the guys out there who put V8's into these little bastards and nothing but pure wonder how the guys do it who keep all the fuel injection and other crap in them as well. My hat is off to you guys, that takes a special kind of patience and determination I know I don't have.
Now just for fun here's a couple of pics of the poor old engine and the insanity that is the engine compartment in these little bastards.
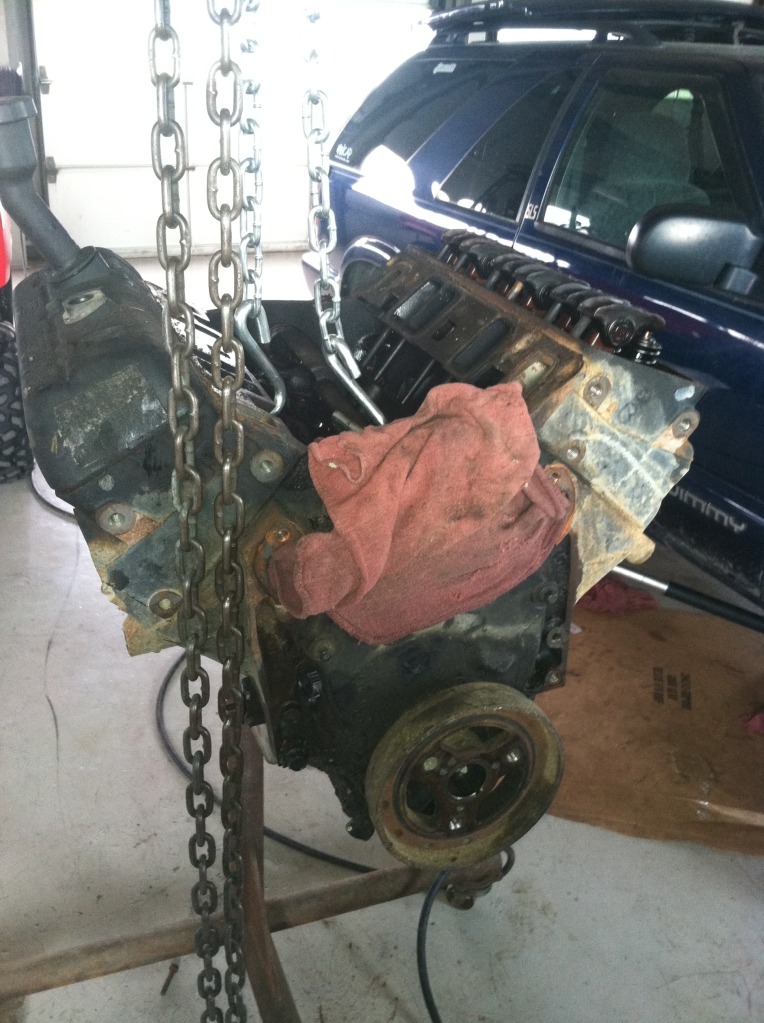
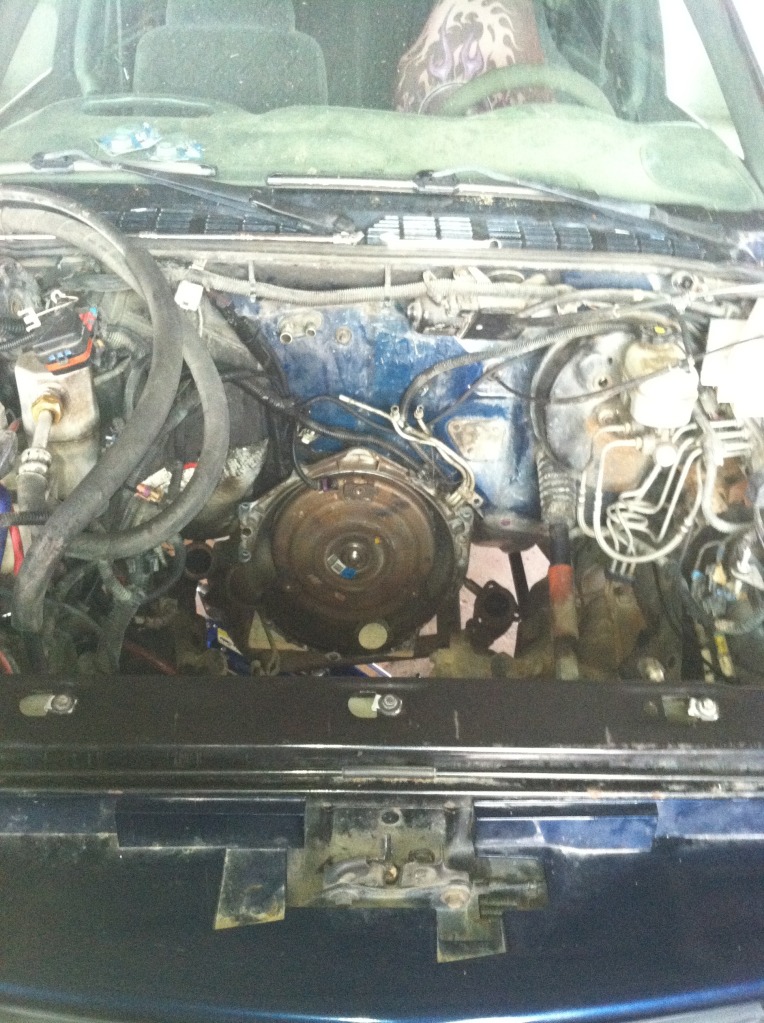
Now just for fun here's a couple of pics of the poor old engine and the insanity that is the engine compartment in these little bastards.