When you click on links to various merchants on this site and make a purchase, this can result in this site earning a commission. Affiliate programs and affiliations include, but are not limited to, the eBay Partner Network.
Thanks guys, it's finally coming along just starting to get expensive! ...don't even want to crunch the numbers on what all I've spent so far, especially knowing I'm only a 1/3 of the way there.
The camaro is a jeep buddy of mine, 305 that was in it needed rebuilt so he just rebuilt a 350 instead and we were working on stuffing it in there lol. Needs to come back out to "massage" the firewall a little bit to fit the headers he got. Otherwise it'd be done.
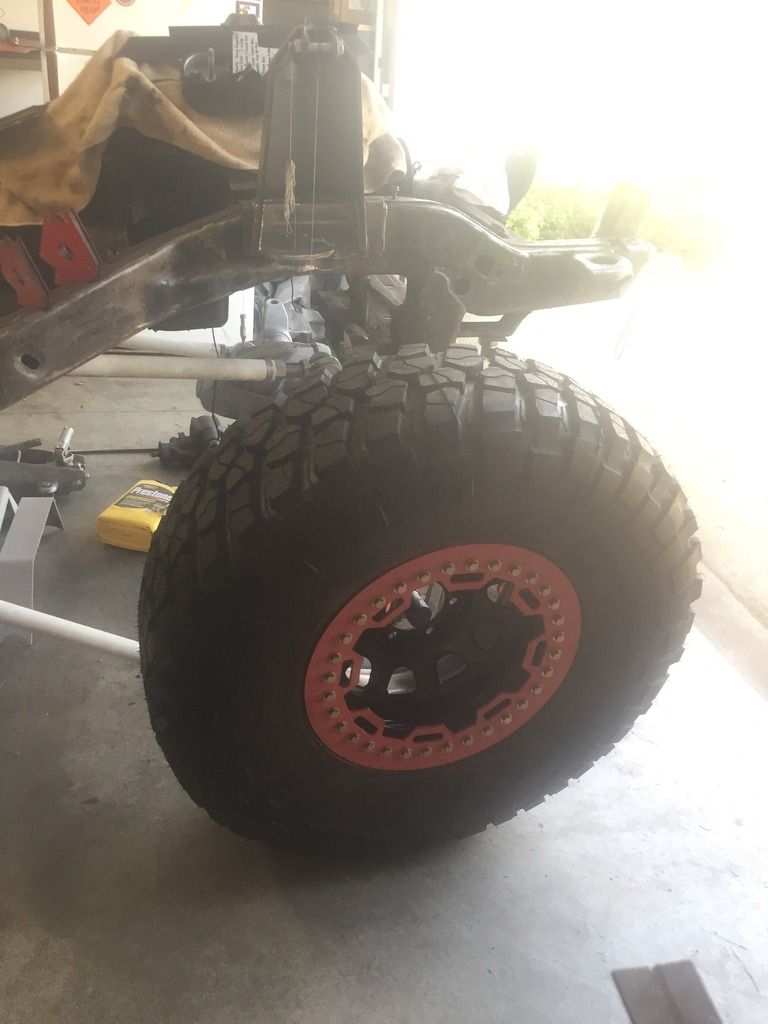
Just realized I might have clearance issues with tires and lower link arms at turns, but won't really know until I actually pick up some 37s hopefully this weekend (fingers crossed). Finally found a decent set of 37x12.5x17 BFG KM2s for sale up on craigslist that I've wanted instead of being cheap and trying to make the hmmwv tires work
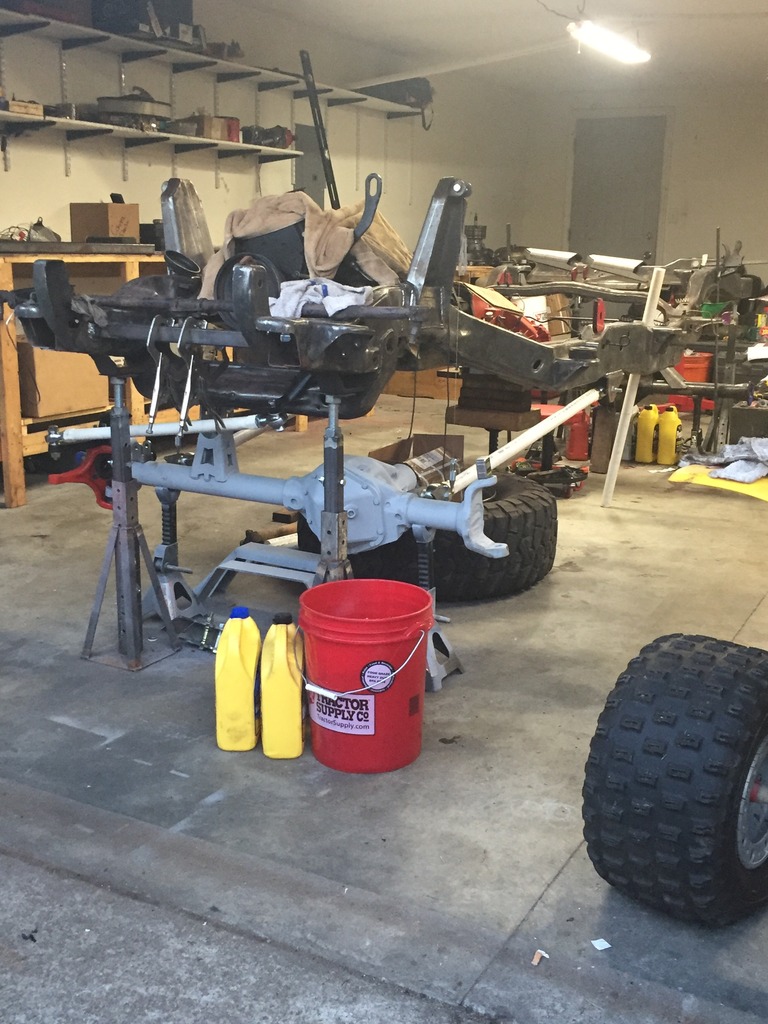
Guess it's been a minute since I've made an update. Finished building the tranny crossmember (even though it's not how I really want it, but it'll work fine) and put together the first of 5 beadlocks. Had to buy custom backspaced wheels and then got a weld on beadlock kit and took it from there. Right now just been piddling around with the dual triangulated rear, which I'm hoping to get done this weekend (after I fix my AC, can't take it any longer its too damn hot down here in nc with the humidity n all). Oh and finally got those stupid high steer knuckles and arms. That crap was expensive...Also figured out I have to go with the astro box because of angles n stuffs. So i'll be picking one of them up soon and rebuilding/tapping it for hydro-assist.
You can kinda see the rear getting started
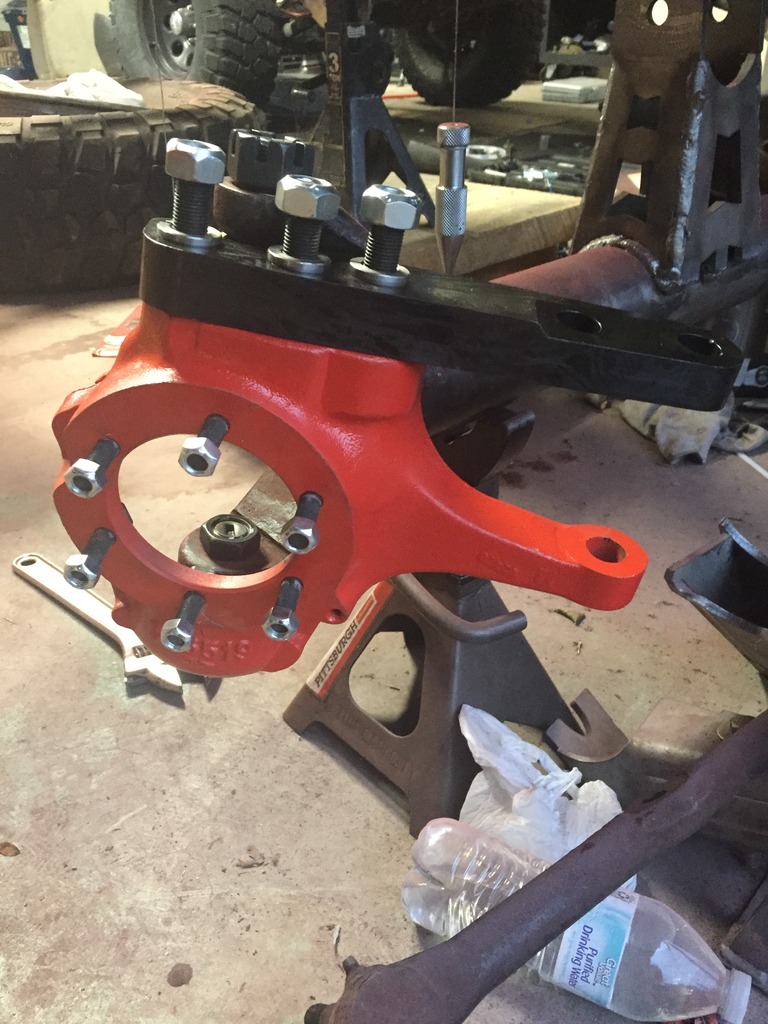
Expensive *** steering, but may as well do it now rather than later and be even more expensive making new links
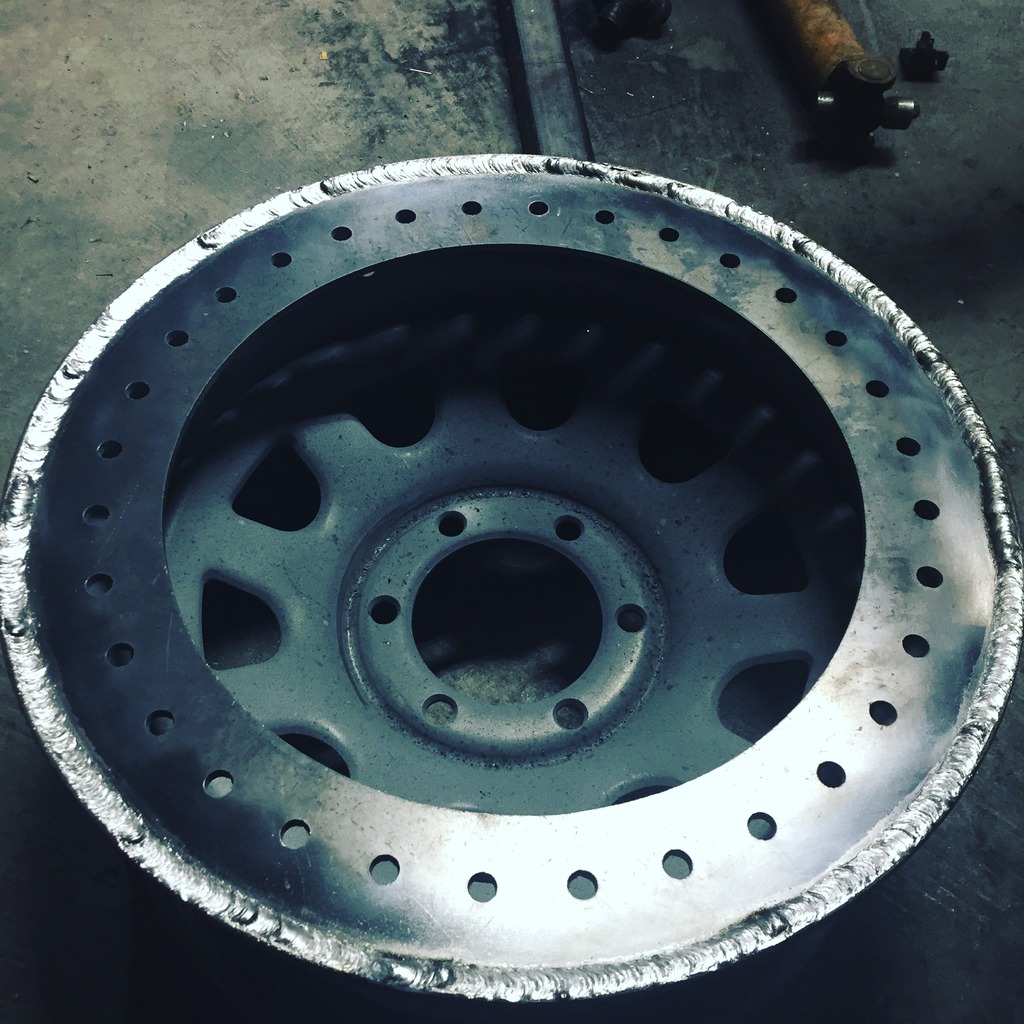
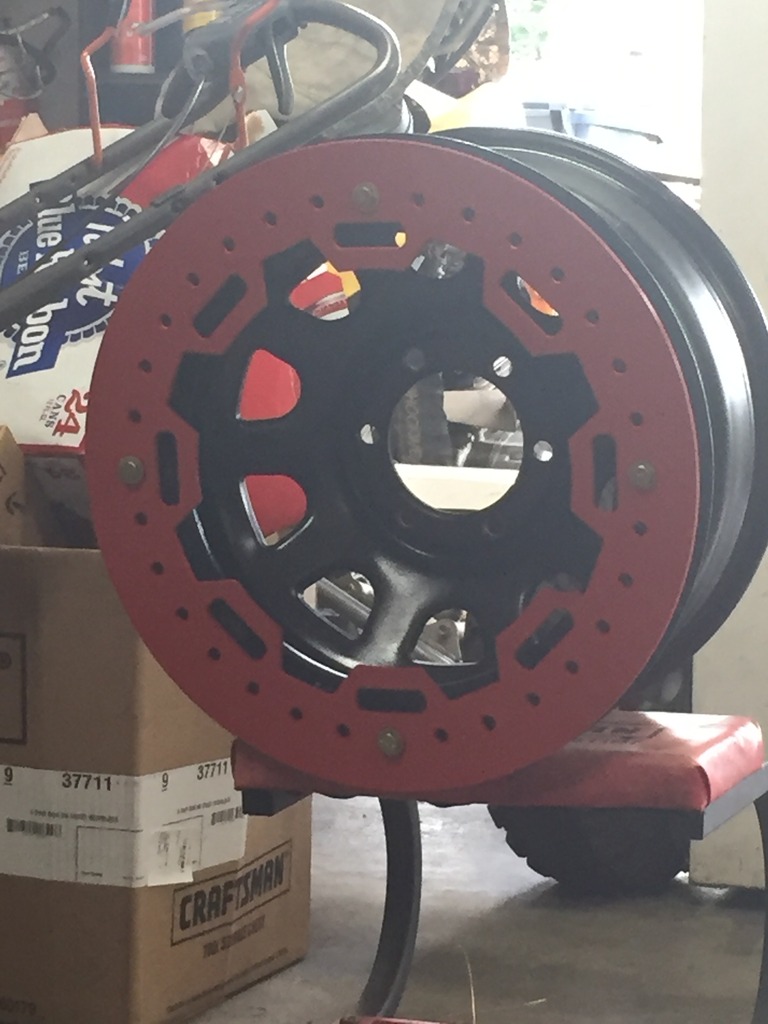
Wheel all welded up, just needing some grinding to get the edge flat for the tire bead to sit on
First coat of paint to keep it from rusting up again
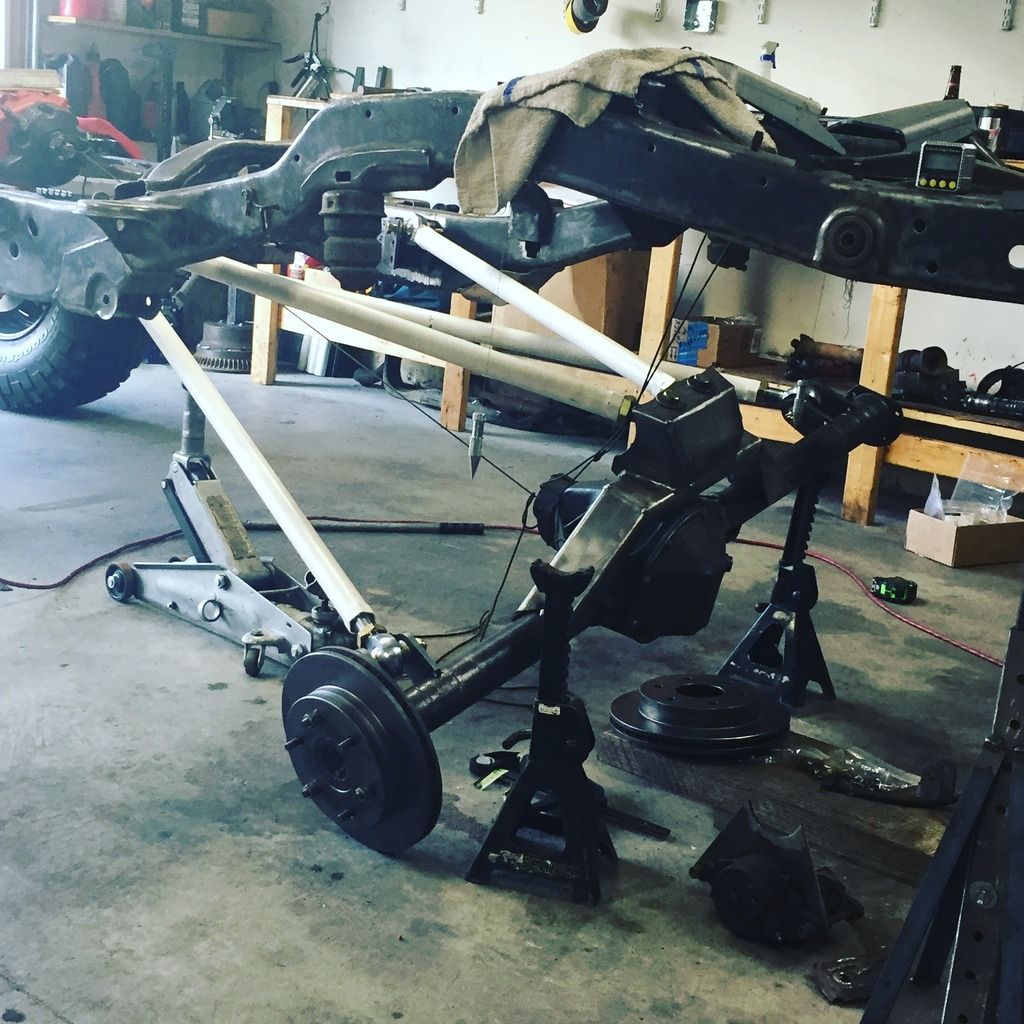
Gotten a little more done this weekend so I hope whom ever is still following along is ready for some pictures :P Tacked the 4 link together last night and played a little. Just about ready to order me up some expensive DOM tube to make these things for real! And four more wheels Things were looking good last night, no joint binding or anything. Today I'll check over everything once again, verify numbers in the calculator, and work on the panhard up front for the 3-link (still haven't done that lol).
37 on my first beadlock
Booty shot
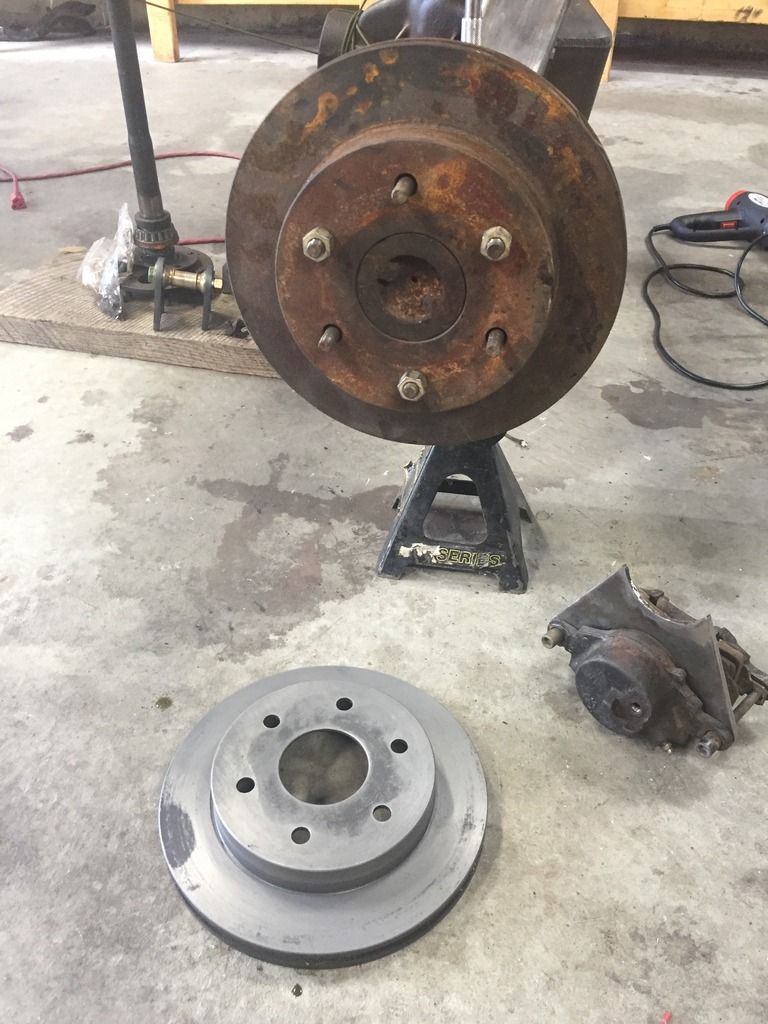
Super impressed with this de-ruster stuff!!!! The discs the guy gave me with the axle weren't even used once. Just covered in rust...
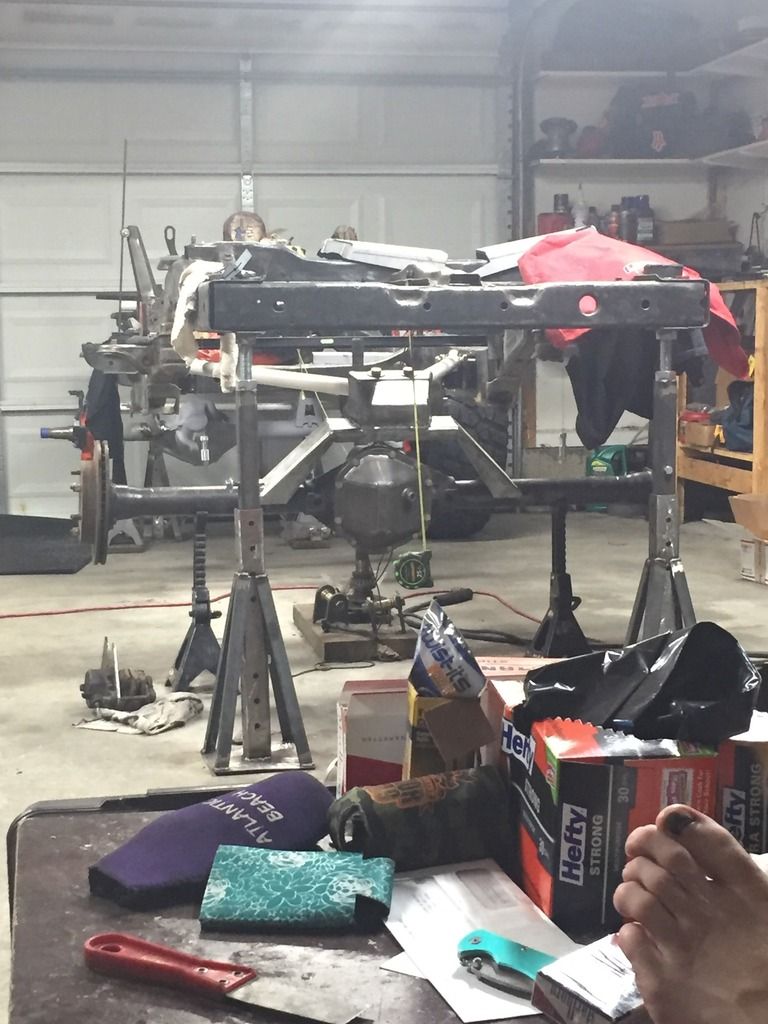
Realized I haven't updated my thread at all in awhile. Been some progress and hopefully in the next couple weeks will finally be ready to body swap the Blazer body onto this awesome Blazer 2.0 frame! All that's left is a little finishing work/welding and a little bit of planning for bumpstops and limit straps. I also still want to go back and rebuild the transmission crossmember because what I did in the beginning is just down right ugly and I need a tubing bender....anyone in NC have one and want to bend a hoop for me? LOL This is the "I just bought King coilovers so I'm broke" me.... Once the little things get done hopefully this weekend will be blasting the whole frame and ready for some Eastwood extreme chassis black paint and be minty fresh! Also got all my new energy suspension mounts so hopefully this will be swapped soon!!!
Because I felt cool and weld life
Actual links made out of DOM finally and full flex test
Junk blazer body on frame to give me an idea of what I'll have to cut
Tapped my steering box for hydro assist and rebuilt it with a kit from west texas offroad along with an astro van internals. If anyone needs help doing this, I got you. Took me an entire day and a half to get this stupid thing back together. BTW the ball bearings are a pain in the a@@
Steering box assembled and mocked in place. Still need to build a frame plate for it I think
Fuel tank from a 2 dr blazer mocked up in place and also some frame reworking for coilover clearance to axles
Another look at gas tank and also axle at full droop
Front axle at full droop with all steering finally tacked together. My steering arm and track bar ended up within a .5 degree difference which was either perfect planning or good luck...not sure which anymore haha
And lastly for now, my jeep buddy (Pope) and I in the back of mock up. She's gonna be tall...
Thanks DonL. This frame has been a pain in the butt. Why couldn't it just be a nice and neat square straight frame instead of all these stupid weird curves!?
Big update finally. Been knocking out some work just haven't had a chance to get on here. Rear axle just went in today and tacked up my rear coilover mounts, cycled the suspension a little and all seems well! Tomorrow will try to knock out the front and then can final weld some things, build bumpstops/limit strap mounts, finish building out the front axle, primer/paint, and finish primer paint the wheels. Hopefully in a few weeks she'll be back on her own weight. My biggest hold up was replacing all of the body mounts because they were all rotted out....thanks Ohio salt....
Frame painted! Used eastwoods extreme chassis semi gloss. Hope it holds up for awhile
Got my coilovers from Filthy Motorsports!
Engine/Transmission/Frame ready to go back under the body
She's together again! Newly modified & painted frame
Had to cut some holes in the tub for clearance, still need to make a little more room
Little test fit and photo opp
Stuffed the rear axle in today and got to cycle the suspension a bit. Went smooth!
Thats all for now. Maybe some more tomorrow if there's time.


 ...don't even want to crunch the numbers on what all I've spent so far, especially knowing I'm only a 1/3 of the way there.
 Things were looking good last night, no joint binding or anything. Today I'll check over everything once again, verify numbers in the calculator, and work on the panhard up front for the 3-link (still haven't done that lol).