
Stepson Build


Thread Starter
|
Beginning Member
Joined: Apr 2014
Posts: 20

Hello all, long time no post!
BEen super busy with life in general as well as working on the Blazer and a few other projects.
Since our last update:
New hinge pins and bushings on both front doors. Only had to torch one of them!
New rear brake dust shields and brake pads. My stepson has officially been introduced to the wonderful smell of used gear oil!
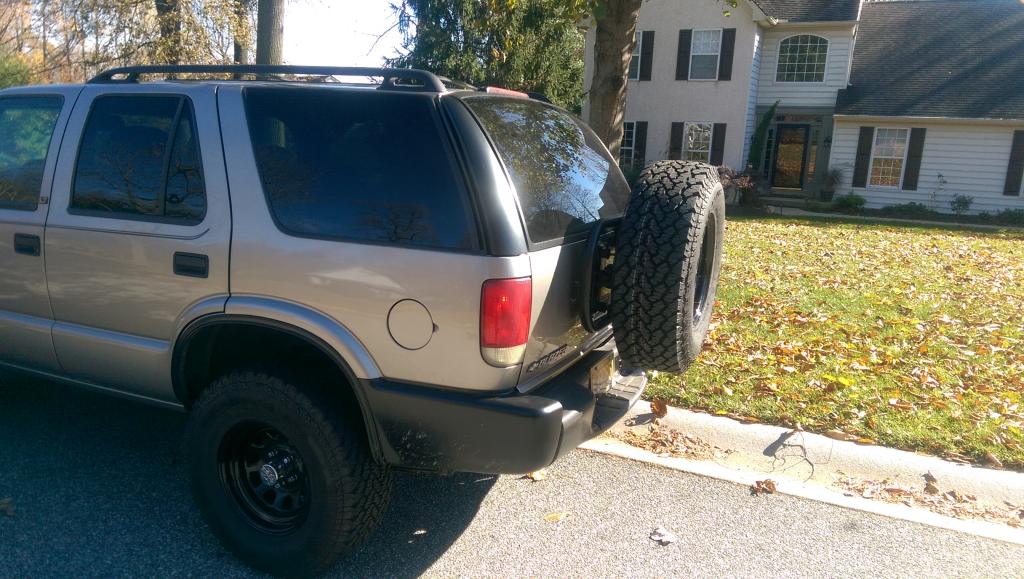
We still have not gotten around to mounting the spare tire carrier, but we did make some headway on prep. When I took it off at the junk yard, the bushing had a decent amount of play in them. So much so that ou had to lift it slightly to get it to latch. I tried ordering the new bushings from one of the suppliers, but was informed that they were no longer available. Off to plan B, which probably should have been plan A since I like it way better.
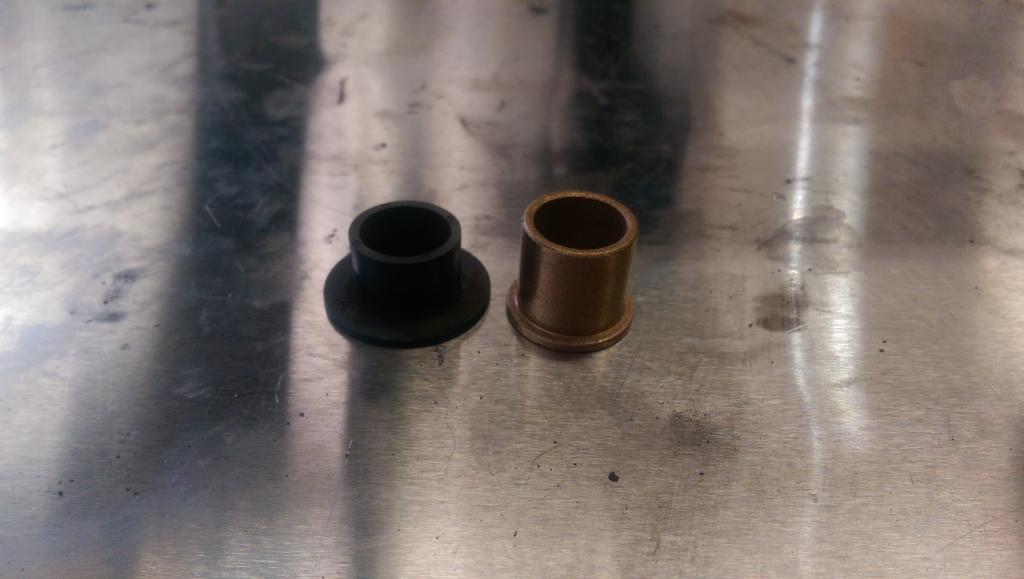
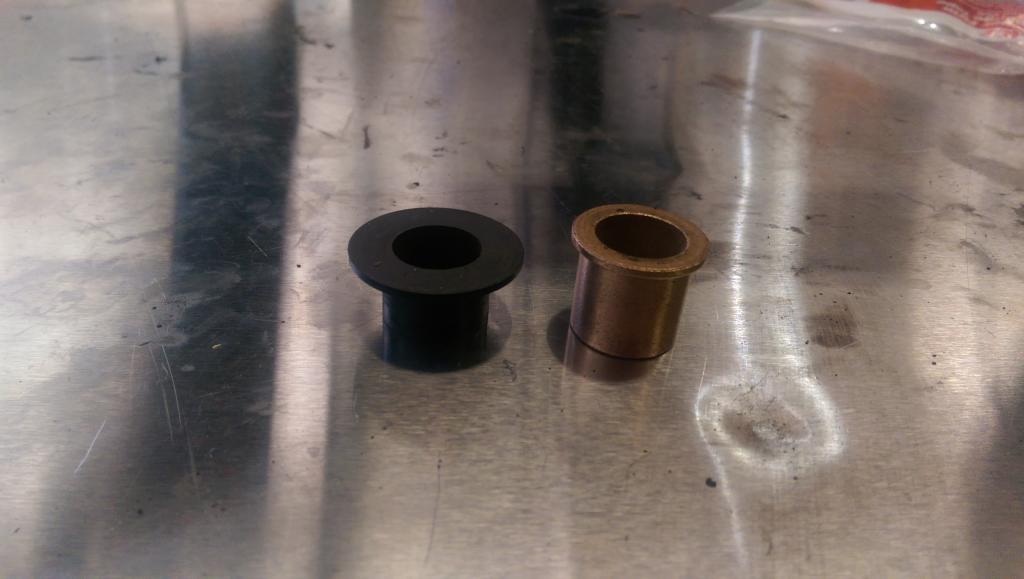
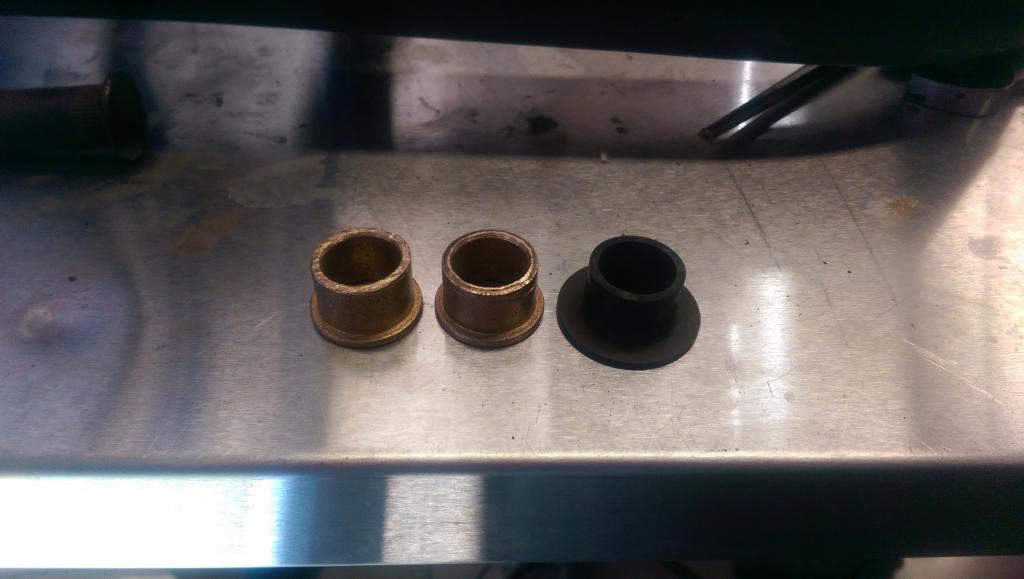
I disassembled the hinges and extracted the bushings. They did not seem too bad to look at, but were not performing up to snuff. I took some measurements and got on McMAster Carrs website looking for replacements. Nothing was exact, but several were pretty darn close. I ordered a selection in both bronze and UHMW and figured I could make something work.
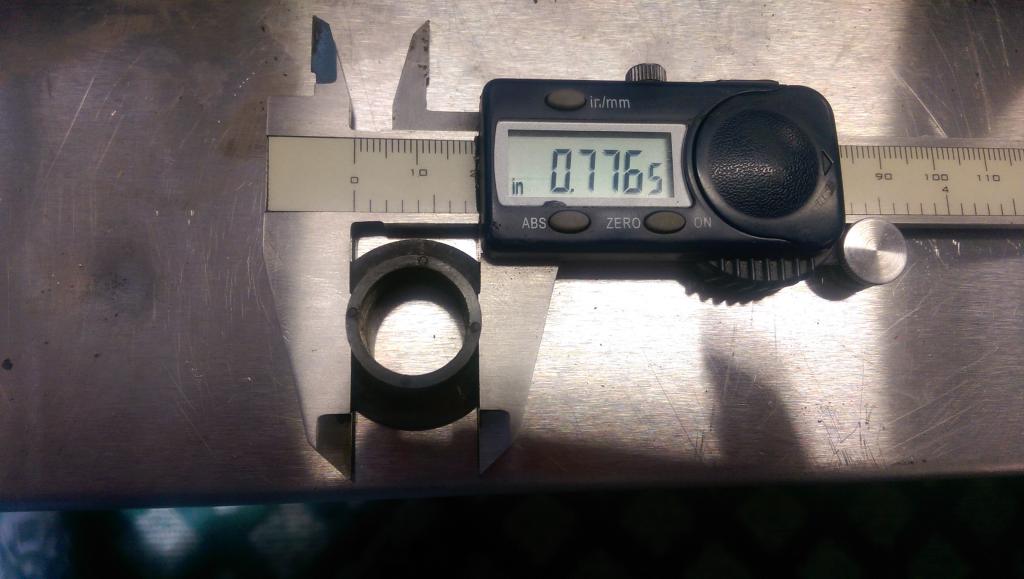
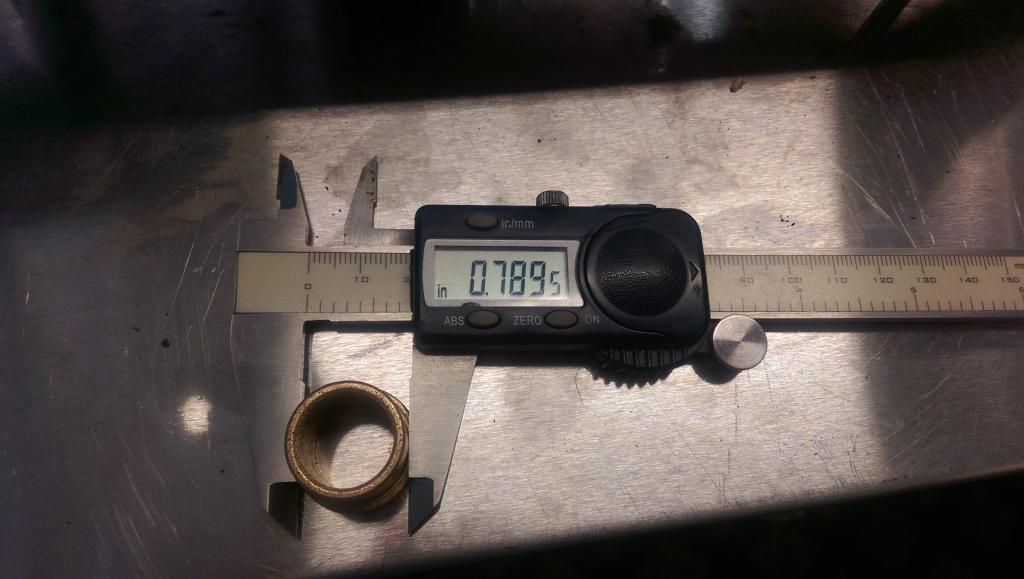
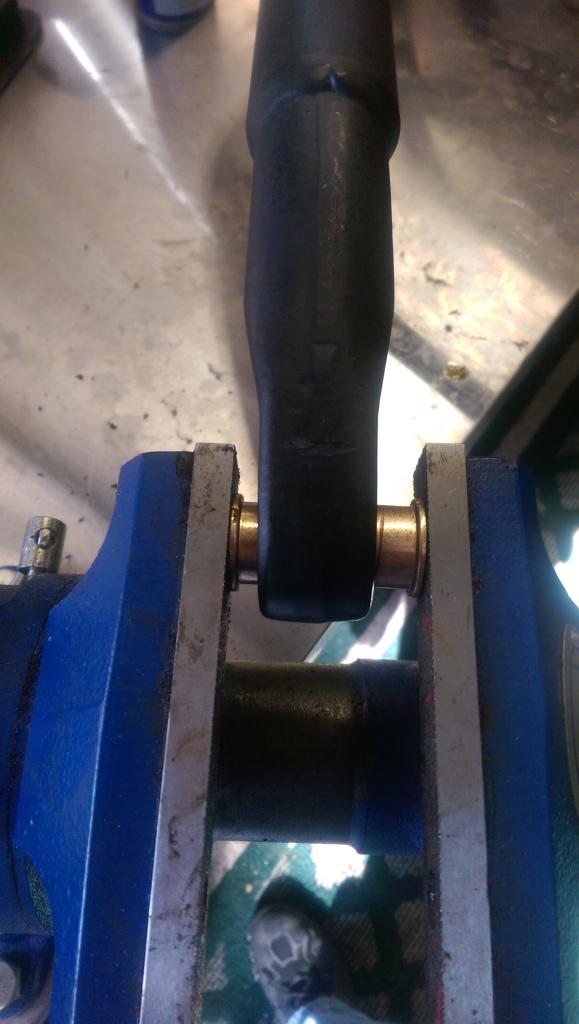
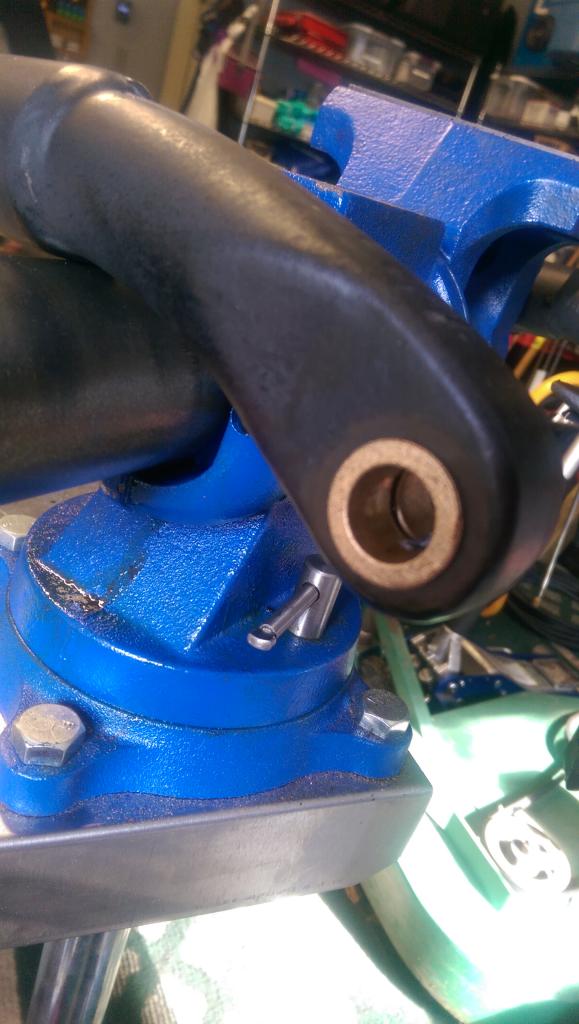
All of my choices were just a touch too losse with the excepton of one of the bronze units. It measured for a 16mm shaft, 20mm OD and 20mm length. Snug, but I wanted snug. The length was a too long, but that is easily remedied. I used a pipe cutter to trim them down to the .5" length of the originals and pressed them in place. The collar width is considerably less than the originals, hopefully, this will not affect anything.
After greasing the inside and the pins with waterproof grease, reassembly went smooth as could be, with minimal persuasion from the dead blow. The hinges move smoothly with just a touch of resistance. Better than stock for sure. We will know for certain once it is mounted on the truck.
Pics:
BEen super busy with life in general as well as working on the Blazer and a few other projects.
Since our last update:
New hinge pins and bushings on both front doors. Only had to torch one of them!
New rear brake dust shields and brake pads. My stepson has officially been introduced to the wonderful smell of used gear oil!
We still have not gotten around to mounting the spare tire carrier, but we did make some headway on prep. When I took it off at the junk yard, the bushing had a decent amount of play in them. So much so that ou had to lift it slightly to get it to latch. I tried ordering the new bushings from one of the suppliers, but was informed that they were no longer available. Off to plan B, which probably should have been plan A since I like it way better.
I disassembled the hinges and extracted the bushings. They did not seem too bad to look at, but were not performing up to snuff. I took some measurements and got on McMAster Carrs website looking for replacements. Nothing was exact, but several were pretty darn close. I ordered a selection in both bronze and UHMW and figured I could make something work.
All of my choices were just a touch too losse with the excepton of one of the bronze units. It measured for a 16mm shaft, 20mm OD and 20mm length. Snug, but I wanted snug. The length was a too long, but that is easily remedied. I used a pipe cutter to trim them down to the .5" length of the originals and pressed them in place. The collar width is considerably less than the originals, hopefully, this will not affect anything.
After greasing the inside and the pins with waterproof grease, reassembly went smooth as could be, with minimal persuasion from the dead blow. The hinges move smoothly with just a touch of resistance. Better than stock for sure. We will know for certain once it is mounted on the truck.
Pics:


Thread Starter
|
Beginning Member
Joined: Apr 2014
Posts: 20
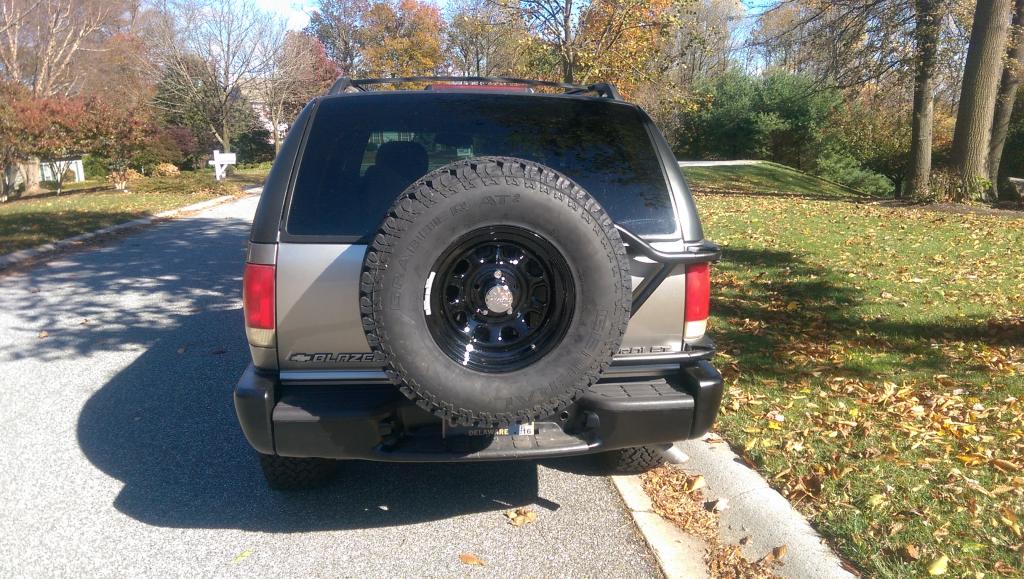
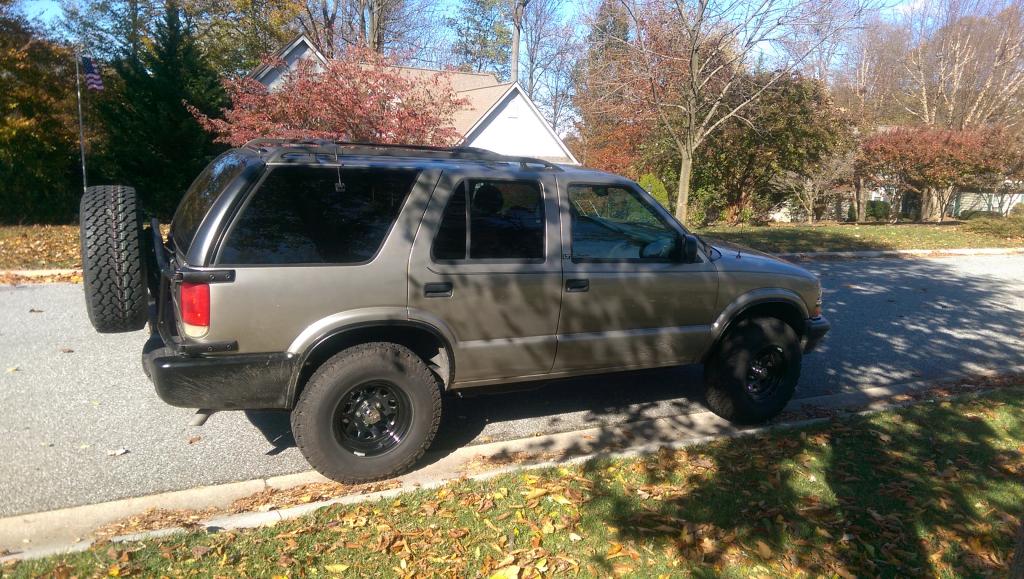
FINALLY got around to mounting this damn tire carrier!
I took the same path as rexmburns and while time consuming, got it done this afternoon.
The bushings we used above seem to be working well, but it has only been an hour


I took the same path as rexmburns and while time consuming, got it done this afternoon.
The bushings we used above seem to be working well, but it has only been an hour


Thread
Thread Starter
Forum
Replies
Last Post
Confuused69
Builds
8
Mar 17, 2010 08:14 PM

