
what have you gotten done on your blazer today?


Senior Member
Joined: Oct 2016
Posts: 605
From: Thomson, Ga.

Well, if you are installing the upgraded injectors be sure to run the #3 injector around behind #1, per the instructions or you will not be able to get the plenum to seat properly. See the videos on you tube.
BF Guru
Joined: Dec 2016
Posts: 5,610
From: Moscow, ID
When I got the part (AC-Delco one) it came with an instruction sheet that was photo-reduced by about a factor of 3 so that you could barely read it. I scanned it at 1200 dpi and printed out full size and lo-and-behold, it has that same advice about running the injector lines. It really does pay to read the directions! LOL
Senior Member
Joined: Oct 2016
Posts: 605
From: Thomson, Ga.
Thanks for the tip. As it happened, I had discovered that advice in a video I found a couple days ago but it is still appreciated that you posted it.
When I got the part (AC-Delco one) it came with an instruction sheet that was photo-reduced by about a factor of 3 so that you could barely read it. I scanned it at 1200 dpi and printed out full size and lo-and-behold, it has that same advice about running the injector lines. It really does pay to read the directions! LOL
When I got the part (AC-Delco one) it came with an instruction sheet that was photo-reduced by about a factor of 3 so that you could barely read it. I scanned it at 1200 dpi and printed out full size and lo-and-behold, it has that same advice about running the injector lines. It really does pay to read the directions! LOL
Next weekend- new cat and o2 sensors!!
Super Member
Joined: Apr 2014
Posts: 1,968
From: Lake City, Florida
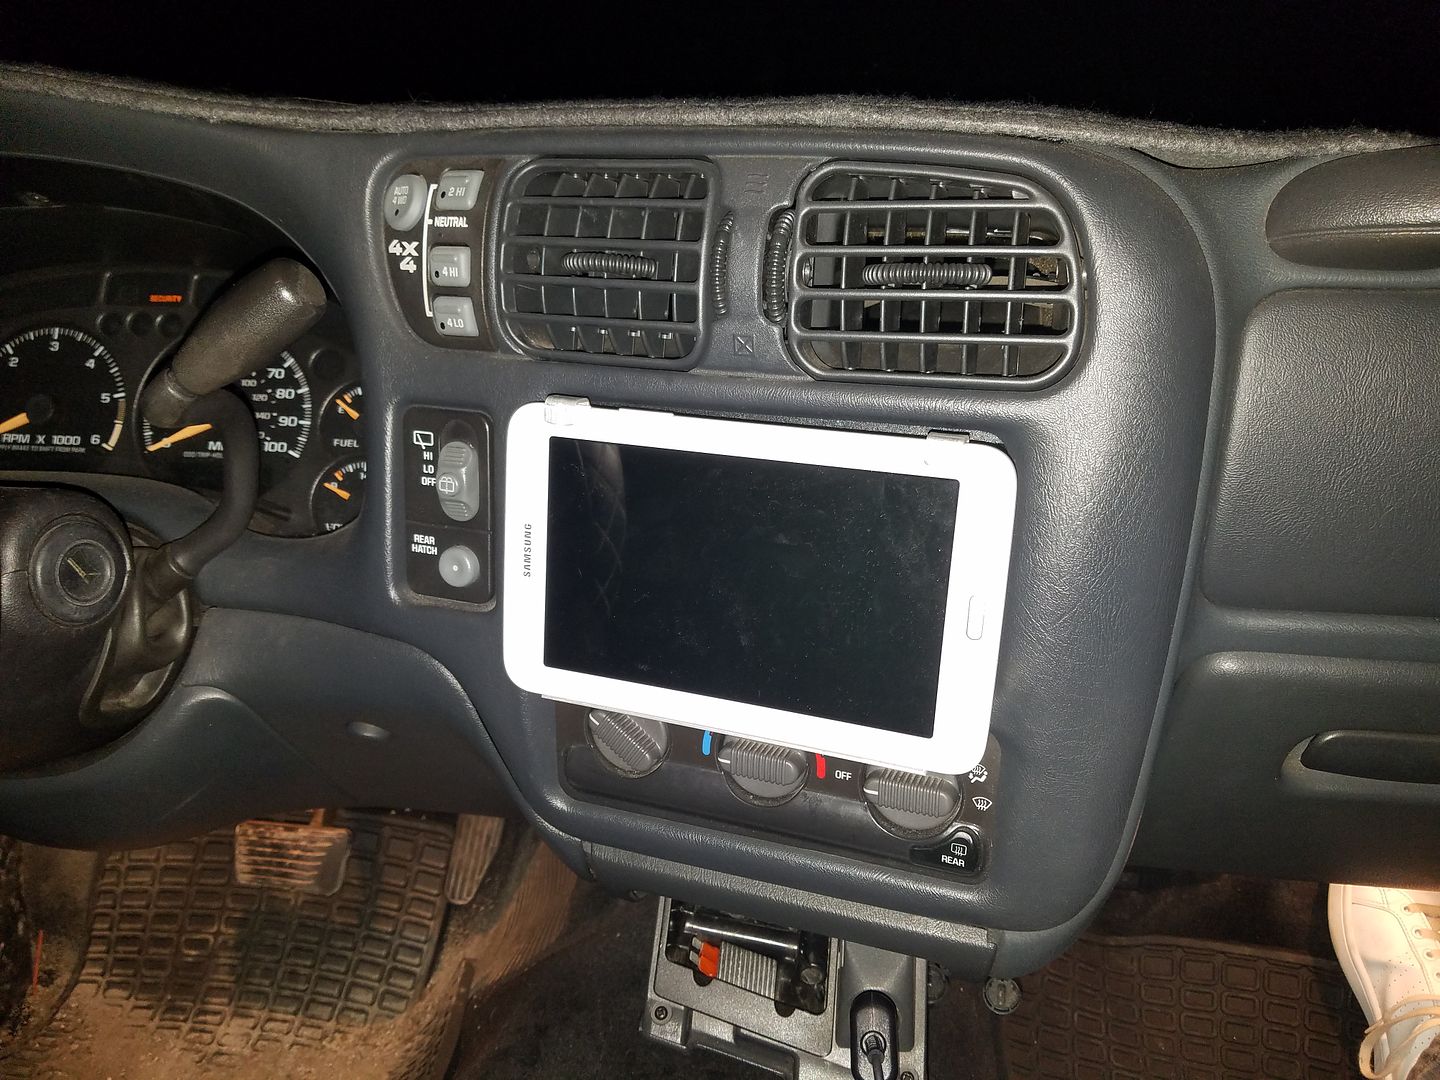
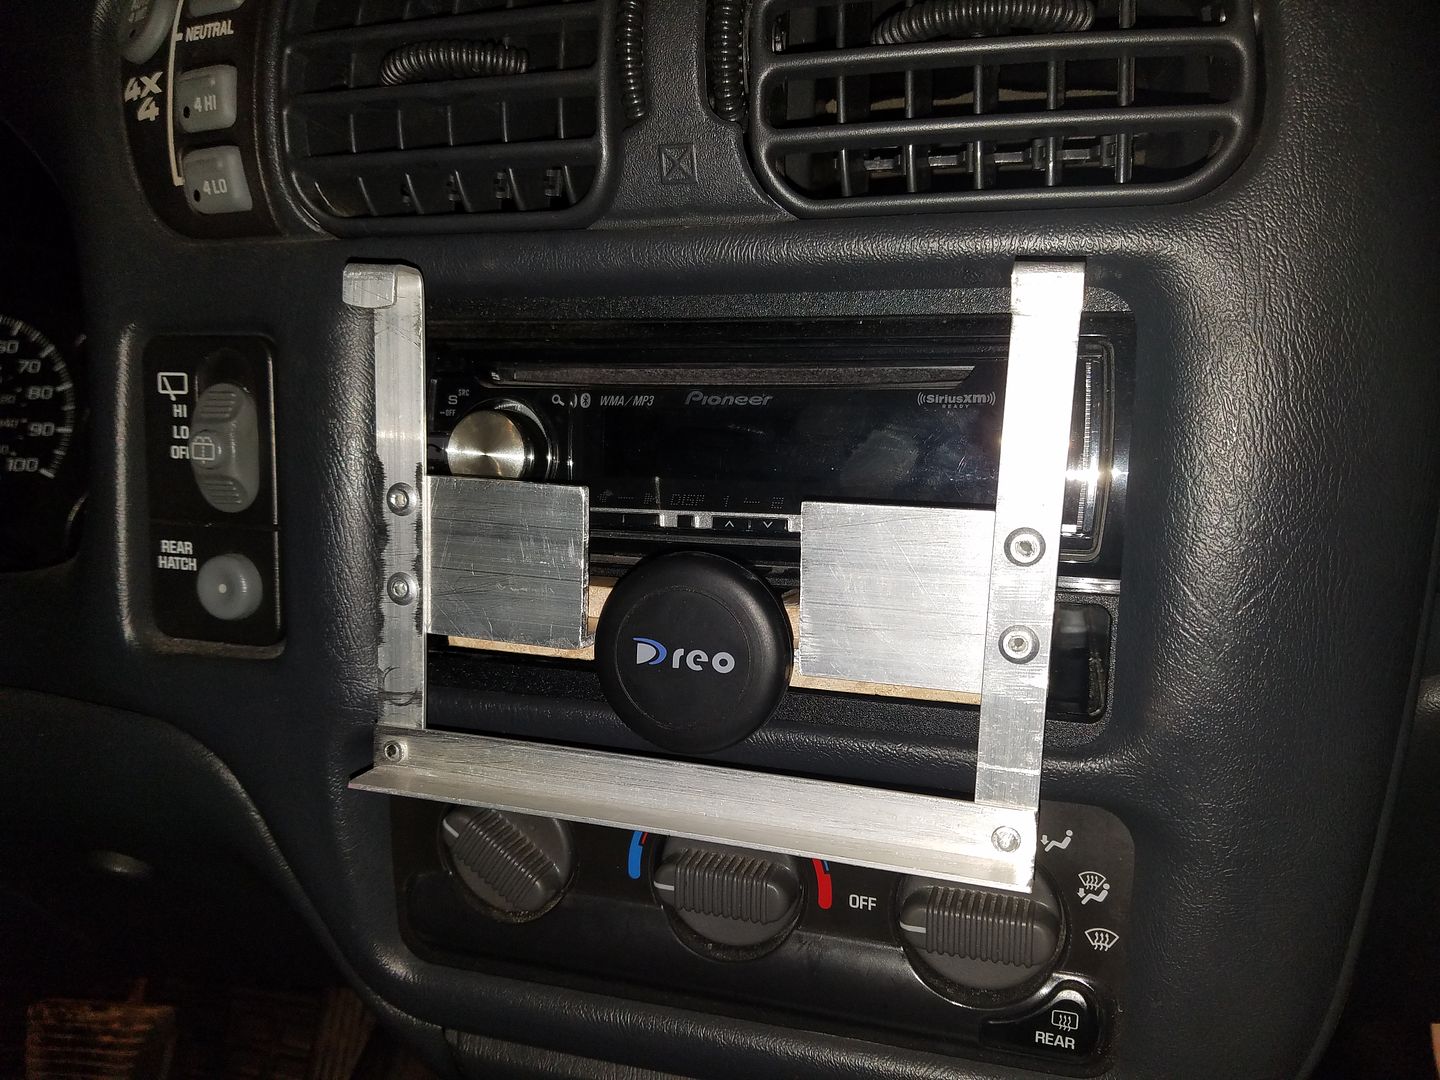
fabbed up a floating tablet mount for a Galaxy Tab I had kicking around 
https://blazerforum.com/forum/audio-...olution-95603/
https://blazerforum.com/forum/audio-...olution-95603/
BF Guru
Joined: Dec 2016
Posts: 5,610
From: Moscow, ID
Got about halfway through replacing the lower intake manifold gasket and fuel injectors.
With so much of the top of the engine peripherals out of the way, I was able to get to 4 of the 6 with the rear two on the drivers side left to do. I also ran new spark plug wires. The plugs after 40k miles looked pretty good with a little carbon on them.
I got the upper intake manifold off and the next is to get the lower off. Then clean all the parts and reassemble.
A head scratcher that delayed me for a while was figuring out that I also had to take off or loosen the two nuts that hold the backside of the power steering pump to the engine block before I could shift the AC bracket forward. I had the very useful instructions How To Replace Intake Manifold Gaskets On A GMC Jimmy 4.3 Liter V6 To Fix A Coolant Leak - GM Truck Engine Repairs printed out but I forgot about those hidden nuts. Whoo-ee. Are those annoying to get to.
The inside of the upper intake manifold is pretty cruddy with carbon. Then again it is probably the first time it has seen the light of day since 1998.
So far I have seen no hint of any leaking at the LIM.
When all done, I'll flush the coolant system, replace the cap and rotor, do an oil change with synthetic oil, new valve cover gaskets, and have the updated fuel injectors in.

Starting Member
Joined: Jul 2010
Posts: 145
From: New York
I got the upper intake manifold off and the next is to get the lower off. Then clean all the parts and reassemble.
ciao,
F
Senior Member
Joined: Oct 2016
Posts: 605
From: Thomson, Ga.
When you pulled the plastic plenum off, what condition was the surface of the lower intake manifold in? Was it coated with carbon?
The reason I ask is because when I pulled mine off to do the injectors yesterday it was unbelievably clean. I mean it looked almost new. What is that an indication of?
The reason I ask is because when I pulled mine off to do the injectors yesterday it was unbelievably clean. I mean it looked almost new. What is that an indication of?