89 S15 4.3L Engine Refresh
#1
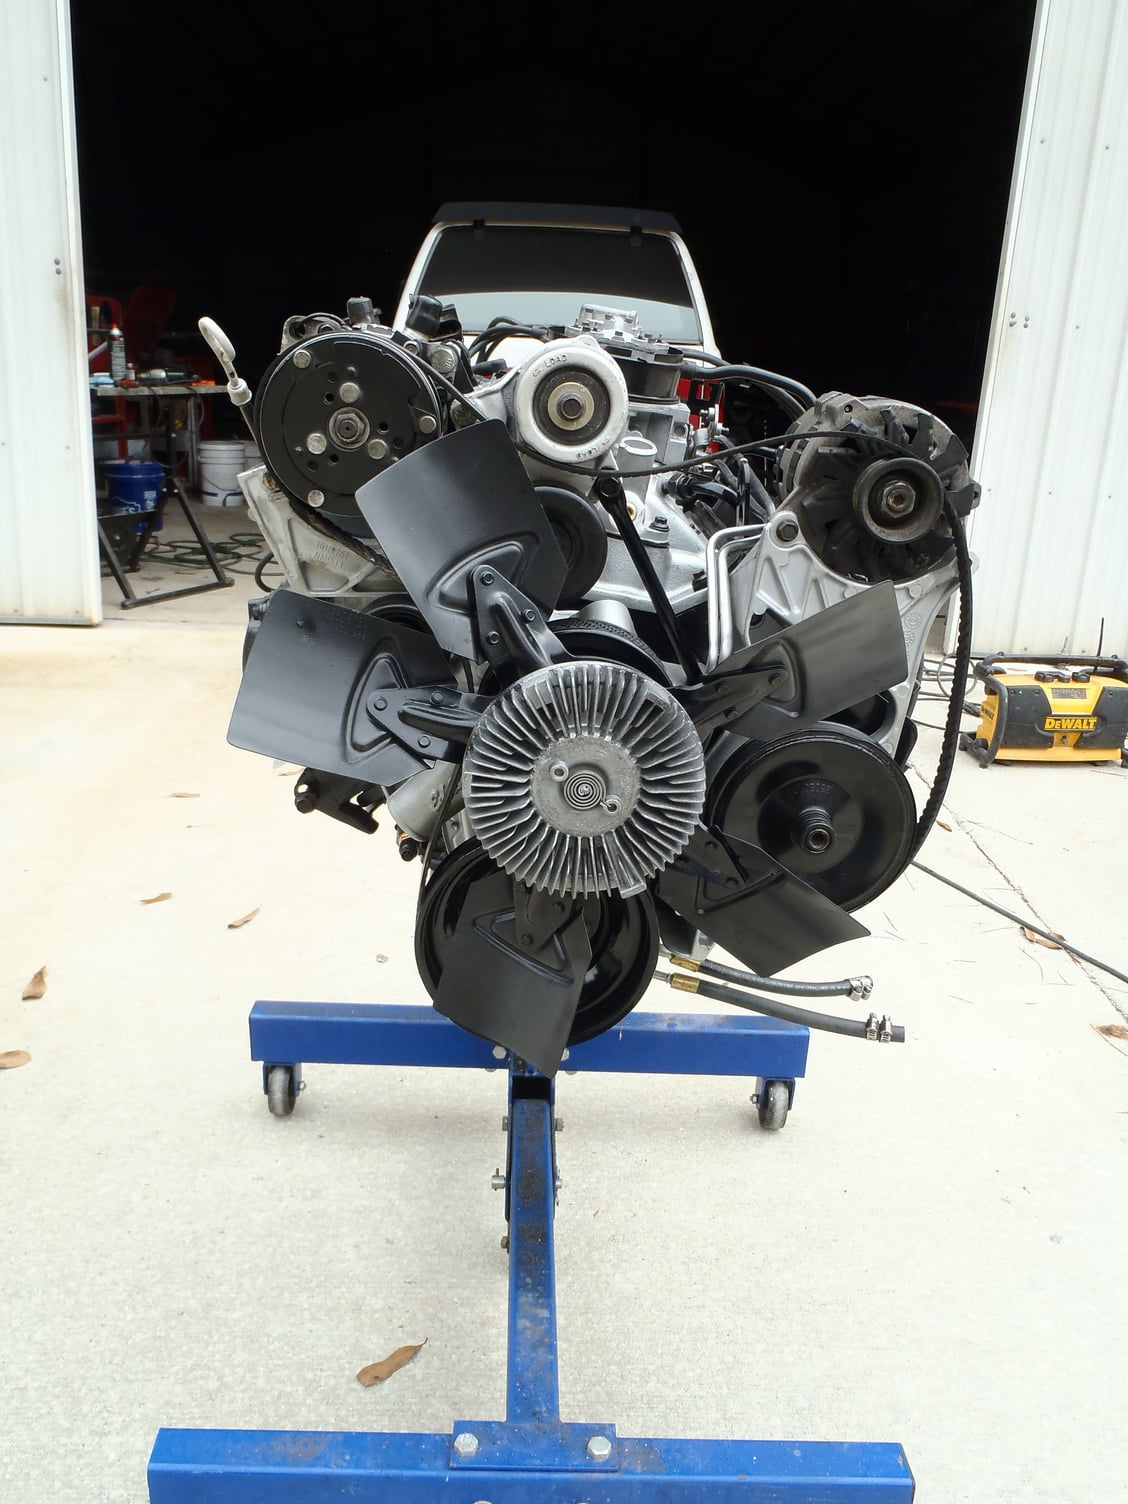
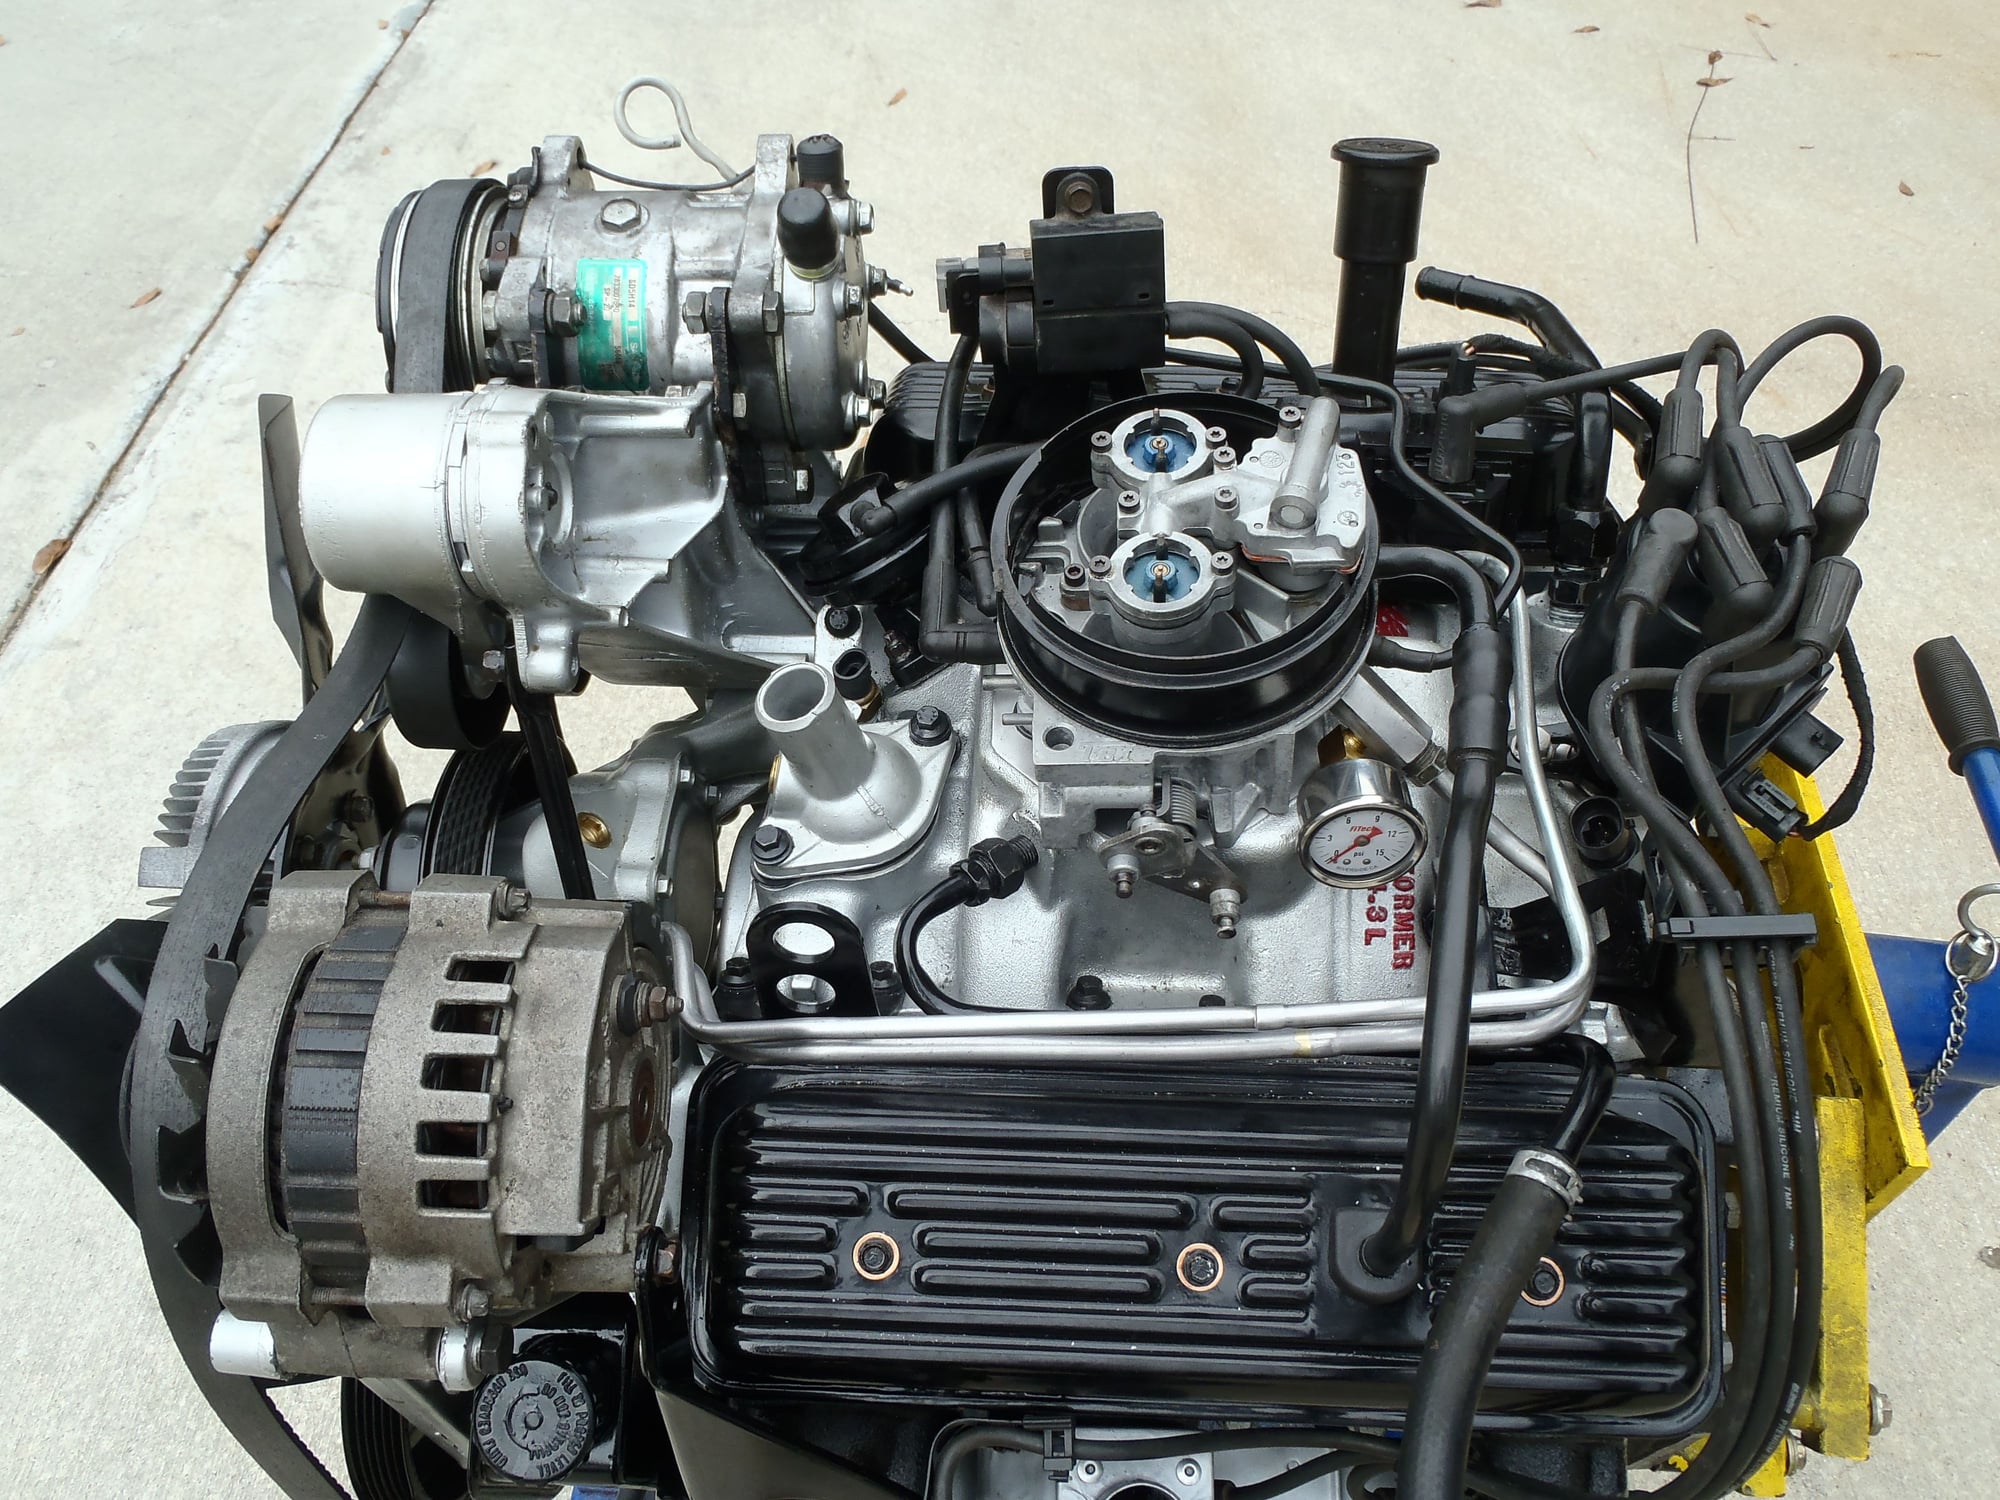
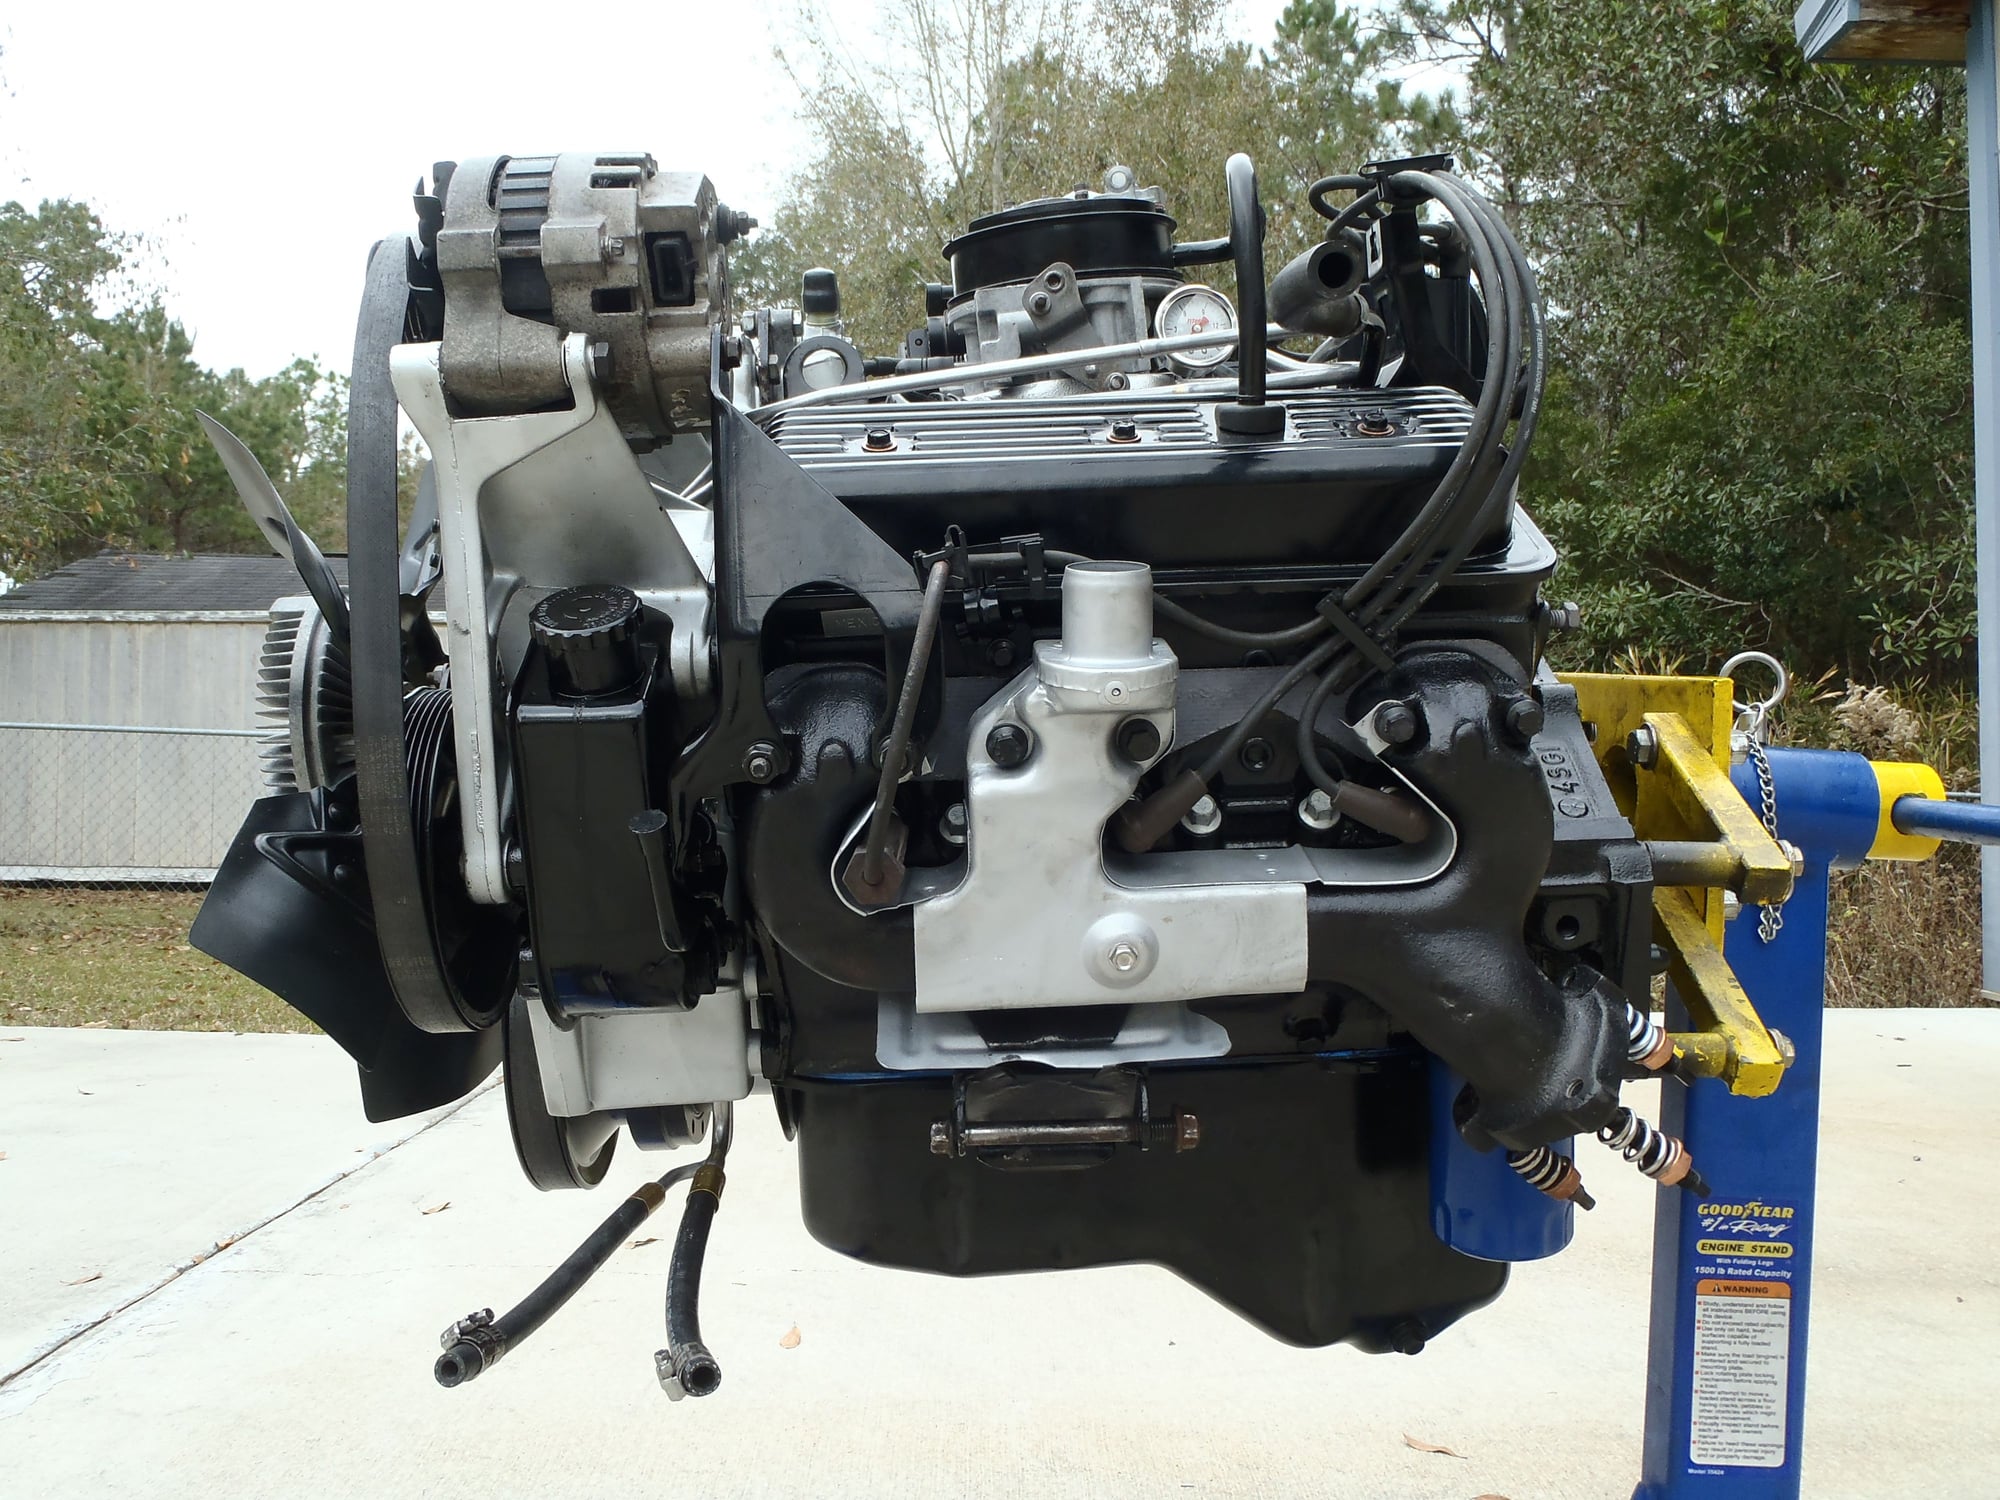
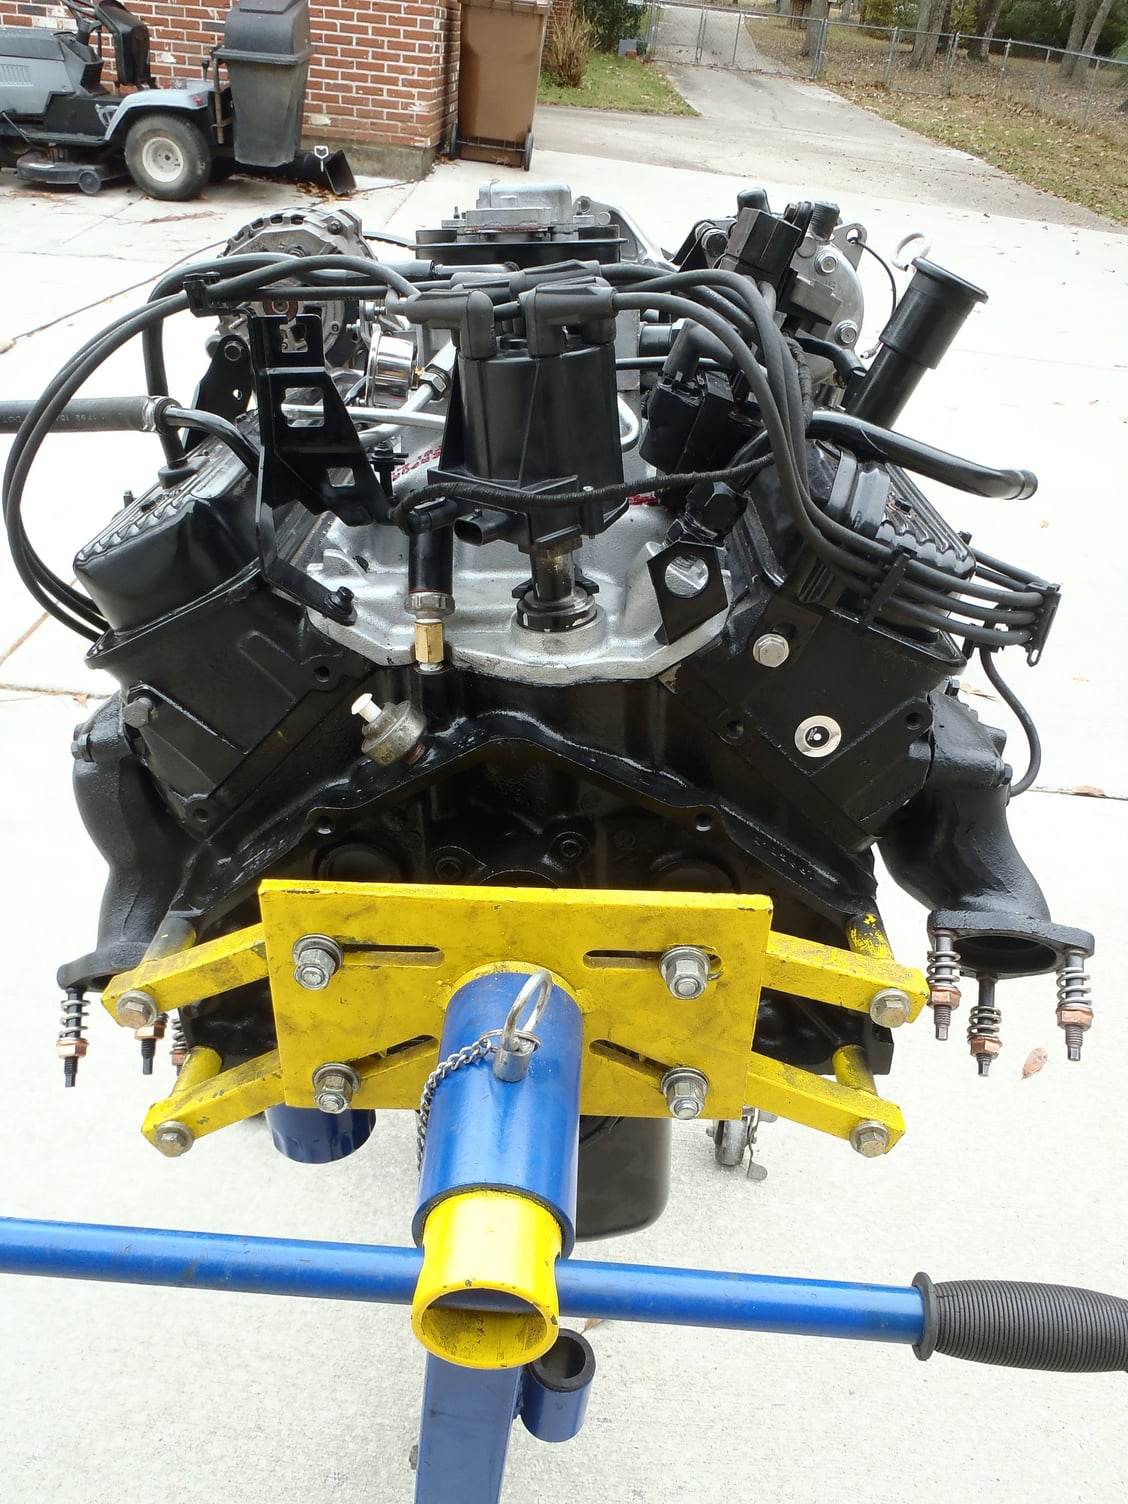
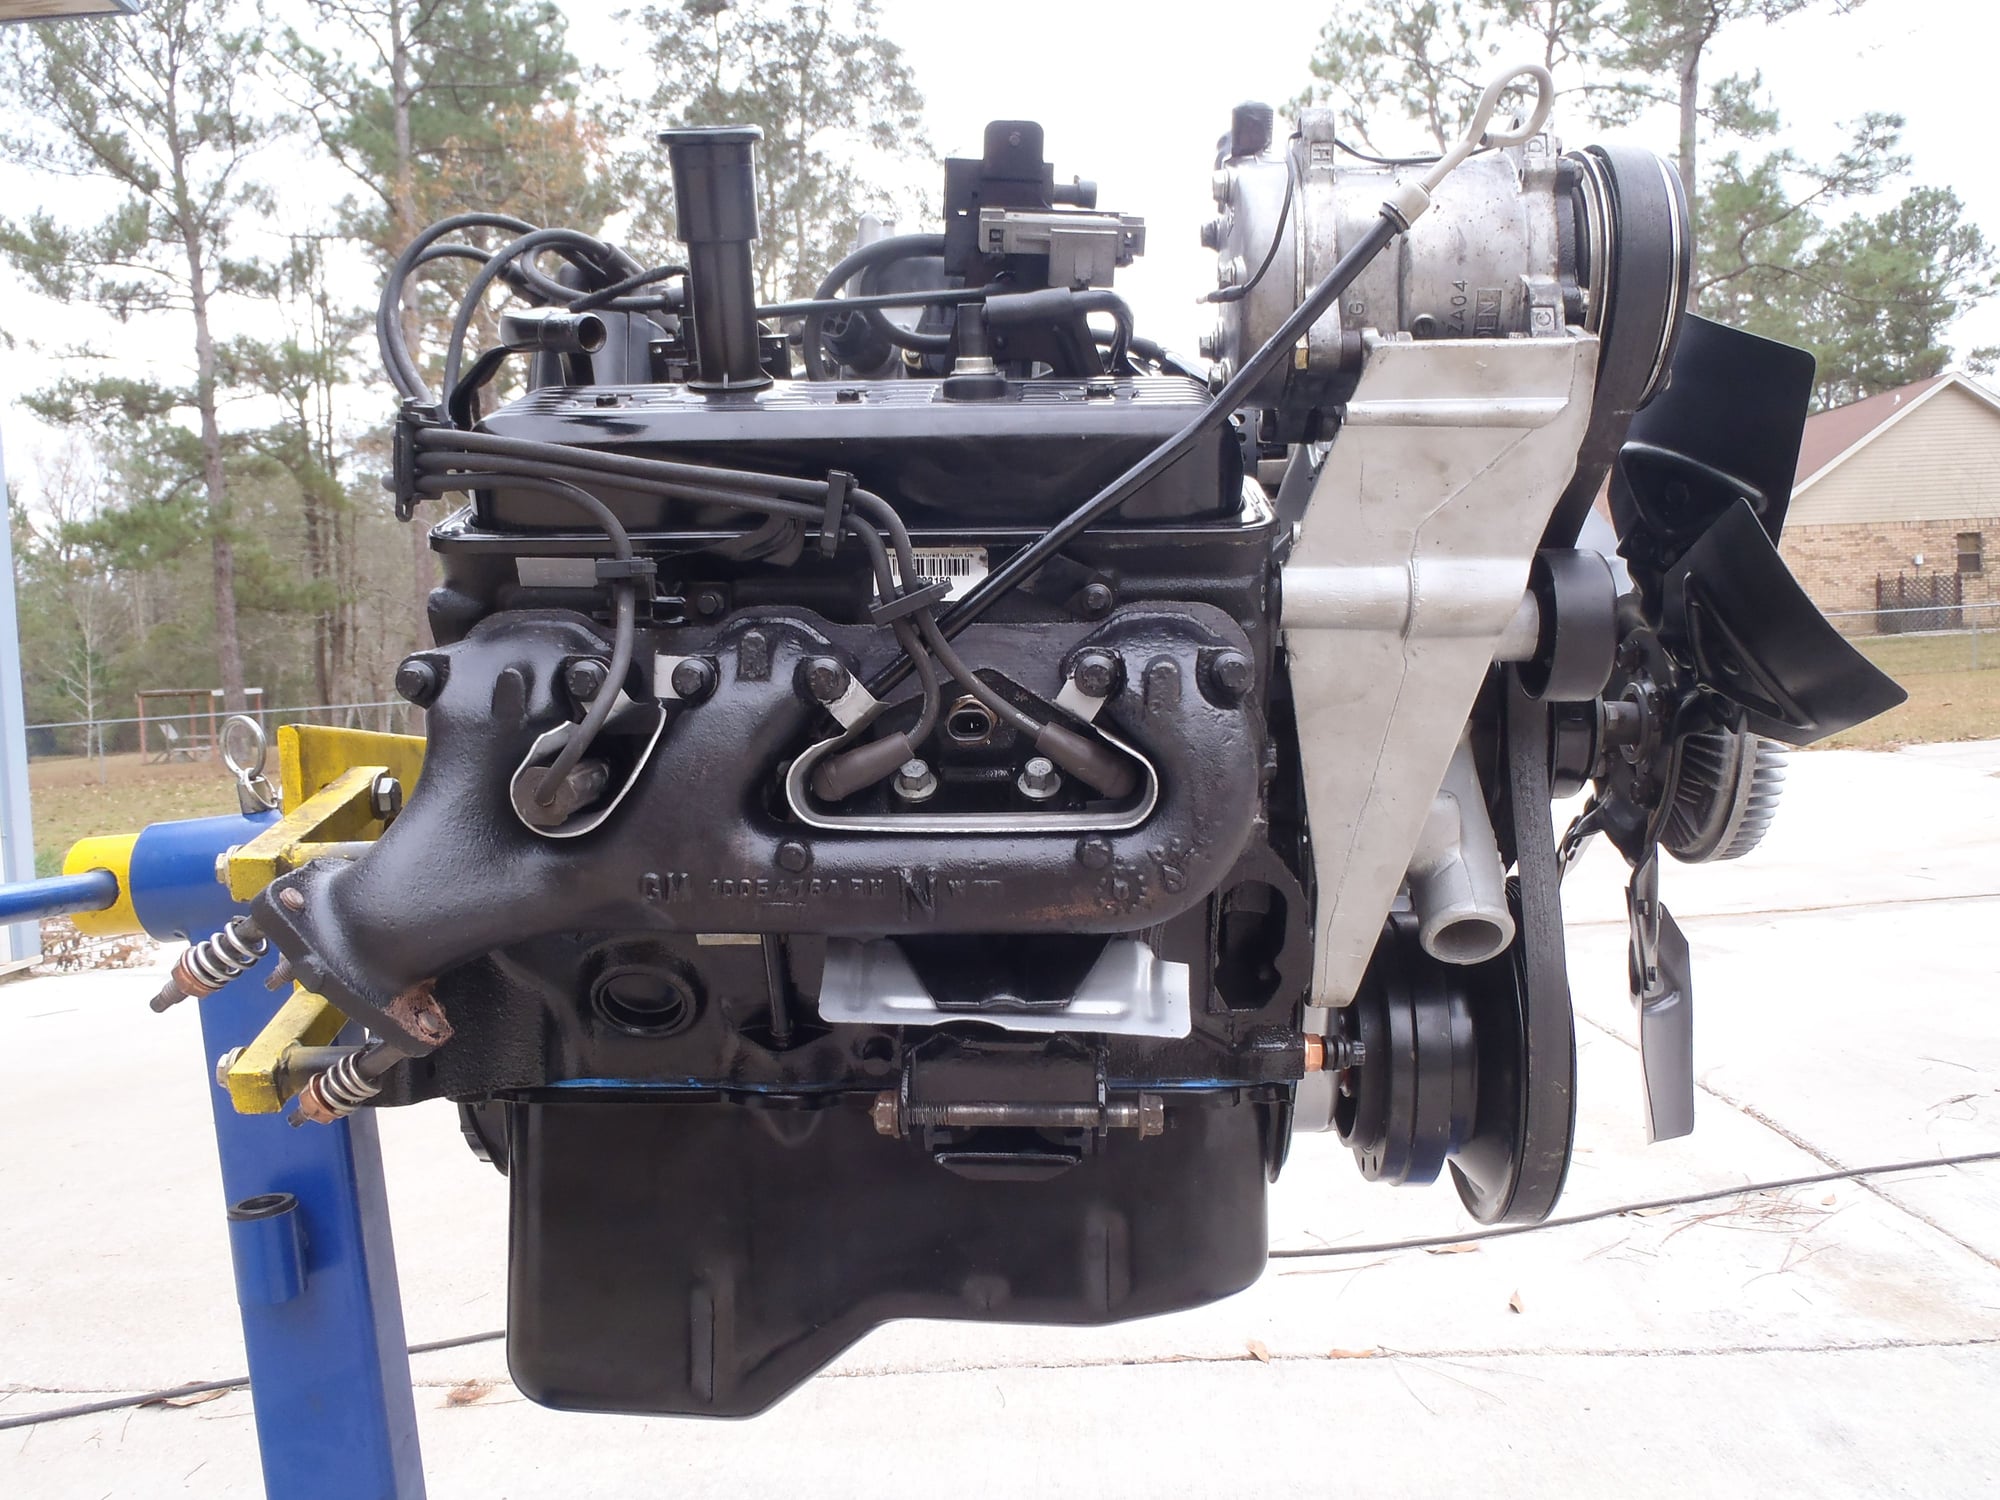
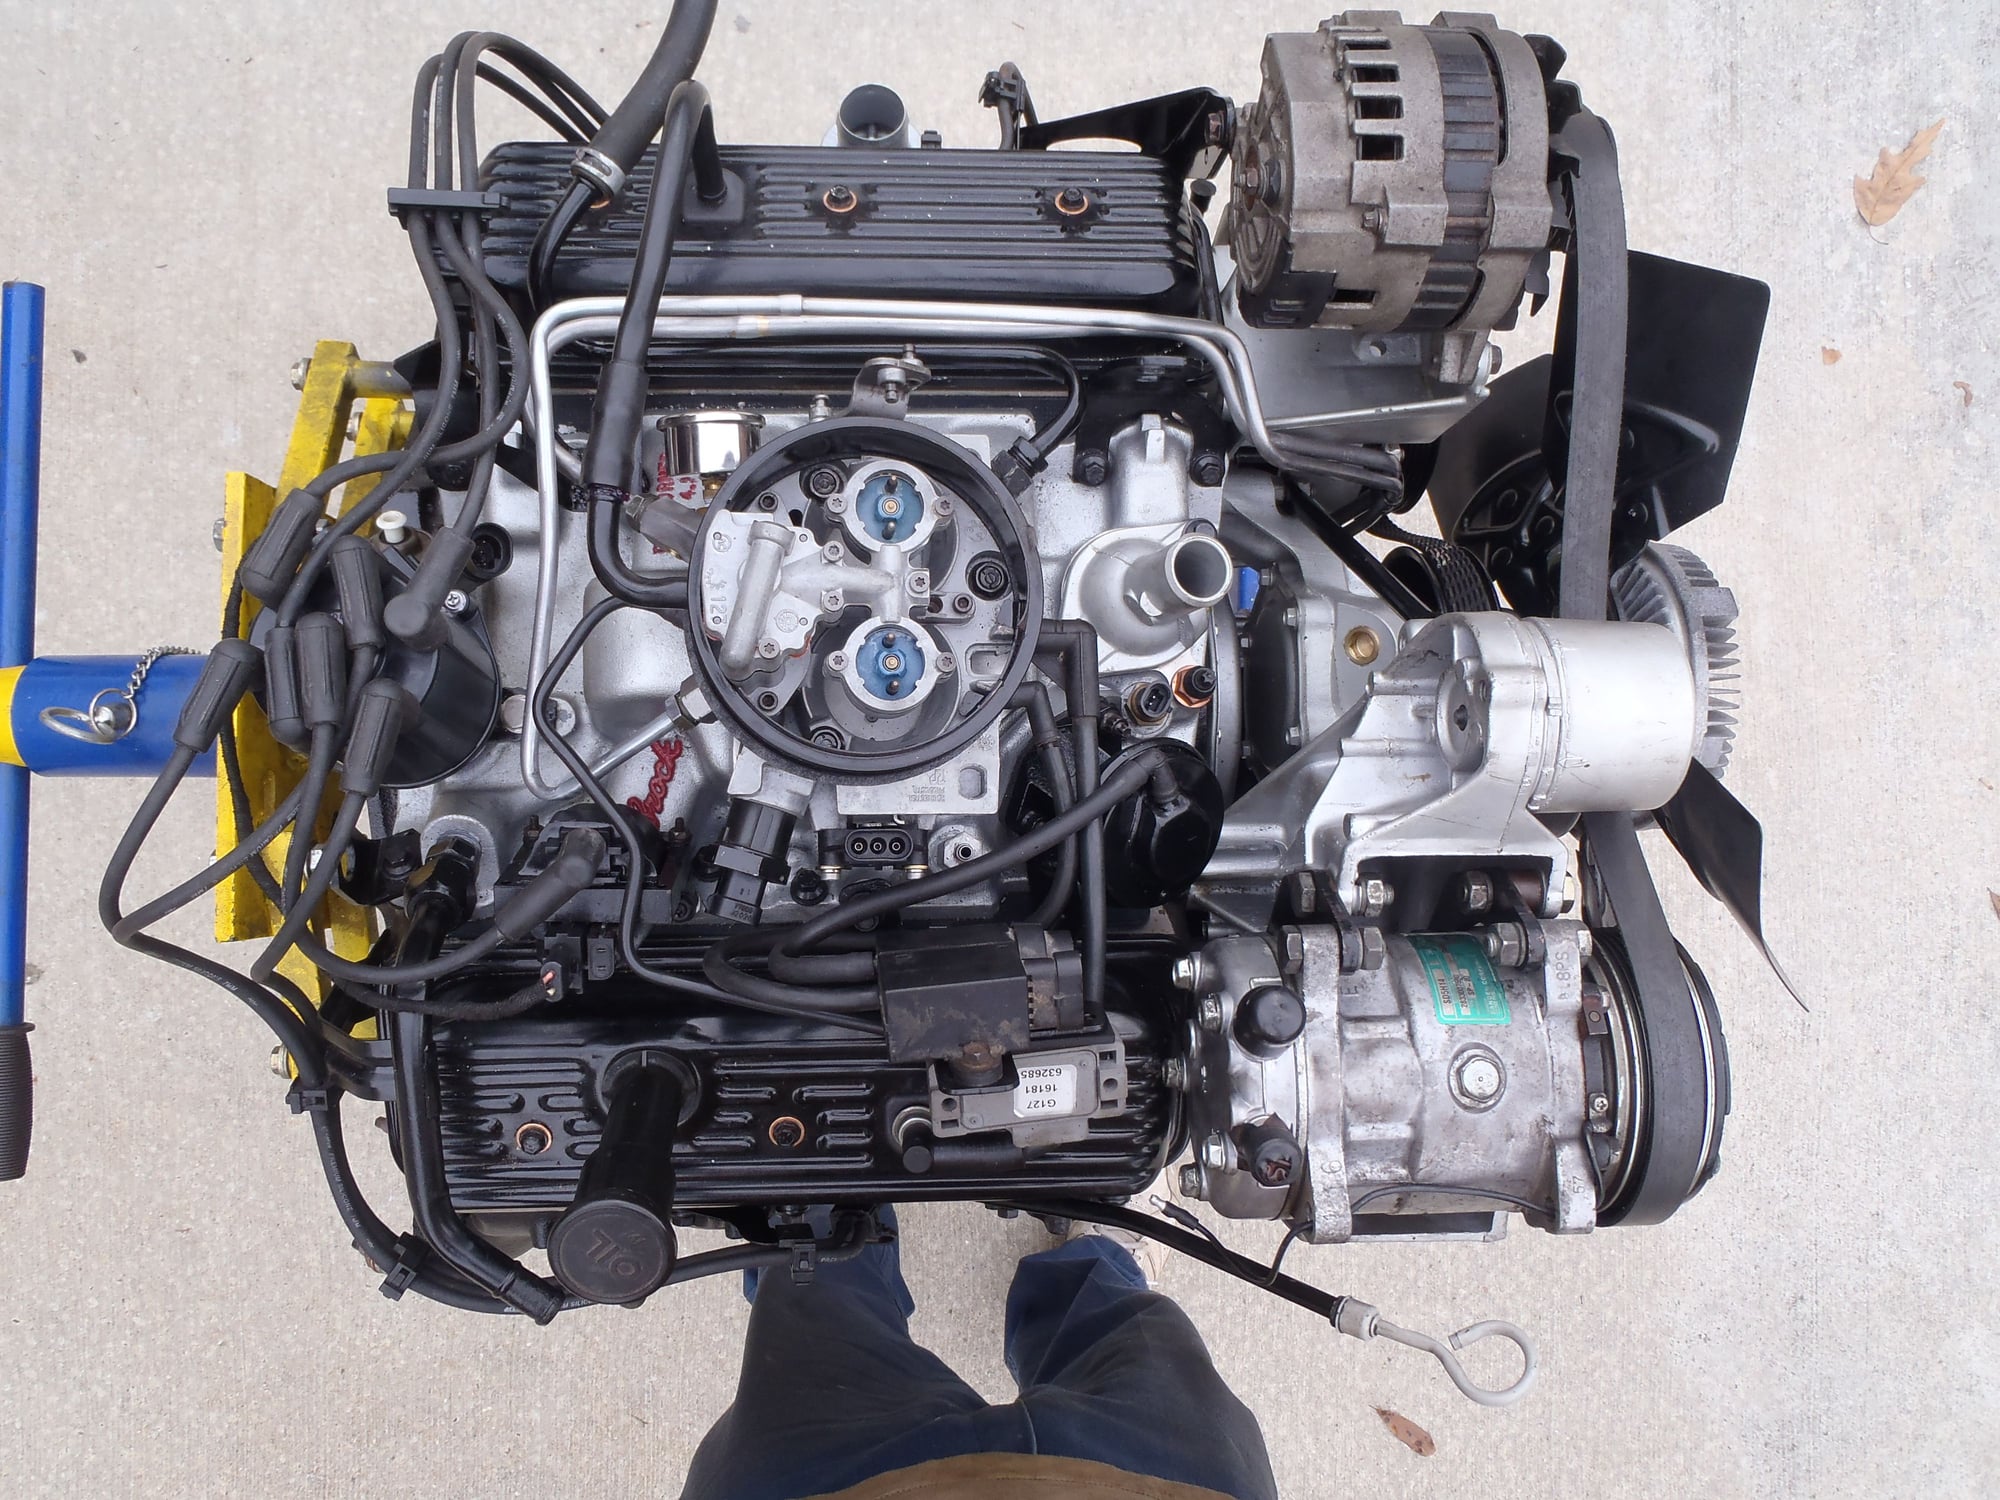
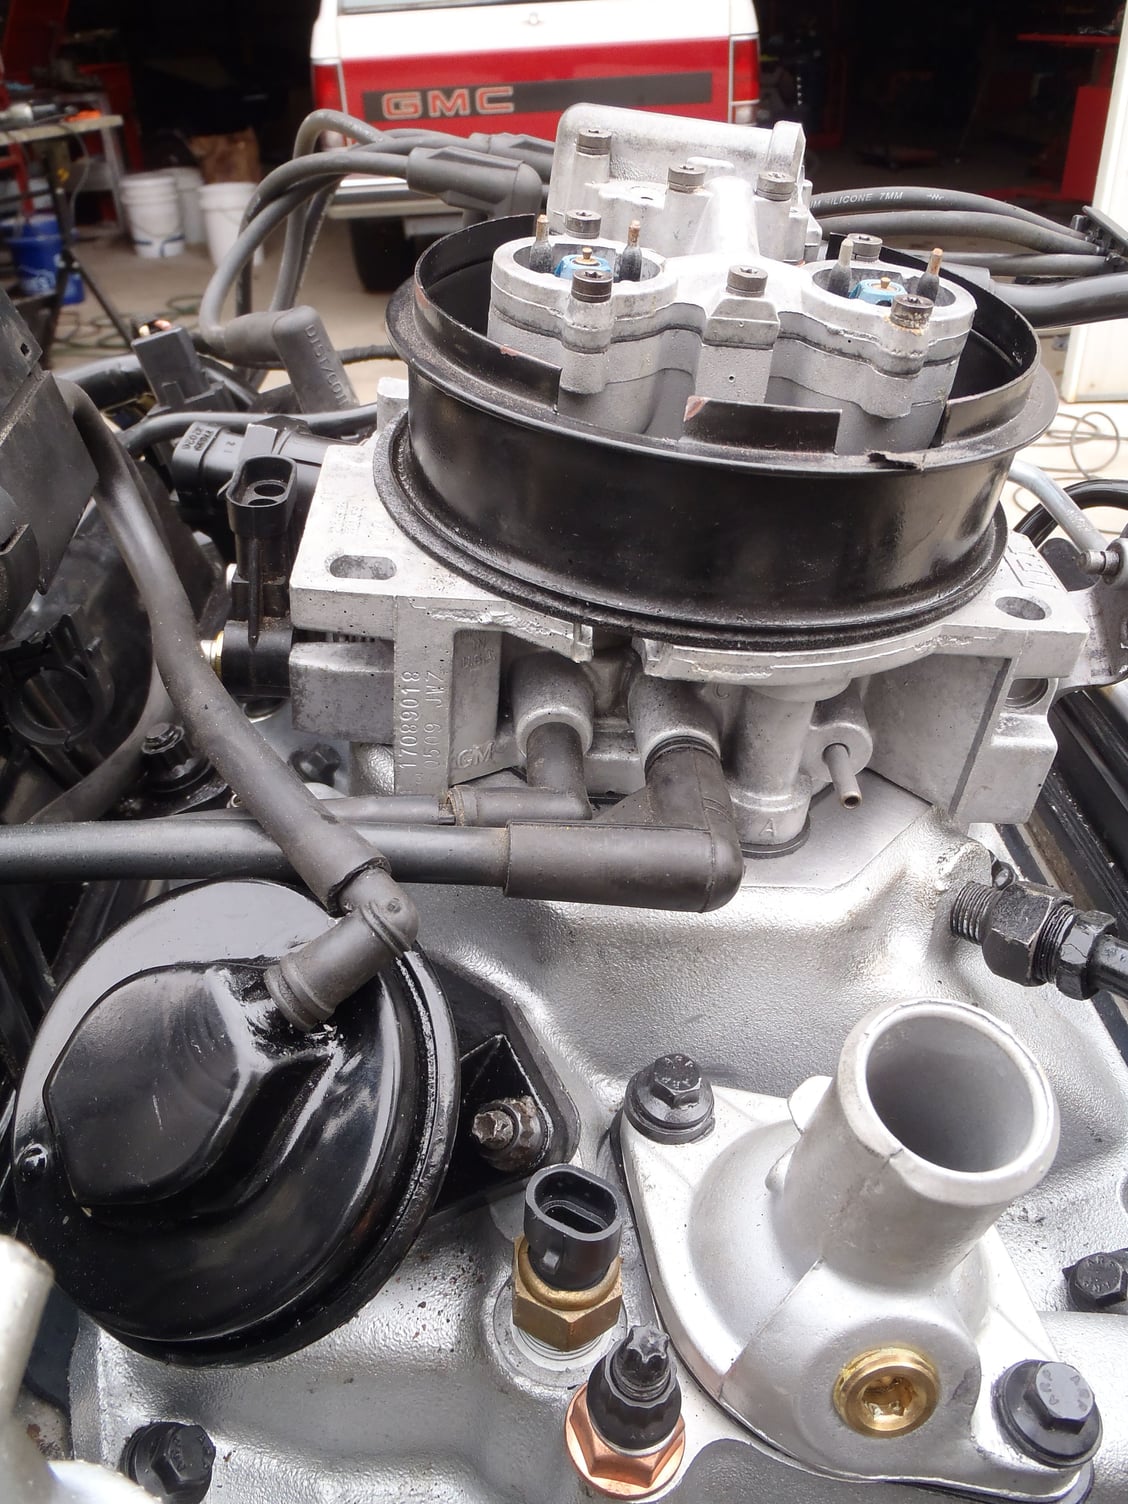
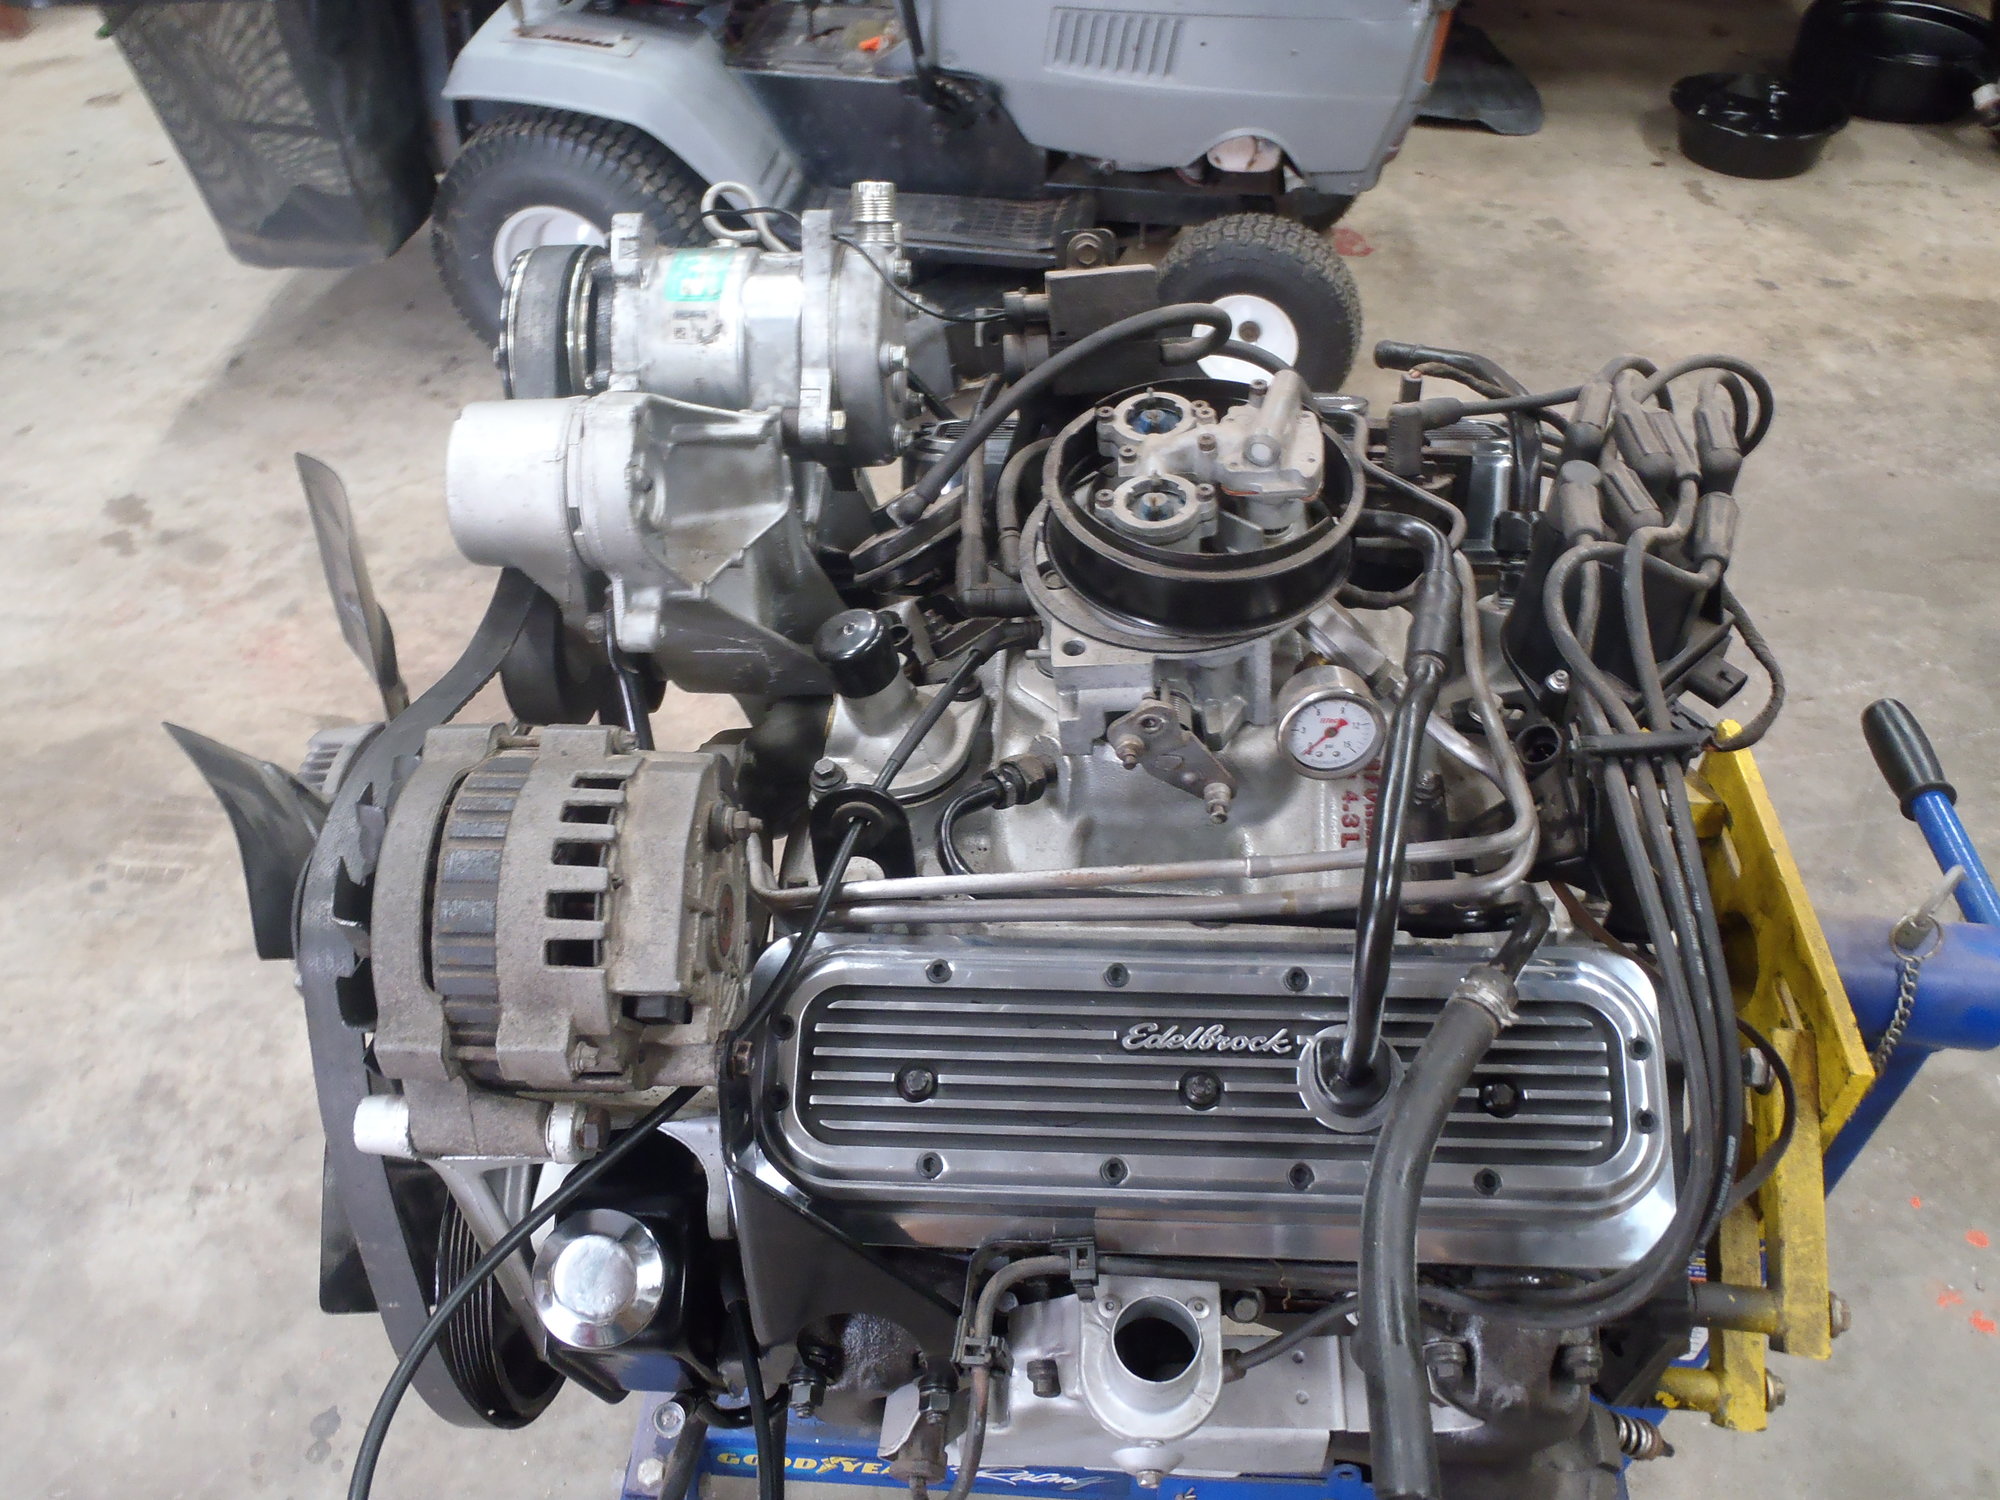
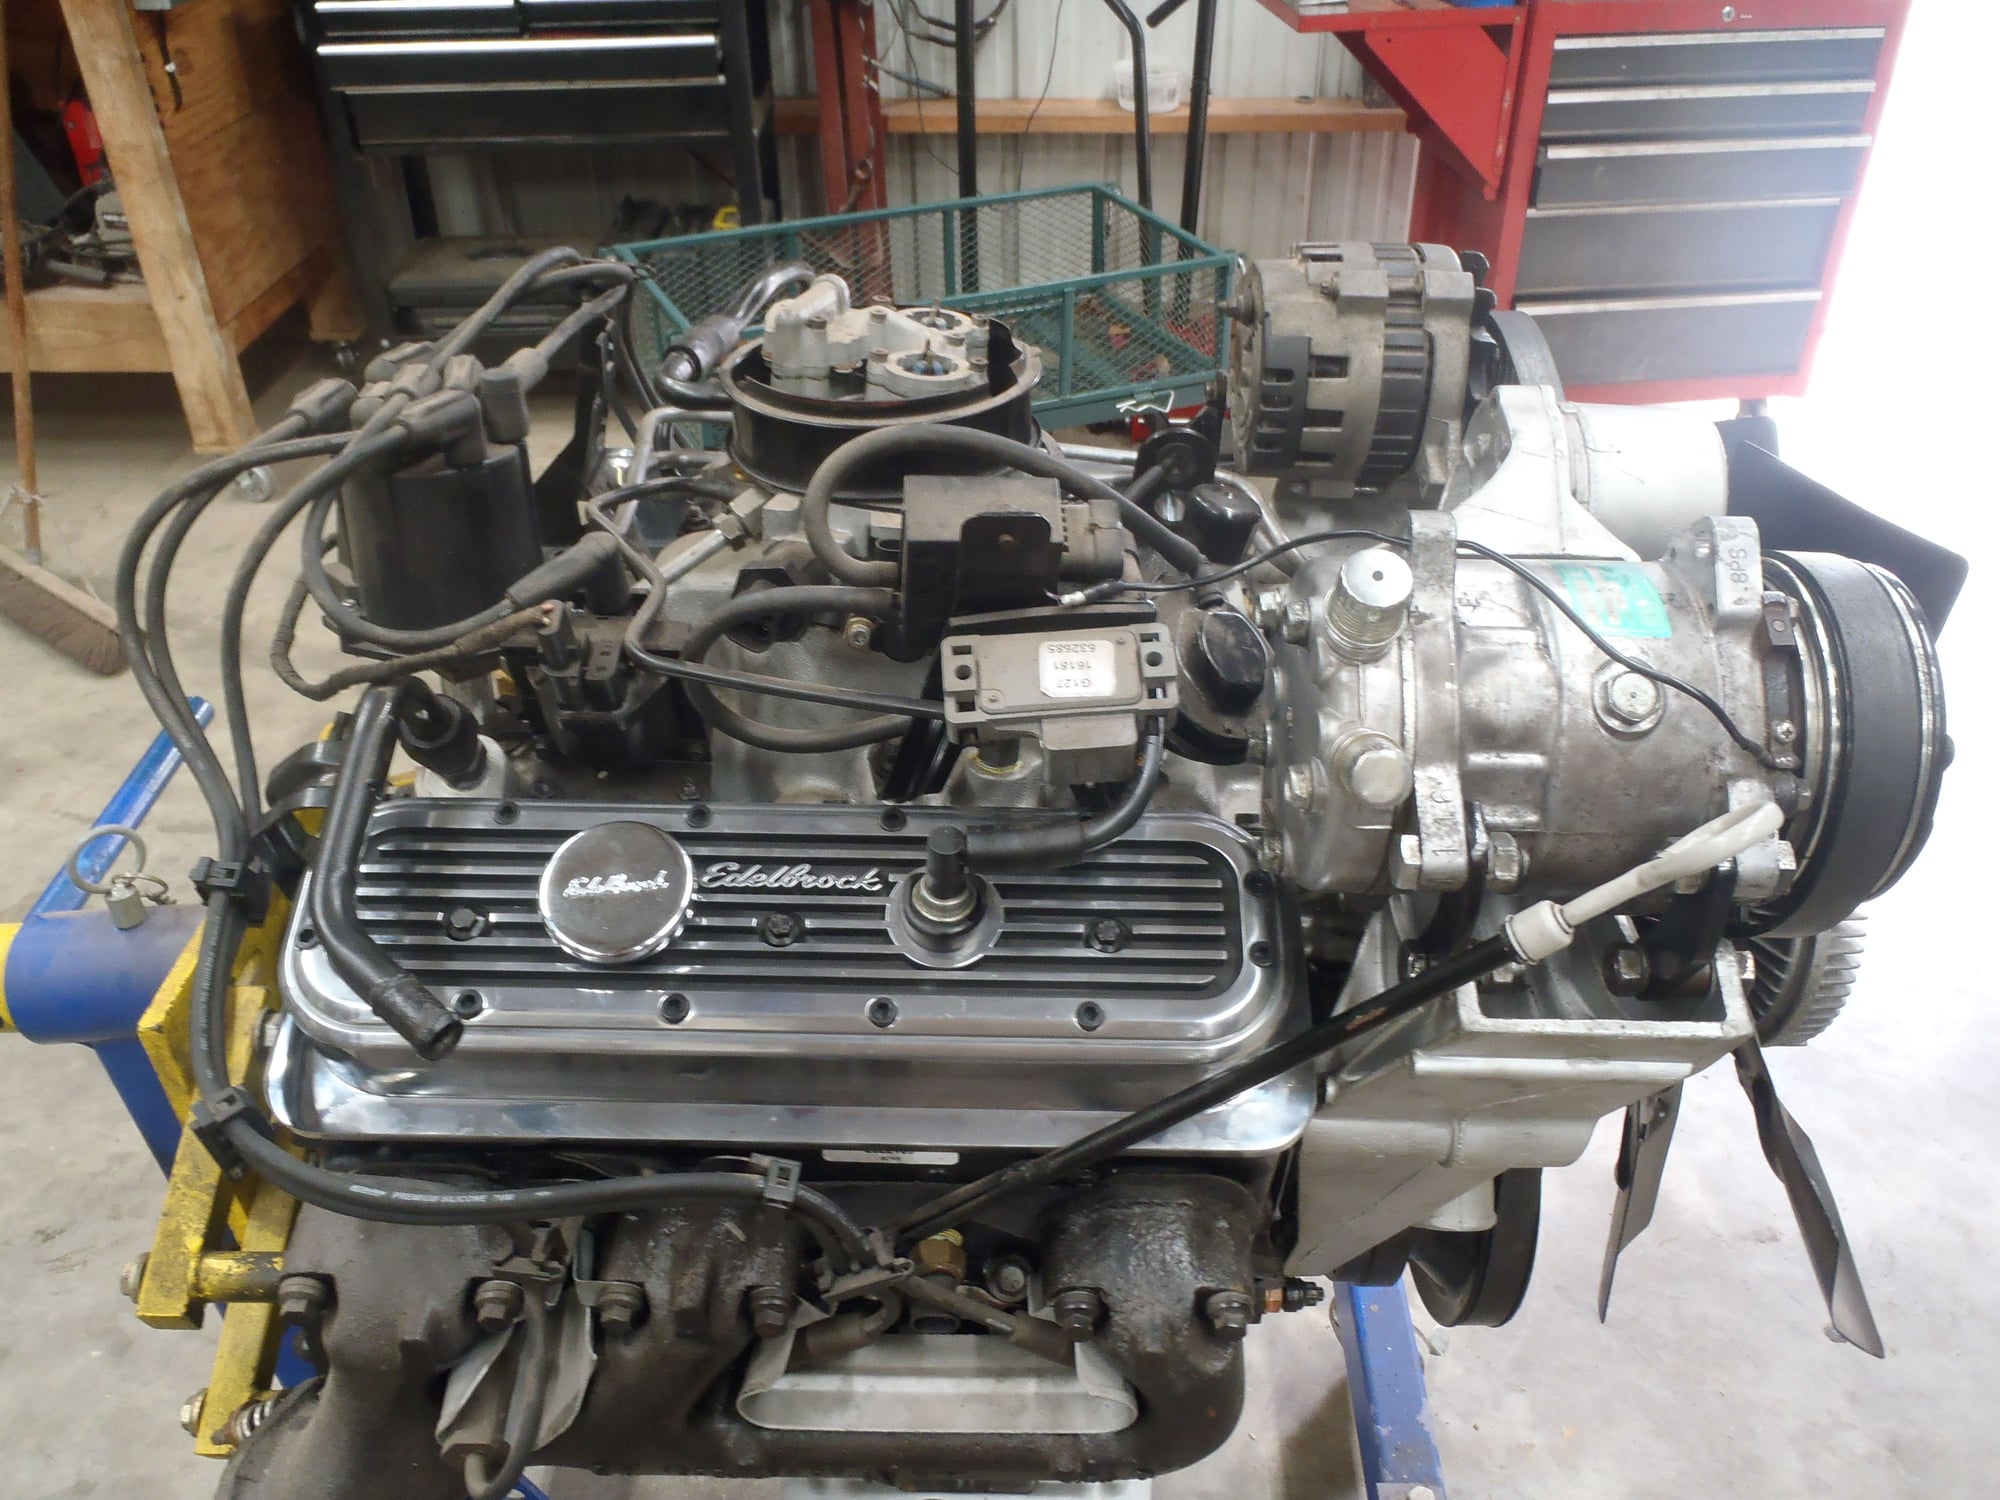
I decided to do an engine refresh and upgrade on my 89 S14 Jimmy 2WD.
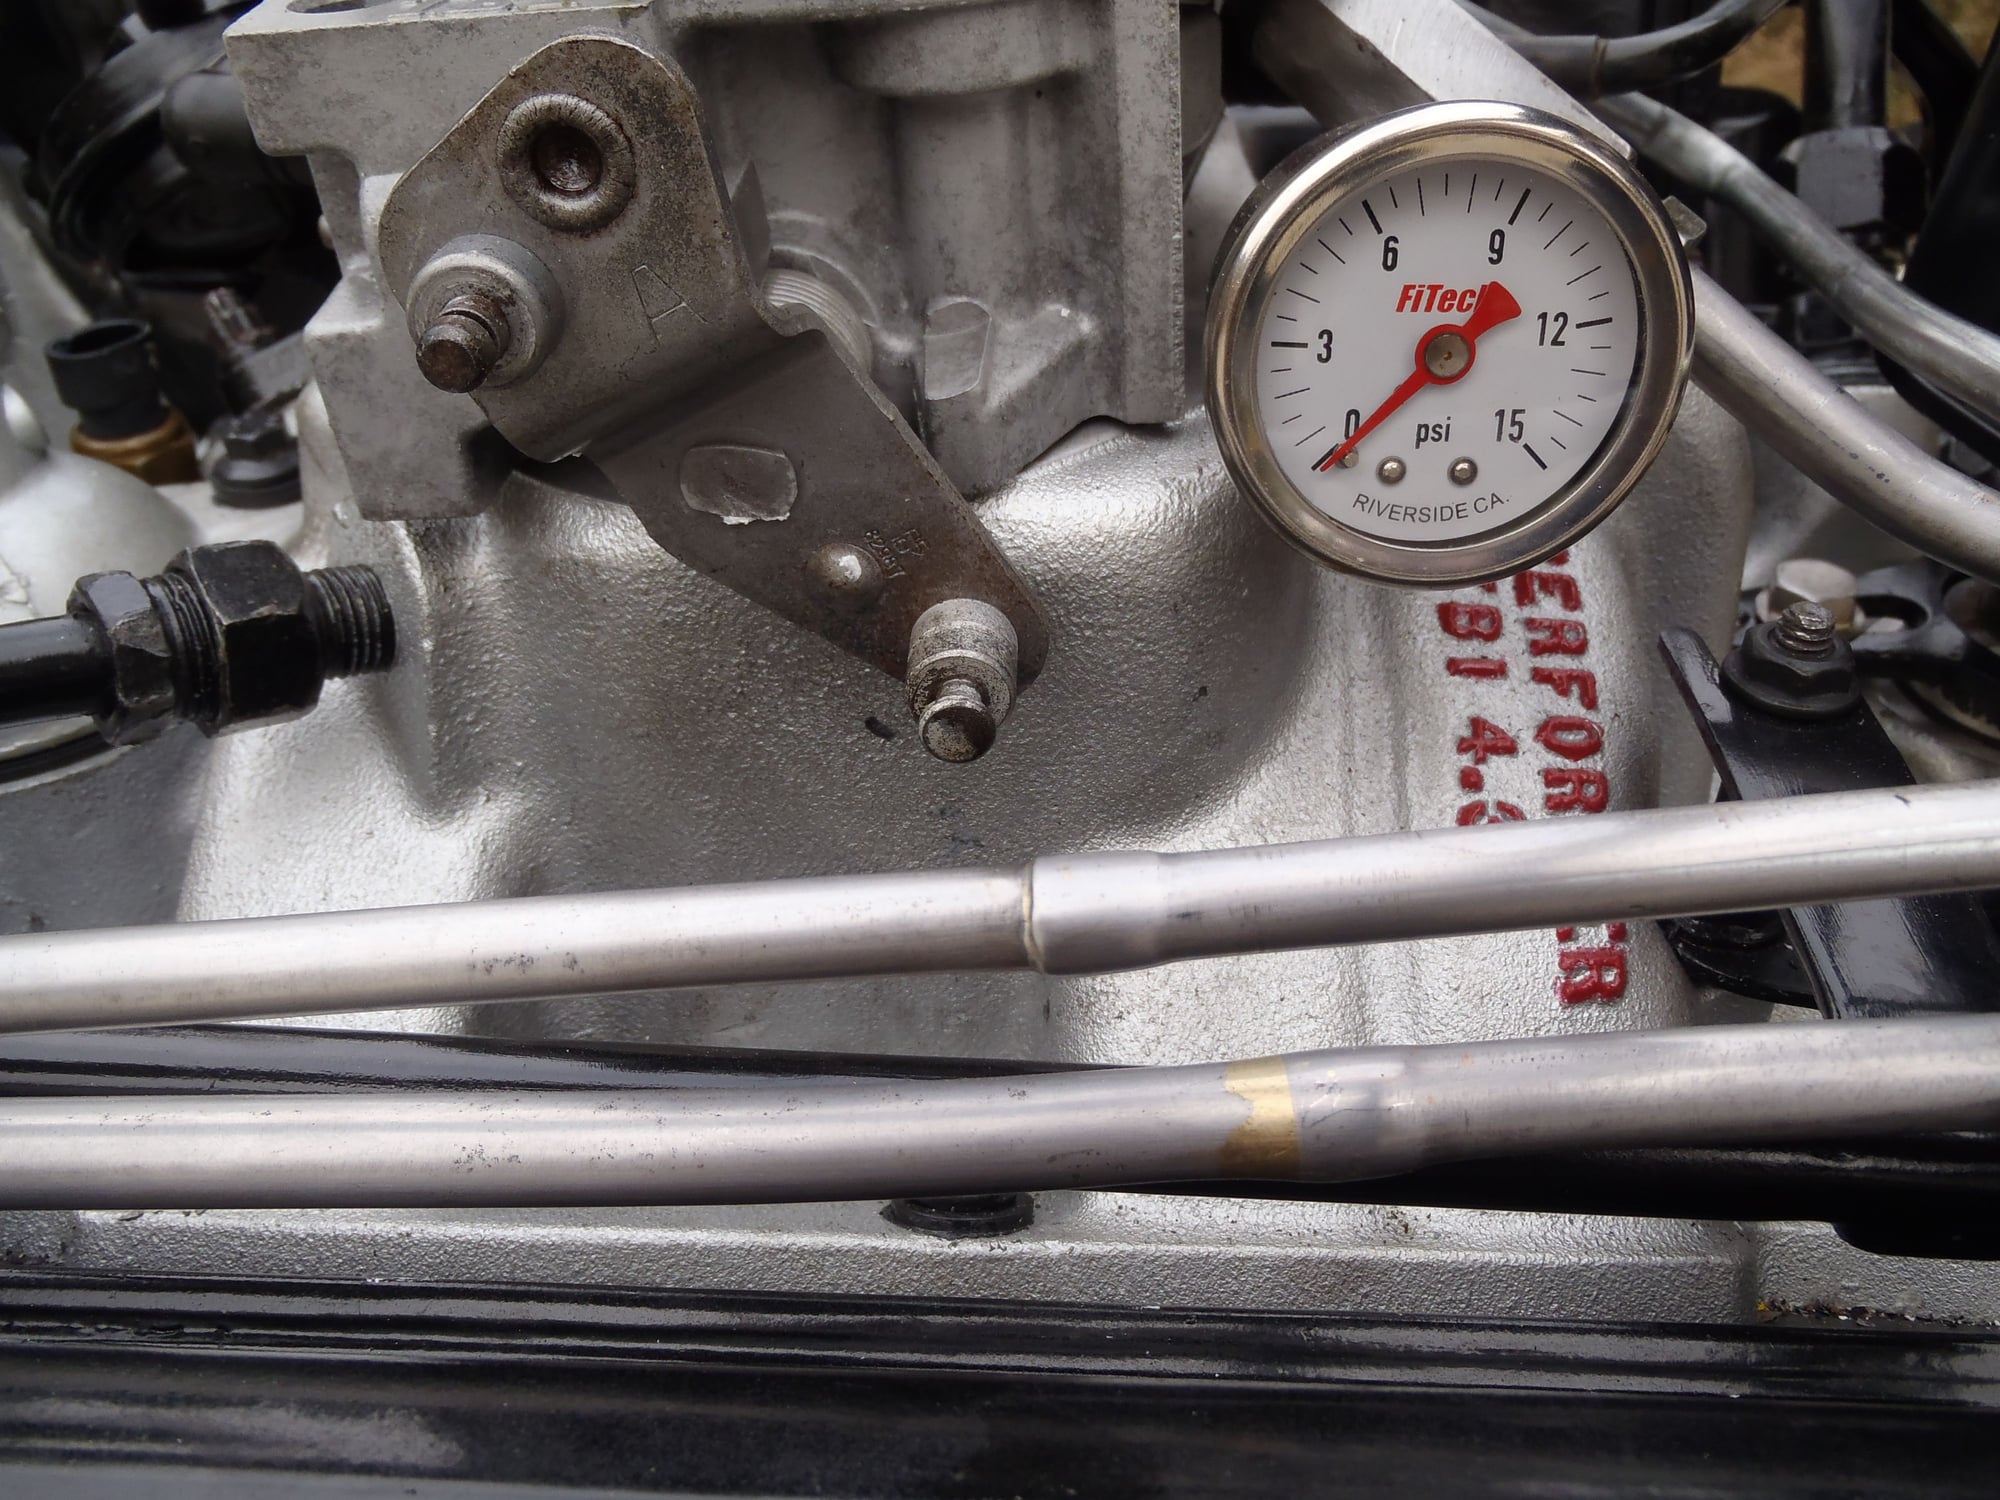
1. Installed 94 rebuilt Eyebrow heads. 2. Roller Rockers with 1.51 Ratio Rocker Arms. 3. Eddelbrock Intake. 4. Edelbrock Camshaft. 5. Edelbrock Roller Timing Gear/Chain Set. 5. Replaced AC bracket with one that did not have the provision for the Air Pump. 6. New Oil Pan. 7. Replaced Rear Main Seal. 8. Used ARP bolts for Intake/Exhaust Manifolds. 10. Blasted/Painted Timing Cover and polished the timing marks. 11. Blasted and painted all parts. 12. Modified the hard fuel line by silver brazing new tube and custom bending the tubing to attach to TBI with minimal bends and to not interfere with throttle cables. 13. I have a TBI chip from Edelbrock to install. I plan on pulling the core support and installing engine and trans as an assy.
#4
I pulled the heat shields from a local U-Pull it and blasted and painted them with header paint. I also had to replace one of the heat shields for the Motor Mounts. The local U-Pull it charges a $1.00 entry fee but if I am pulling small stuff it is free or very cheap. I spend more in gas driving there and back as it is about 20 miles from the house.
#5
The Intake manifold was not all plug & Play.
1. The hard fuel lines would not mate up properly on my year due to the lines come up from the front of the engine and not the rear.
2. The vacuum port for the brake booster was 3/4 inch higher and I needed to make/find a stud to support the bracket on the brake booster tube 3/4 inch higher than stock.
3. The brake booster bracket did not line up with the mounting hole in the Intake. I ground the bracket off and silver brazed the bracket back on the tube to line up with the mounting hole/stud location.
4. The mounting bracket for the coil would hit the runner of the intake manifold before the bracket could rest flat on the mounting holes. I used 1/4X20 valve cover mounting studs and 1/4X20 flange nuts to space the coil bracket off of the intake runner and secured with 1/4X20 flange nuts.
5. The forward mounting hole on the MAP Sensor bracket would hit hard against the intake manifold. I had to grind a little off of the mounting bracket to fit the MAP bracket to the manifold.
The Intake does accommodate all factory items but not without some work. At leas on my 89 4.3L
#8
I retired in Dec. and have been playing catch up all the things that have been on the back burner. I have the front clip off. I just started prepping the firewall for paint. I have about 75% of the paint removed on the firewall. I hope to have in it primer by the end of the week. Once I get the firewall painted and clear coated I can start building out the firewall and get the engine installed. I need to get my Jimmy back on the road.
#10
I managed to get the firewall stripped of all paint. (Just the vertical sheet metal) I plan on getting primer laid on NLT Thursday. Angle grinder with fiber pads did a great job removing paint. I still need to finish cleaning all surfaces and masking off. I am using Eastwood Epoxy primer (Gray) I have used this on few other projects already and it sprays well. I am strictly amateur painter. The firewall is stripped bare. I could not get a wire harness that is behind the dash removed or the cruise control cable.
But once I have the firewall painted I can begin the assembly process.
But once I have the firewall painted I can begin the assembly process.
Thread
Thread Starter
Forum
Replies
Last Post


