When you click on links to various merchants on this site and make a purchase, this can result in this site earning a commission. Affiliate programs and affiliations include, but are not limited to, the eBay Partner Network.
oh and you are 100% correct....the stock blazer headlights SUCK! lmao
Originally Posted by cthacker
Nice build man. must admit....when I got to the part where it was wrecked I told myself the insurance company would total it out for sure. outstanding work on getting it road worth again. I know myself I don't have the space, time, or tools to do that extensive work. cudos to you and your dad. keep up the great work and cant wait to see what comes next on it. heres my 97 DD with 147k on the dash. nothing special by any means but its my heavily abused baby lol
Thanks. I hate my stock lights. Its pathetic. That is a pretty sweet ride you have there yourself. What size lift is that?
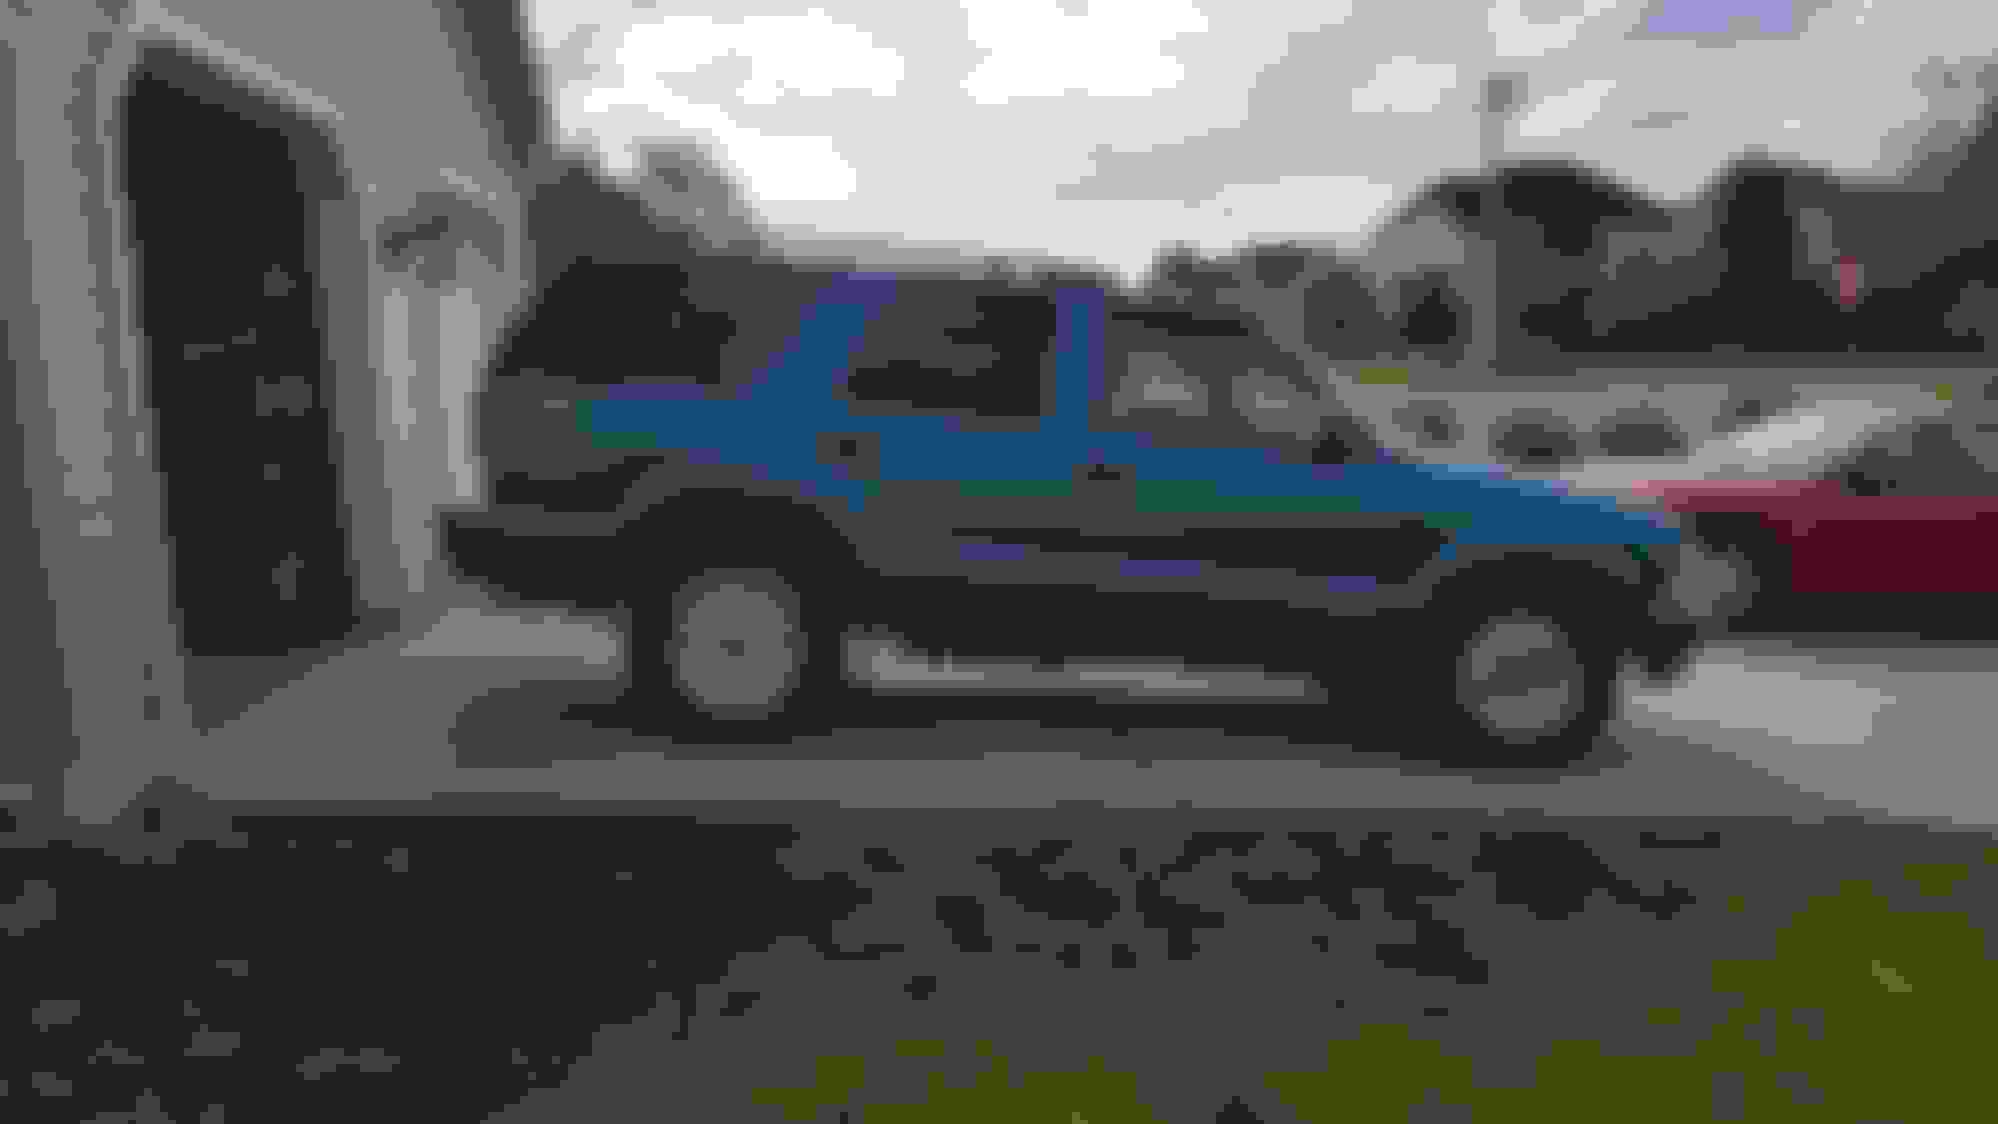
One of the things that is nice about my blazer is that because the guy behind me had no insurance and pushed me into the car in front of me, I was not at fault and it was all the guy who was behind me. I only had liability since my blazer wasn't worth anything with 238k on it at the time. My insurance company never got involved. So on paper, my car has never been in an accident. Or totaled or anything else that would go on record.
now for the pics I promised: Before bedliner After bedliner Lost my license plate bracket in the crash somewhere lol. I have no idea where it is now but i bought another one so ignore the zipties lol. If you look you can see the lower valence mangled where my left led was. But you should see the other guy. Ha! The dent in the bumper. I spent a few hours with a hammer and some wood blocks and some body hammers and got most of it out The front when i was done
by the way i did this all a few months ago in May i think
Last edited by 95teal4x4; Sep 21, 2017 at 10:30 PM.
love the work man! spot on and def coming back together. I don't blame you for not getting them involved under those circumstances. mine has a 6" RC suspension lift on it. eventually ill be doing a 2/3" body lift and see if I cant get some 35s under it then I think ill be good with it on that part. after that ill be doing some more off road mods to it like brush guard with winch light bars and etc etc.....when that's all done then ill start on the system for the inside as its going to be a major one and going to take a lot of time to complete with all the fiberglassing im going to have to do. going with 2 15s on 8000 watts, front doors are gonna be glasses with 4-8" mids and 2 super tweeters and the back doors will be glassed with 2-8" mids and a super tweeter......should be nice when its all said and done.
love the work man! spot on and def coming back together. I don't blame you for not getting them involved under those circumstances. mine has a 6" RC suspension lift on it. eventually ill be doing a 2/3" body lift and see if I cant get some 35s under it then I think ill be good with it on that part. after that ill be doing some more off road mods to it like brush guard with winch light bars and etc etc.....when that's all done then ill start on the system for the inside as its going to be a major one and going to take a lot of time to complete with all the fiberglassing im going to have to do. going with 2 15s on 8000 watts, front doors are gonna be glasses with 4-8" mids and 2 super tweeters and the back doors will be glassed with 2-8" mids and a super tweeter......should be nice when its all said and done.
your truck looks pretty sweet with that 6" lift. Some slightly bigger tires that have a bit more aggressive tread will fill up the wheel wells nice. The brush guard will look really good with the black on black look too. And that system sounds sweet. I will be watching your build thread!
your truck looks pretty sweet with that 6" lift. Some slightly bigger tires that have a bit more aggressive tread will fill up the wheel wells nice. The brush guard will look really good with the black on black look too. And that system sounds sweet. I will be watching your build thread!
preciate the kind words. Right now it's on jegs 15s wrapped in firestone 31 12.5s.....unfortunately with only a 6"lift and my wheel/tire combo that's as big as I can go with out rub on the back of the fender and the sway bar at full turn which would make right handed turns and parking spaces a total bitch....didnt know it at the time as I bought the wheels and tires before the lift was done....i believe I read somewhere that with some slight modification IE hammering the finders in lol I can fit 32 12.5s but the body is in really good shape and don't want to ruin the body like that. I should have done more research for the whole combo and see what lift combo I could do with a wheel tire combo to fill it the best...but now imma do my research and see what I can do body lift wise and change out the wheels with some new rubber and see what fills the best....if I have to go to a SAS with a body lift so be it I'll just slap some 35s on it at that point lol. My build will be VERY slow lol I have a family of 5 to care for so my money goes to them first and foremost lol if I have a few dollars left at the end of the week I throw it in my fun jar lol
So I spent some time working on the blazer today. Put in new upper and lower ball joints on the drivers side. Boots had been cracked in both of them for a while. Bottom had a little bit of slop in it so i figured it was time. I replaced them both with a new Moog joint.
stopped at advanced auto to pick up the ball joints and snapped this picture
And yes that is the ugly side
So i have had some time the past 3 weeks. I decided to experiment with reclearing one of my wheels. All 4 of my rims are beat. They have corrosion under the clear, the clear is faded, and the 2 front rims are stained slightly brown from brake dust.
i havent been able to find a thread on doing this type of a repair on one of these types of wheels
Before:
So i started by starting to sand it down with strips of 80 grit sand paper. I sanded it down in a circular motion to make the texture look the best. It took me probably 5 or 6 hours. I got until i had about a quarter of the rim left and i tried using some lacquer thinner. This worked pretty well. I rubbed the lacquer thinner on the spots with clear and used a plastic scraper to scrape the clear off.
Once i had as much of the old clear coat off as i could get, i used a piece of 120 grit sandpaper and sanded the rim down in a circular pattern until i was happy with how the texture looked. I then taped off the tire and used a spray can of rustoleum crystal clear enamel and sprayed the top of the rim.
Texture before clear:
After clear:
I let the rim dry in my garage over night and put it on the passenger side rear of the car in the morning. Im happy with it. Yes that is the ugly side of the car
More pics to come
I also put in a new spyder injector and the send and return fuel lines inside of the intake about a week ago. Was starting rough probably because one of the tips was leaking a little bit. Starts up smooth every time now.
Last edited by 95teal4x4; Nov 2, 2017 at 04:00 PM.
Hey how are your cooper cobras? I was thinking of them for a lesser aggressive summer tire
I love mine. They have plenty of grip when you want it. No slippage at all should it start to rain. My last set lasted around 60k i think. Their wide profile gives my blazer a nice feel. No highway noise. On the road they make just enough noise to let you know that you have wide tires. Mine are 255/70R15's. The only time they rub is at maximum lock on turns in the front. They fill up the wheel wells nice. I would recommend them