
Altoncustomtech's 2001 Jimmy = slow audio build

Thread Starter
|
Senior Member
Joined: Oct 2010
Posts: 931
From: Monroe City, IN

Another good update!!!!
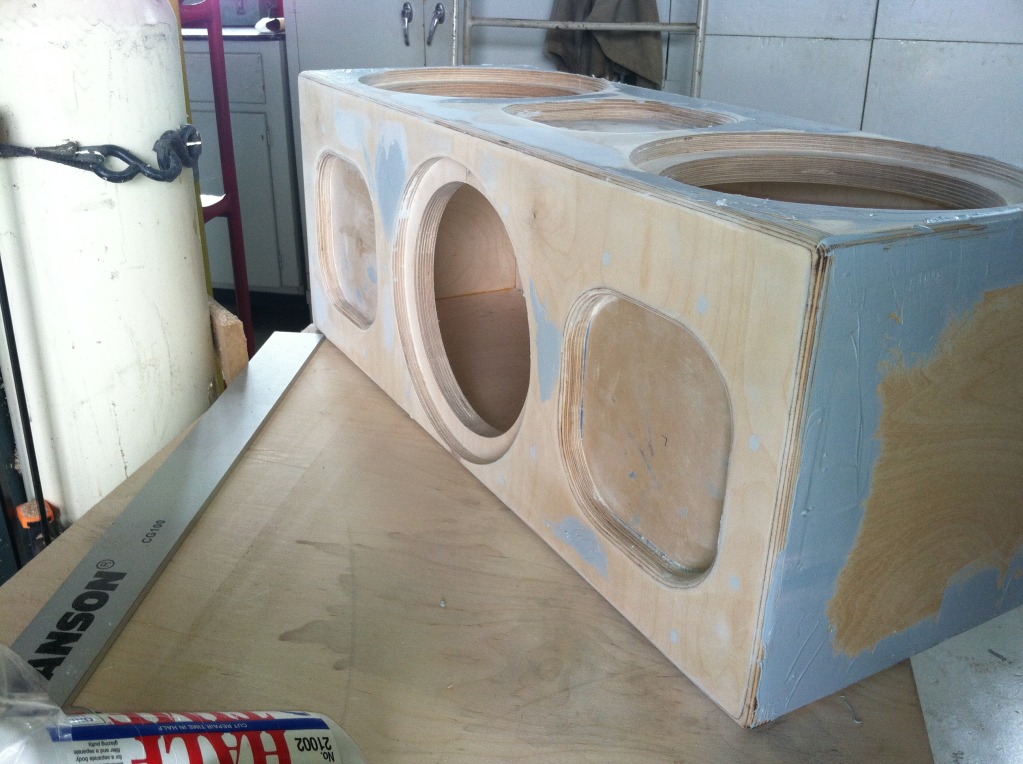
Got to cutting the sub/PR cutouts today! Only got one done, but it's well on it's way!! Hopefully I can talk to 'ole lady into letting me spend time away from her and the kids this weekend and finish the other two cutouts. Onto the pictures.
A little practice to verify the hole sizes. Good thing I did that too, found I needed to make the OD cutout 11 1/16" to clear the gasket good and that the cutout for the frame to fit in had to be 9 3/8" and that's a super good snug fit too.

Spent time this morning sanding the hell out of all the sides to get it perfectly smooth, very little repair work should need done with the body filler. Otherwise this is the pin for the jig in place.

Working on all the cuts to get the flush done.

Flushing is all done, time for the cutout.

Halfway through an inch and a half of wood. Damn.

All done. Left it paper thin so the cutout wouldn't drop, unfortunately I discovered the hard way that's not a good idea with plywood.

Cutout is all done. Had to sand down and clean up where the last little bit of the layer splintered from the knife. I'll be spreading a good deal of glue on the inside around the hole to help with any integrity issues, I hope.

Finished sanding the mounting surface so it's all nice and smooth for a great seal.

Test fitting the PR in place to ensure everything was good, and it was perfect. Fits like a nice tight glove.

There it is. I love getting something done on this!!!
Thread Starter
|
Senior Member
Joined: Oct 2010
Posts: 931
From: Monroe City, IN
Another small update!
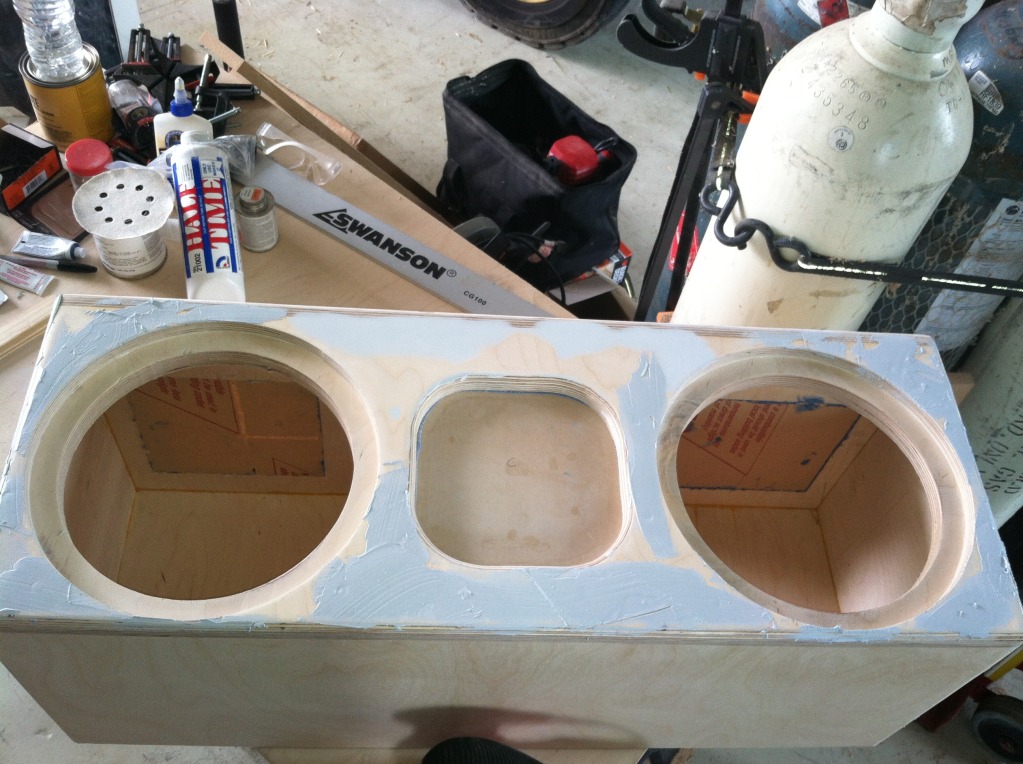
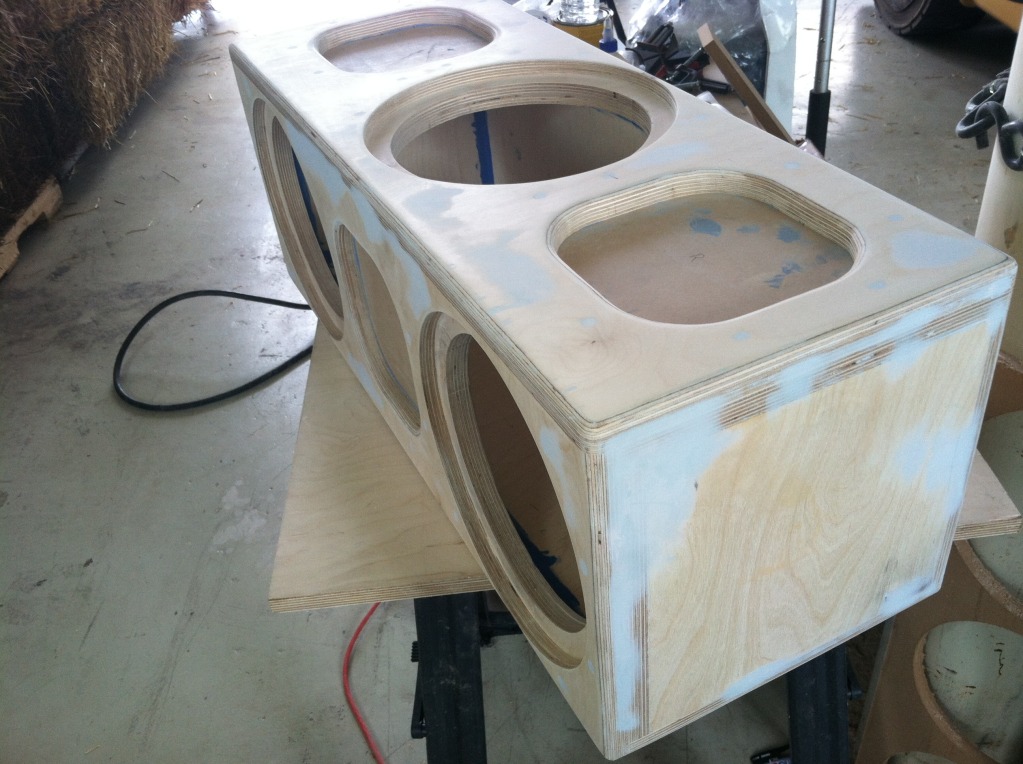
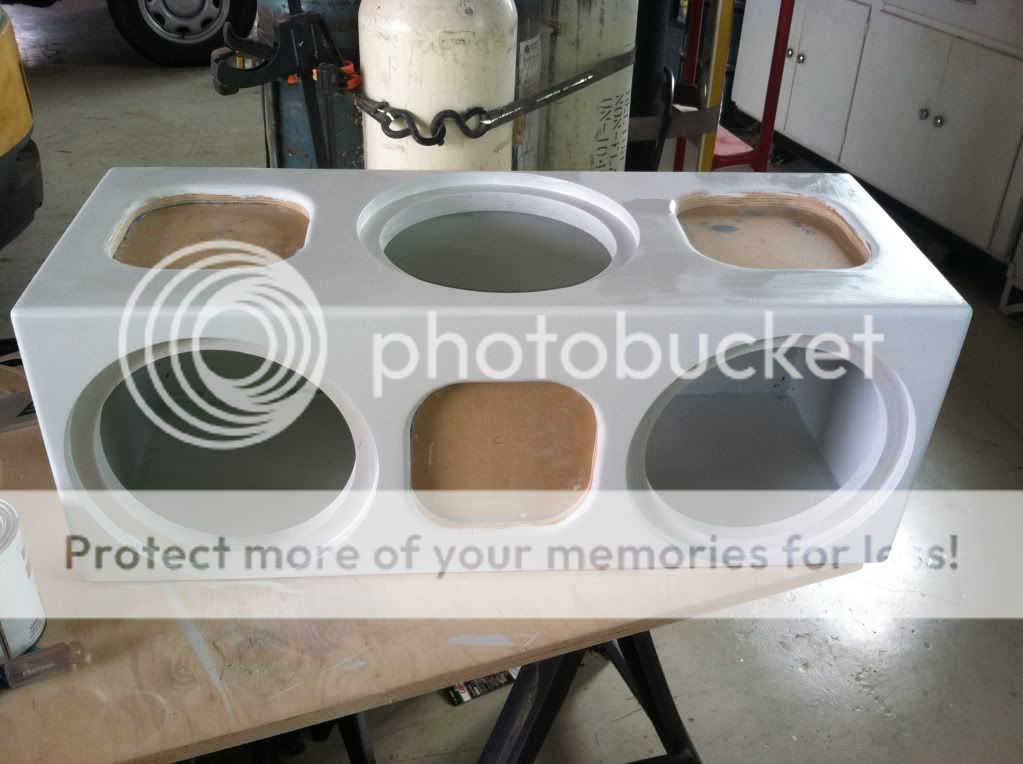
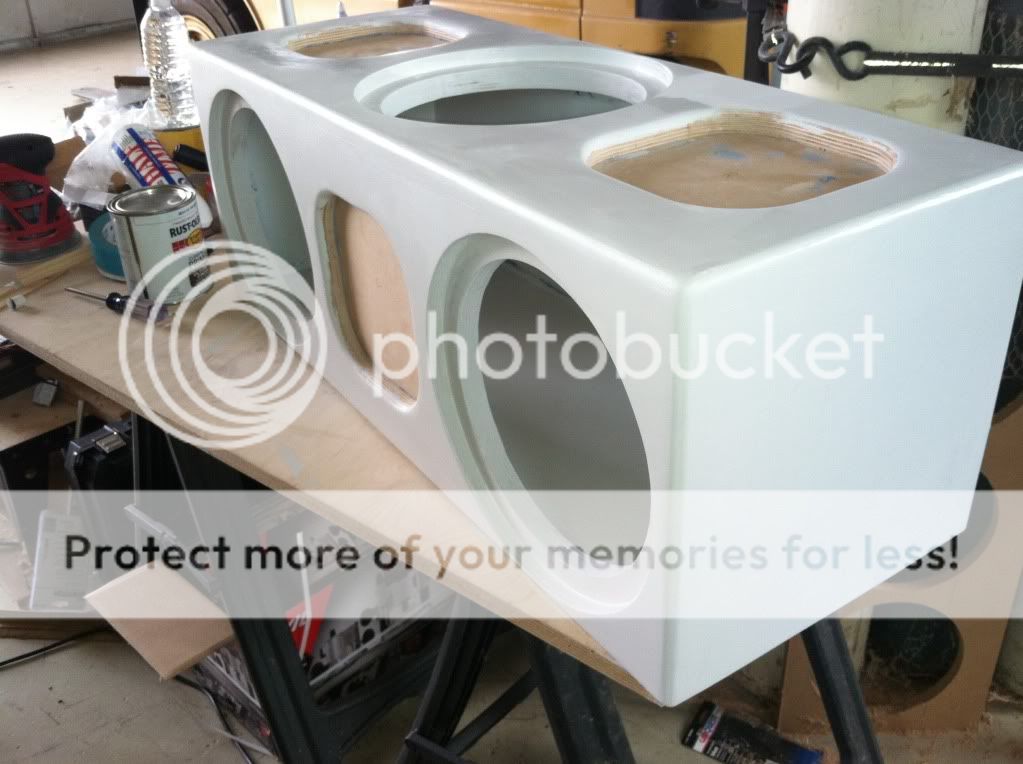
Got the edges of the box rounded and the last two cutouts done. It's time for the body filler and sanding, sanding, and more sanding! Onto the pictures.
Here's a couple of shots with the edges rounded over.


Got the second PR hole cut.

Here's a few with all the cutouts done.


Well, that's a little done, though now it's down to the fine stuff. Overall it's turned out well and very close to the design. I can't wait to get the thing done and in so I can hear for myself what that XCON can do!
Thread Starter
|
Senior Member
Joined: Oct 2010
Posts: 931
From: Monroe City, IN
LOL, I am glad you're liking the enclosure. It's fun showing someone what a custom build can do isn't it?
Thread Starter
|
Senior Member
Joined: Oct 2010
Posts: 931
From: Monroe City, IN
Wow, I can't believe I've not been able to update this since before my birthday. I knew my opportunities to work on the enclosure have been slim but I didn't realize until I pulled this up just how long it's been.
So, since my last update the engine got ruined by water. I ordered and recently received a Marshall reman engine and I'm working on getting the rest of the parts I need along with engine stand and hoist to get the old one pulled and the new one dropped in.
As for the enclosure I had the opportunity to put a little body filler on the screws over the last month. Got some put on and sanded down prior to today but I got all that finished today. Now it's time to apply the primer. Here's a few pics of the body filler process.


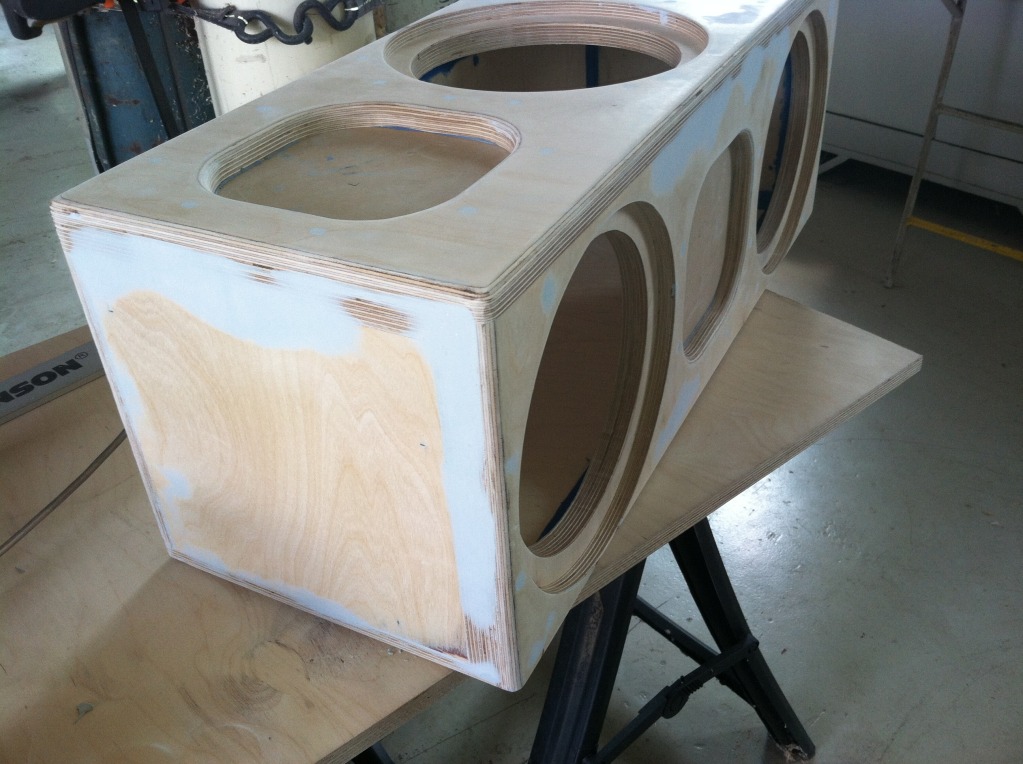
I'll get more up as the primer is applied.
So, since my last update the engine got ruined by water. I ordered and recently received a Marshall reman engine and I'm working on getting the rest of the parts I need along with engine stand and hoist to get the old one pulled and the new one dropped in.
As for the enclosure I had the opportunity to put a little body filler on the screws over the last month. Got some put on and sanded down prior to today but I got all that finished today. Now it's time to apply the primer. Here's a few pics of the body filler process.
I'll get more up as the primer is applied.
Thread Starter
|
Senior Member
Joined: Oct 2010
Posts: 931
From: Monroe City, IN
Thread Starter
|
Senior Member
Joined: Oct 2010
Posts: 931
From: Monroe City, IN
Another small update.
Got the first coat of primer on today. Almost forgot to drill the hole for the speakon connector. Will do that tomorrow along with another coat of primer!
That's it for today.
Got the first coat of primer on today. Almost forgot to drill the hole for the speakon connector. Will do that tomorrow along with another coat of primer!


That's it for today.