When you click on links to various merchants on this site and make a purchase, this can result in this site earning a commission. Affiliate programs and affiliations include, but are not limited to, the eBay Partner Network.
Yesterday I installed a rear carpet I got from a wrecking yard.
Now of course, going to a u-pull yard is always a bit of a gamble as you cannot know what is even available. This was especially important to me as it is a 90 mile drive (one-way) to the closest yards that have much of a selection.
To deal with this I took advantage of the search feature at the yard that also gives you the VINs of the vehicles that match your search.
Then to narrow down the search, I took the VINs and used them in the parts search at https://www.gmpartsgiant.com/ to see what the replacement carpet would be. Doing this would give the color and if looking for other parts, sometimes the associated RPO codes.
This example is one where the VIN told me that the 98 Blazer in row A17 with stock number HL855 was a candidate for having the proper carpet. And for this particular search, I was able to confirm that it had not just the Graphite color I wanted (RPO 12*) but it also happened to have the leather seats (RPO 12L). If I remember correctly, this was the one from which I got the carpet and that it had the TrailBlazer trim, well at least the fake wood-paneling look for some of the interior trim pieces.
Of the second gen Blazers on the list, I had about 8 or so from which to choose. I made a systematic search of all of them and came back to one of the first ones I found to get the carpet.
What I was looking for was of course the amount of staining but also ease of removal. I made notes on each of these to so find the best.
Something that helped a lot was having the right trim removal tool. But of course I think I left it at the yard. D'Oh! (from Eastwood.com)
But something important I learned was that when wrecked and power removed, you cannot get the rear lift-gates open! Fortunately the one that I had the carpet I wanted had the lift-gate already open. It was the best carpet but all things being equal, I would have gone with the one with the open gate.
And here is a funny thing. There was lots of dirt on the carpet! I was able to scrape most of it away and saw that it was only recently put there. I suspect this Blazer had been rolled or rolled down an embankment backwards. But underneath the dirt, I found no stains.
What helped me guess that there were likely no hidden stains was that I found a classical music CD and cassette in the cab! This told me this Blazer probably had not been mistreated too much.
Finally, when I got it home, I noticed that some of the jute underlayment was a bit soggy. My first thought was to let it dry out for a day in the sun. But then I realized I could transfer some of the underlayment from the original carpet to the new one. I used some spray adhesive I had from another project to help adhere the jute to the new carpet.
You can see from the pictures below the old carpet, the jute underlayment, and the new carpet.
Original carpet installed with the old battery acid(?) damage and the new split used engine oil on the left.
Old carpet removed after initial attempt to clean the oil. (It didn't work too well.)
Underside of carpet.
New carpet installed. (It looks better without the flash but it is definitely a BIG improvement.)
As for the installation, the rear seats not have to come out. But it makes things much easier if the nuts for the rear seats are removed. This allows you to raise up the seat mounts that makes fitting the front edge of the rear carpet under the rear edge of the front carpet.
I also got nicer looking hold-down rings and a couple other interior trim pieces. Whole parts bill was $24. I probably spent about another $25 to $30 on gas to get there.
Last edited by christine_208; 07-05-2020 at 03:18 PM.
my rig is leaking oil from the lower manifold, did you do a writeup for the LIM job or no?
I didn't do my own detailed write up on the LIM replacement. I probably posted about somewhere though. However, I ended up following a great write-up I found earlier that I'm attaching here.
The job is more annoying than really hard with so many things to get out of the way to even allow you to get at the LIM.
The most annoying part was when I got distracted with how to loosen the lower power steering bracket. After I finally got it loose, I looked again at the attached instructions and sure enough, if I had just followed them, I would have been fine.
Some other bits of advice including the following:
Torque Wrench:
You will want to get an inch-pound torque wrench for this job.
Distributor:
Do NOT let the crank rotate once the distributor is out.
Be sure mark the position of the rotor with a sharpie and even pictures.
Then, expect to find that the distributor goes in about 30 degrees off (one tooth on the cam gear). The reason this happens is that the oil pump drive shaft gets rotated a bit too far when the distributor is removed. This keeps the keyway at the bottom of the distributor shaft from engaging the slot at the top of the oil pump driveshaft with the rotor pointed in the right direction. My remedy was to use a long and large flat-blade screw driver to rotate it back just enough to allow me to get the distributor all the way in with the key-way at the bottom of the distributor mating with the slot at the top of the oil-pump driveshaft.
LIM removal and cleaning:
Likely goes without saying but be super careful with not letting anything drop into the intake runners or into the lifter valley.
The LIM is aluminum so be super careful that you don't gouge the mating surfaces when trying to clean them up. I think I saw that some recommend a scotch brite pad as a good way to do that.
If you see that on the top side of the LIM there is a clean spot where the rest has a varnish or a light carbon coating, then it is likely that the clean spot is from fuel dripping onto that spot leaving it clean and the metal shiny. You will want to consider servicing the fuel injector spider if you find this.
Reinstalling the LIM:
Use the best RTV you can find. Some have had the RTV that comes with the LIM gasket kit be fine but others thought it was past its prime.
Get the FelPro kit with all of the gaskets for the upper and lower intakes. The best kit is the one with the metal carrier for the LIM gaskets.
Also get the new bolts for the LIM. They are cheap and it is one less thing to worry about.
Cut off the heads of a couple of the old bolts or get some threaded rod (metric of course) and use these as guides for reinstalling the LIM. I felt stupid for not doing this as on my old Ford 289, there are studs just for this that I have used.
Fuel injectors:
This is a perfect time to replace your injection spider with the upgraded MPFI if you Blazer did not already come with it.
Distributor, Rotor, plug wires and perhaps plugs (use only AC Delco parts for these.) I found these parts a bit easier to get to with the other stuff out of the way.
Valve cover gaskets. This might come with the FelPro kit.
I also did a power steering fluid flush at the same time. I can't remember if it was actually easier for some reason or if I was just super motivated that weekend. LOL
The under-hood vacuum lines. These rot eventually and might be easier to replace with all of the other stuff off. (See link below.)
In my quest to be able to do self recoveries, I entertained the idea of installing a receiver at the front of my Blazer hidden behind the front licence plate in which I could install a winch. But after thinking about it I decided to go for an Aussie product the Bush Winch. https://www.bushwinch.com/
This system is a lot lighter than a traditional winch, doesn't require any modifications to the electrical system or frame and can just as easily pull me forward as backwards. It works by the use of drums attached to the drive wheels onto which a dyneema rope is wrapped. When put into gear, the wheels do the winching. It even comes with guide for the front wheels. I also purchased a bridle kit and land anchors. I haven't had a chance to test it yet. I'm kind of hoping to get stuck sometime soon! LOL
The drums attach by use of extra long lug nuts onto which the drums are attached by a twist lock mechanism. It comes with four sets of 15 m ropes that will give about 30 m (180 feet +) of length for each drum.
P.S. The total cost for the winch system, extra bridle kit, and ground anchors including shipping was $820.00.
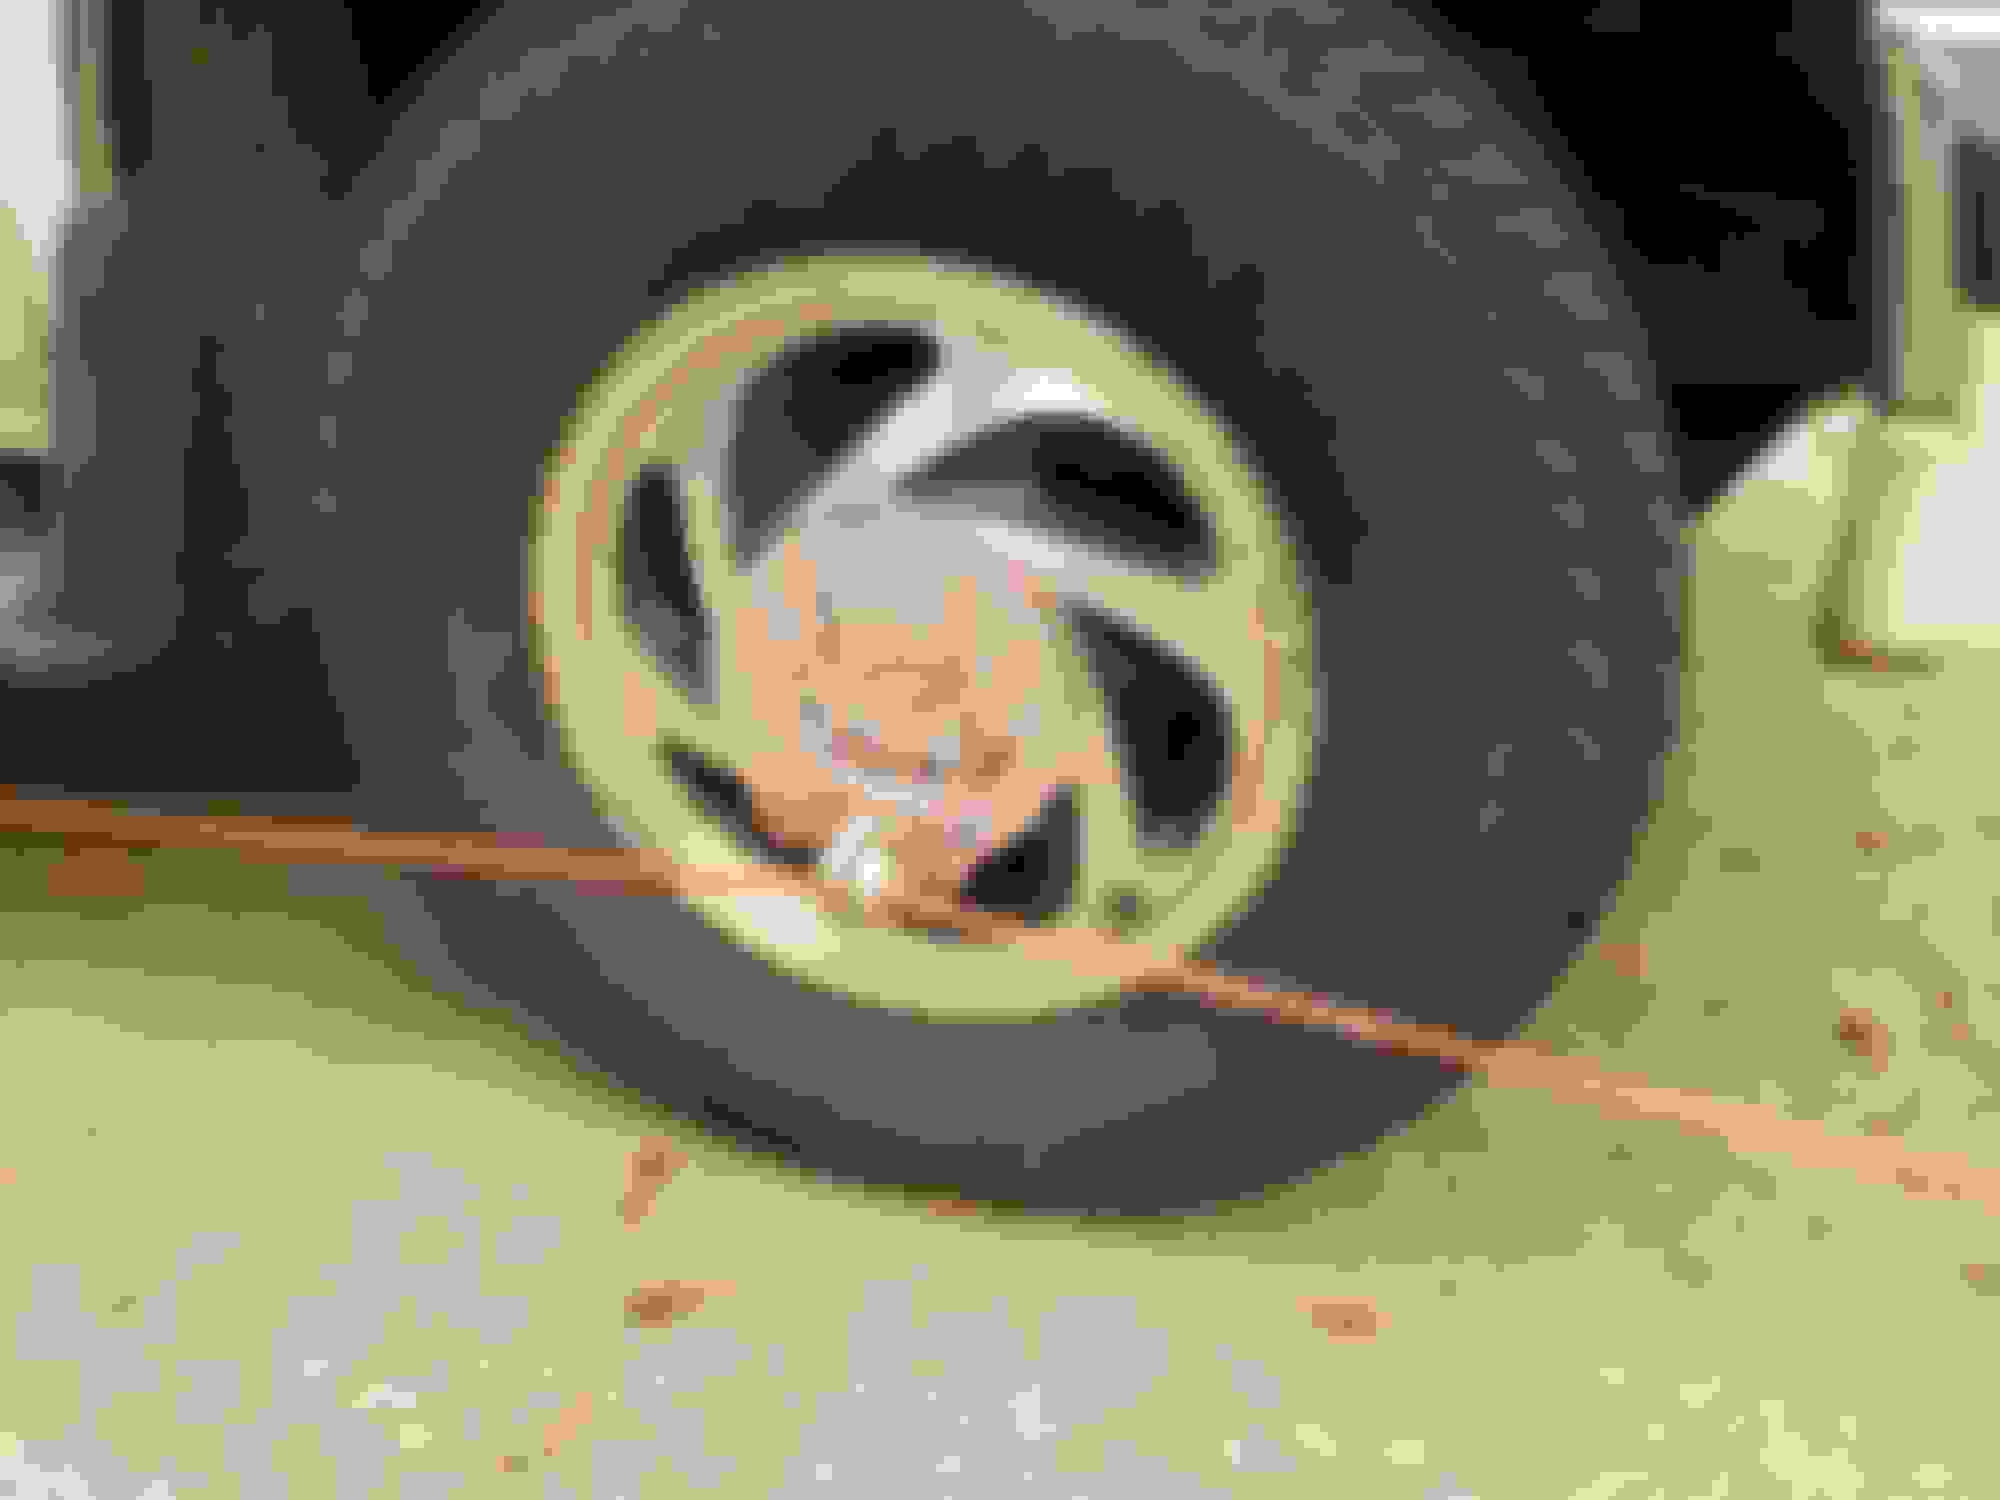
The pictures show how it is set up for winching forward. Set up for forward winching.
Rope guide.
Wheel winch for going forward. If going backwards was desired, the drums would be swapped from L to R.
View from rear showing winch set up for forward winching. It would be the same on the other side.
Extra long lug nuts and modified wheel caps.
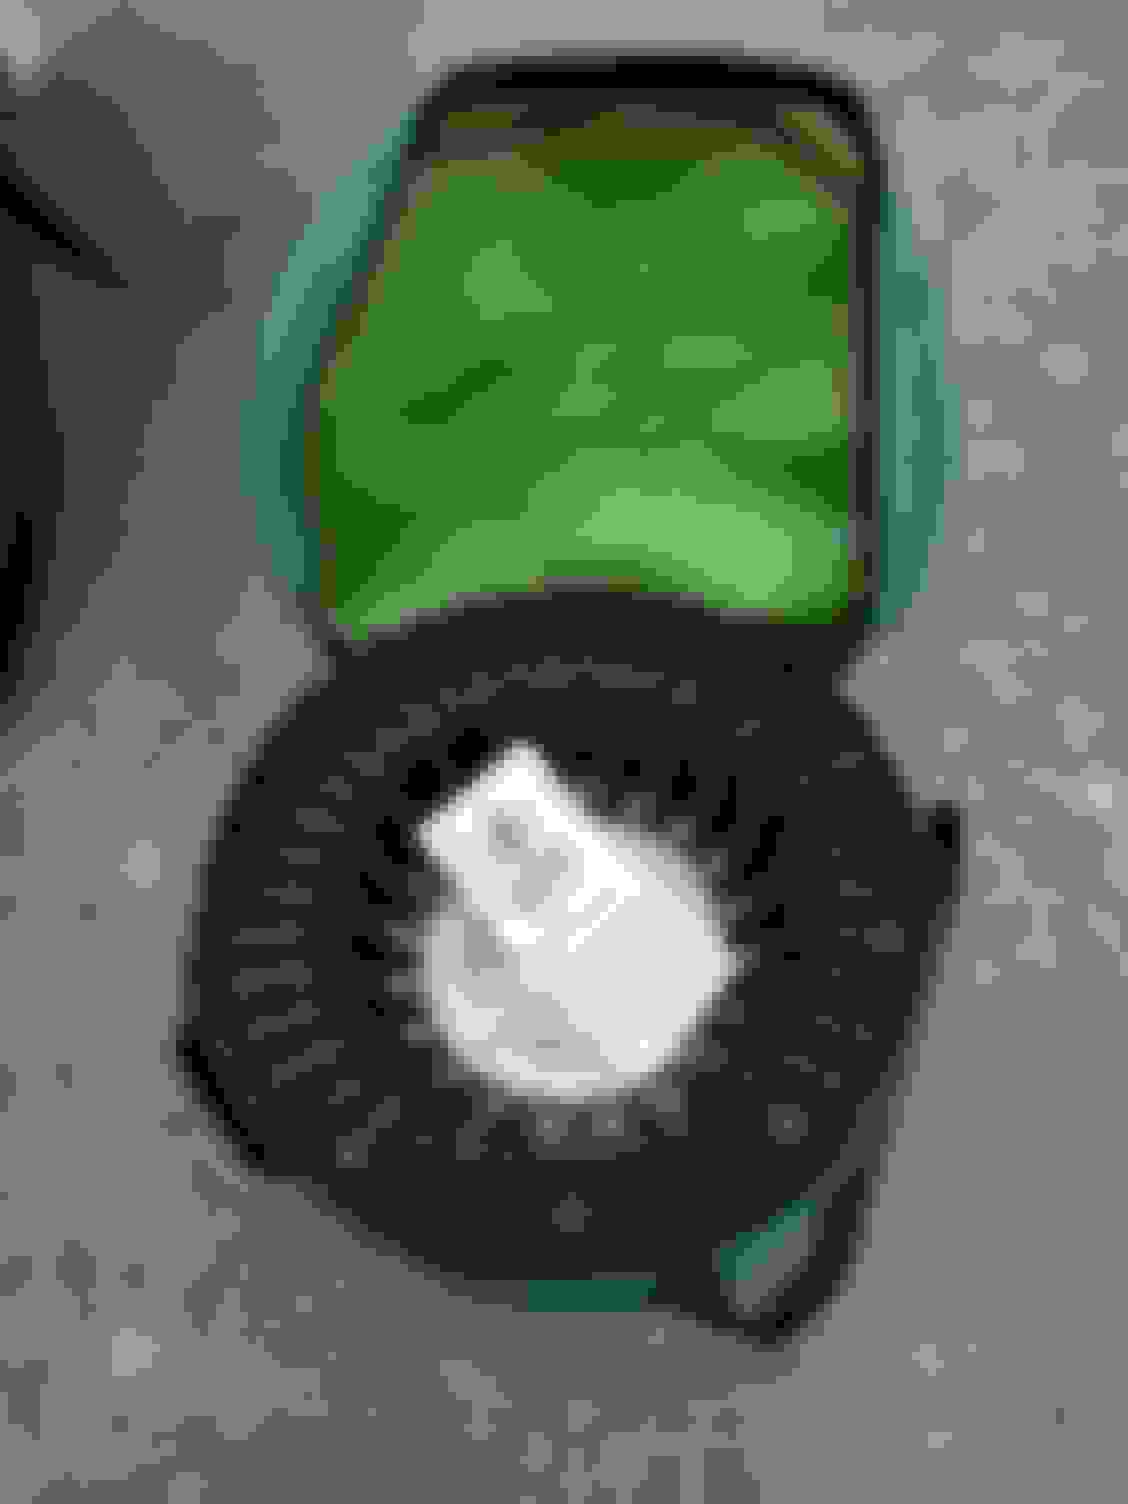
The drums and rope guides in the storage bag.
Last edited by christine_208; 09-12-2020 at 11:09 PM.
That looks very cool. I see two potential pitfalls with it, though:
1) If you don't have a locking differential, the wheel without the winch will spin.
2) If your vehicle doesn't run, or suffers a mechanical failure (broken u-joint, etc.) you won't be able to use it.
But, if your vehicle runs and you're just stuck, it looks like it would be pretty powerful and very fast.
So, get out there and get stuck so you can report back!
Regarding the differential, you always use this with drums on both sides so that should not be a problem. But to be honest I had not thought of that as one of the reasons for using two at a time.
As for a broken drive shaft, that is a good point too. Fortunately the system can be used on the front or rear wheels. It is just recemmended to use the rear ones if that option is available.
And yes, if the drivetrain or engine is toast, that would be a pretty big problem for this system. But then again, once unstuck, with no engine you are still stuck, just in a different manner. LOL
And you can be sure I'll give a full report after I use it!
What I cannot do with it is pull out someone else like you can with a winch. I do have a portable 500# winch for pulling on little things; i.e. an electric come-along.
Regarding the differential, you always use this with drums on both sides so that should not be a problem. But to be honest I had not thought of that as one of the reasons for using two at a time.
Ah, I did not realize that. It makes much more sense now. If you often go off-roading with a group of the same vehicles (I know YOU don't, but I'm speaking hypothetically), everybody could just install the special lug nuts on their vehicles and you could share a single Bushwinch. That would be pretty cool.
 07-05-2020, 02:04 PM


 (from Eastwood.com)