
My small 96 Blazer build

Thread Starter
|
Super Moderator
Joined: Sep 2011
Posts: 4,459
From: Northern VA

Haha yeah I use my side mirrors for backing up I used to drive dump truck and still drive a straight truck all the time at work I just like to see out the back cause the terrific around here is nothing but stupid people not paying attention. I have avoided being rear ended 3 times by watching the cars behind me and taking the shoulder and all 3 times I moved over the car in front of me was hit! I just like to drive very defensively I guess.

Beginning Member
Joined: Nov 2011
Posts: 22
dude! ur blazer is amazing!!!!! im really interested in the roof rack cause thats what i really want to do for mine. also, how much cutting did u do on the front fenders to stop rubbing? cause i really dont wanna cut anything but i already have a 2" shackle and key lift on 31''s and i just bought a 2" BL, just have to install it. do u all think it will be enough to clear my tires? once again, amazing blazer man!
Thread Starter
|
Super Moderator
Joined: Sep 2011
Posts: 4,459
From: Northern VA
Sorry for the slow response just got home from vaca!! Thanks for the compliments man!! The roof rack is a Surco 4560. I had to cut about an inch off the fenders and I still rub offroad. The body lift should help you out alot in not rubbing that is coming soon on mine when I get around to ordering it. I would say get any lift related items installed and then throw the tires on and go from there. I think you should be ok with that setup though.
Thread Starter
|
Super Moderator
Joined: Sep 2011
Posts: 4,459
From: Northern VA
Finally got to do a small mod to the truck today and I said I would do a write up on it so here goes....
The big 3 upgrade!
Supplies (this is what I used yours may be different)
*1ft 0ga red wire
*5.5ft 0ga black wire
*8 0ga ring terminals and boots
*Electrical solder and flux
*razor blade
*light grit sandpaper
*2 gold battery termianl posts with accessory screw
Tools
*Bench vise
*Torch
*Various wrenches and sockets
*measuring tape
*Hack saw
To get started you will need to measure out the lengths of wire you will need. I actually used 4 wires 1. to the engine block 2. frame 3. body 4. alt. I used the factory ground points as my locations and just cleaned them up with some fine grit sandpaper. Once you have all of your lengths determined its time to cut your wires. I clamped the wire in the vise and used the hack saw to cut my wires. If you have a big enough wire cutter you can of course use that but I don't so the hack saw worked just fine for me.
Next you will want to slide the terminal boots over the and down the wires out of the way for later. Tip: if you put a little dish soap inside the boots they will slide on alot easier.
Once that is done you will need to install the terminals. To start lightly clamp the wire in the vise and use a terminal to determine how far back to strip the wire. Use the razor and cut away the outside of the wire so that terminal can be installed. You will want to leave a small recess on on the end of the terminal which I will explain soon.
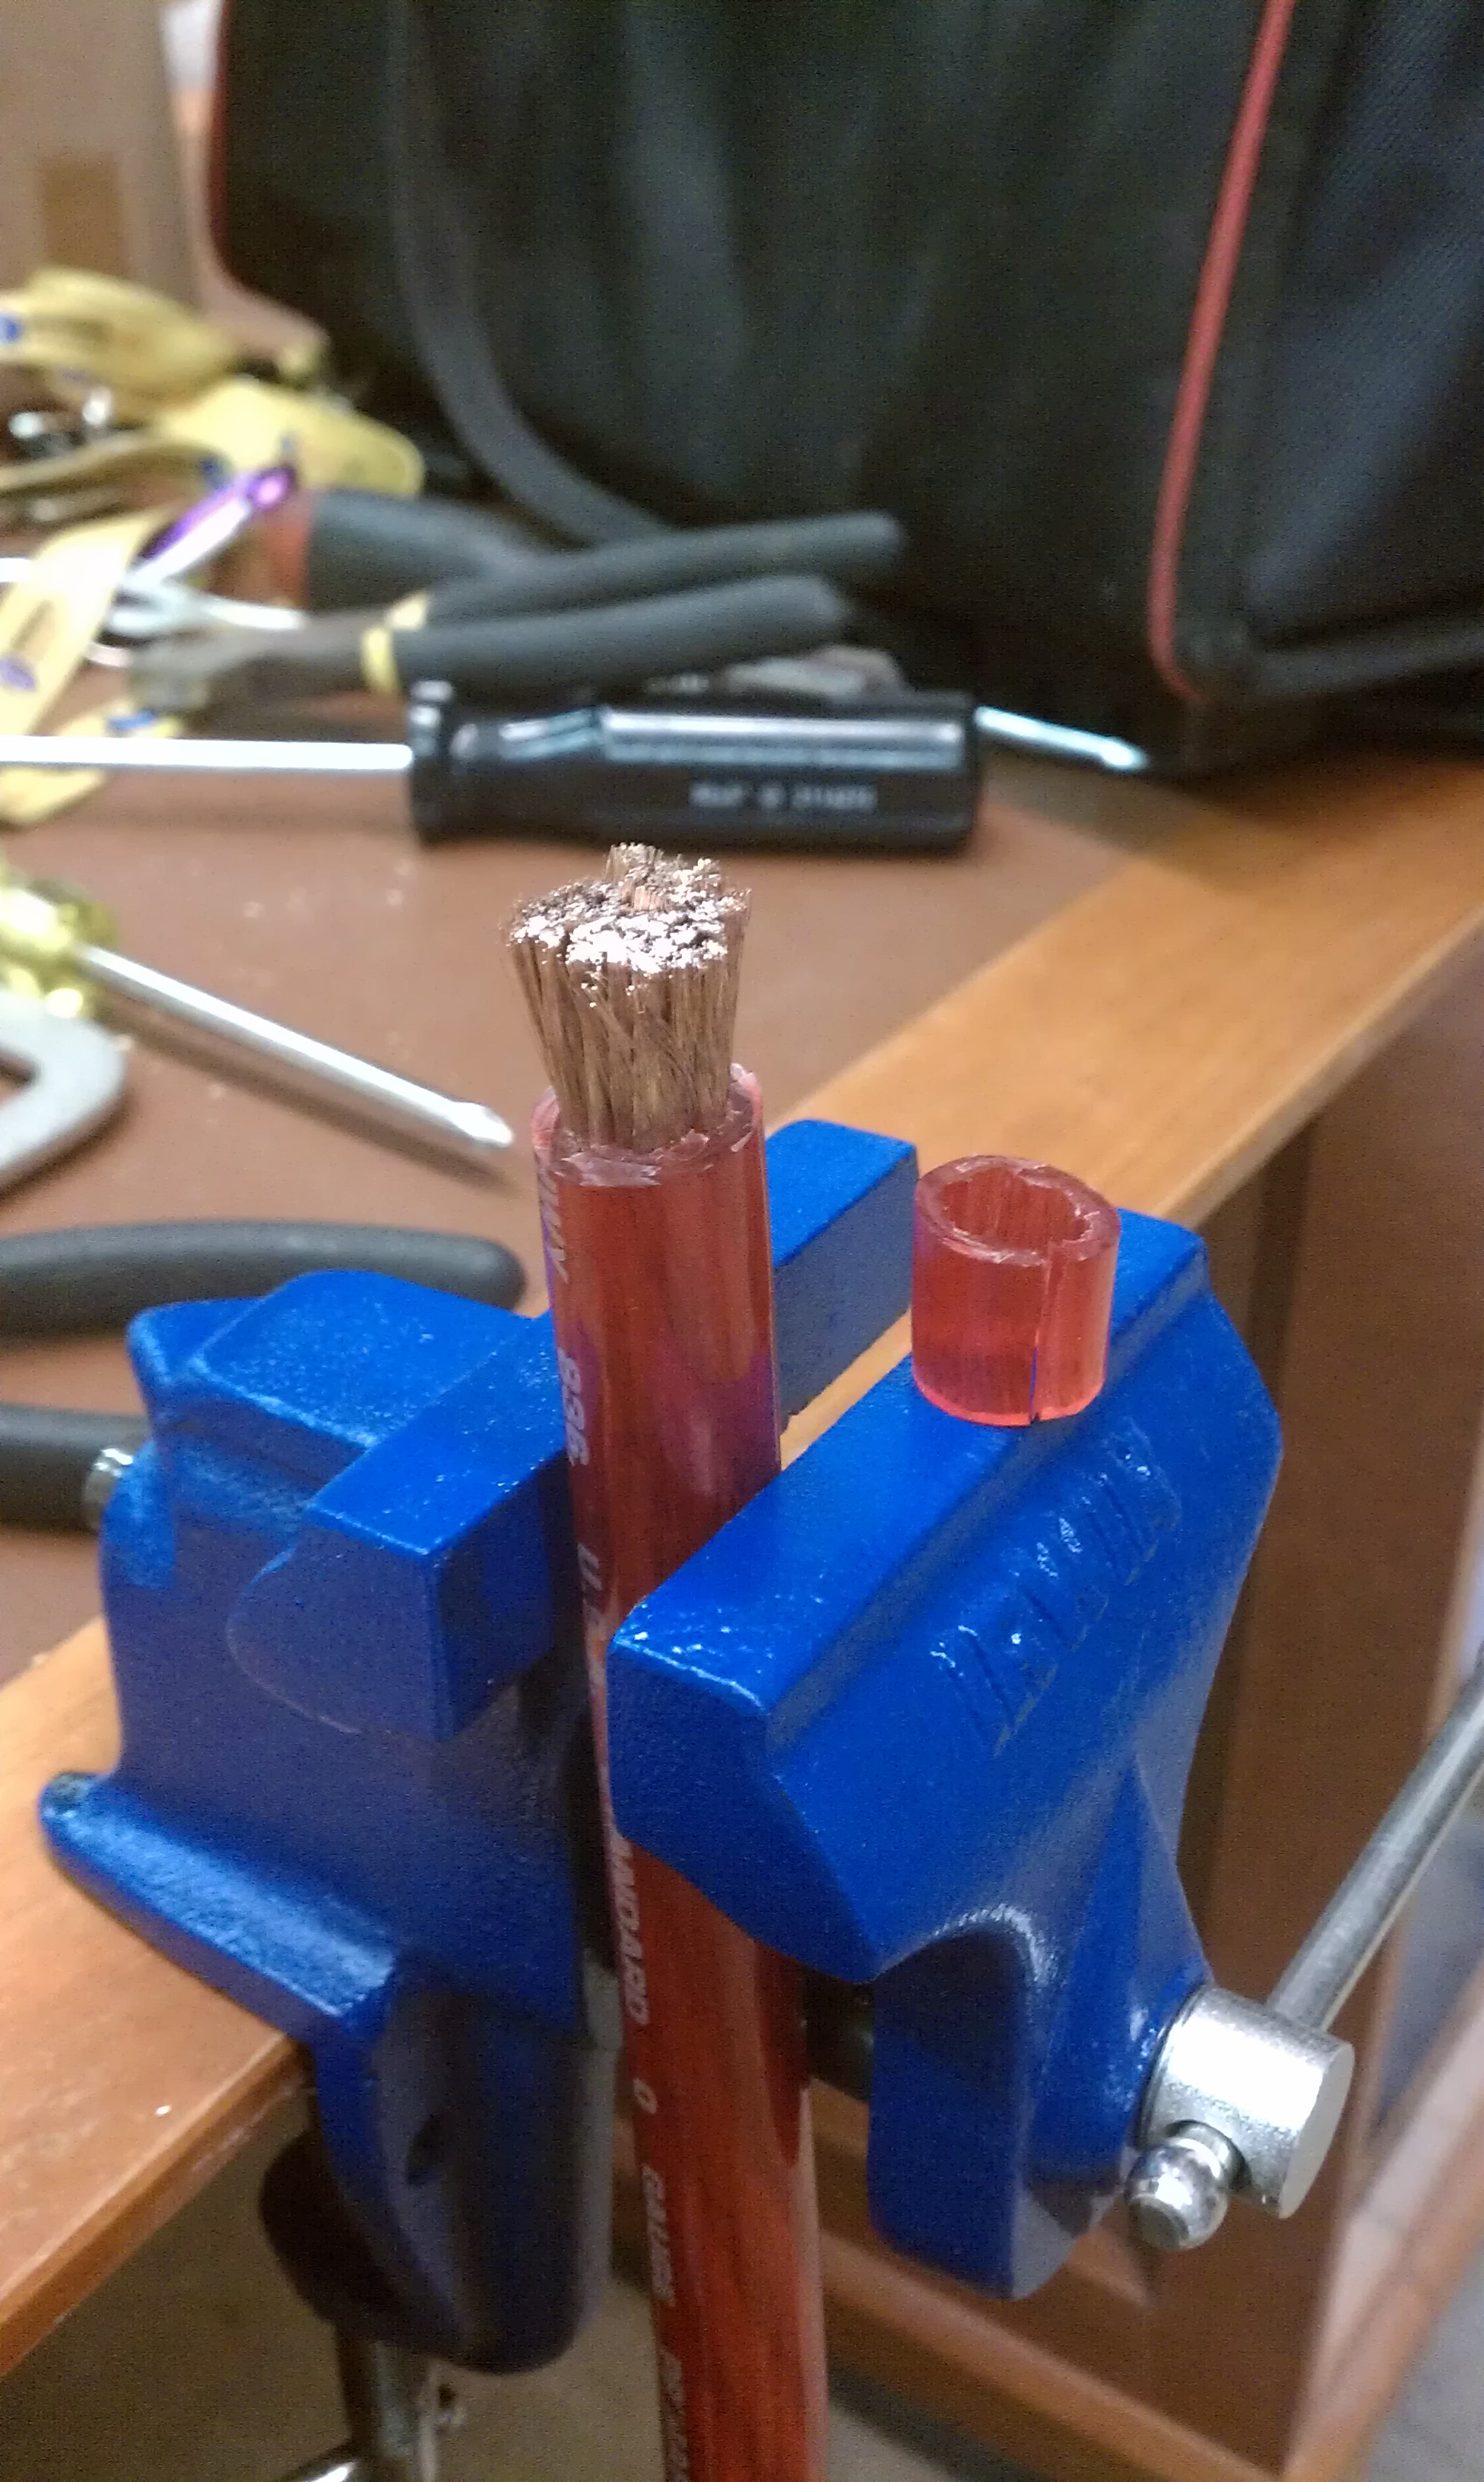
Now that your wire is stripped you will need to apply flux to the wire and the inside of the terminal and then fit them together.
Now use the vise to crimp the terminal together for a tight slip free fit. Notice the small recess on the top?
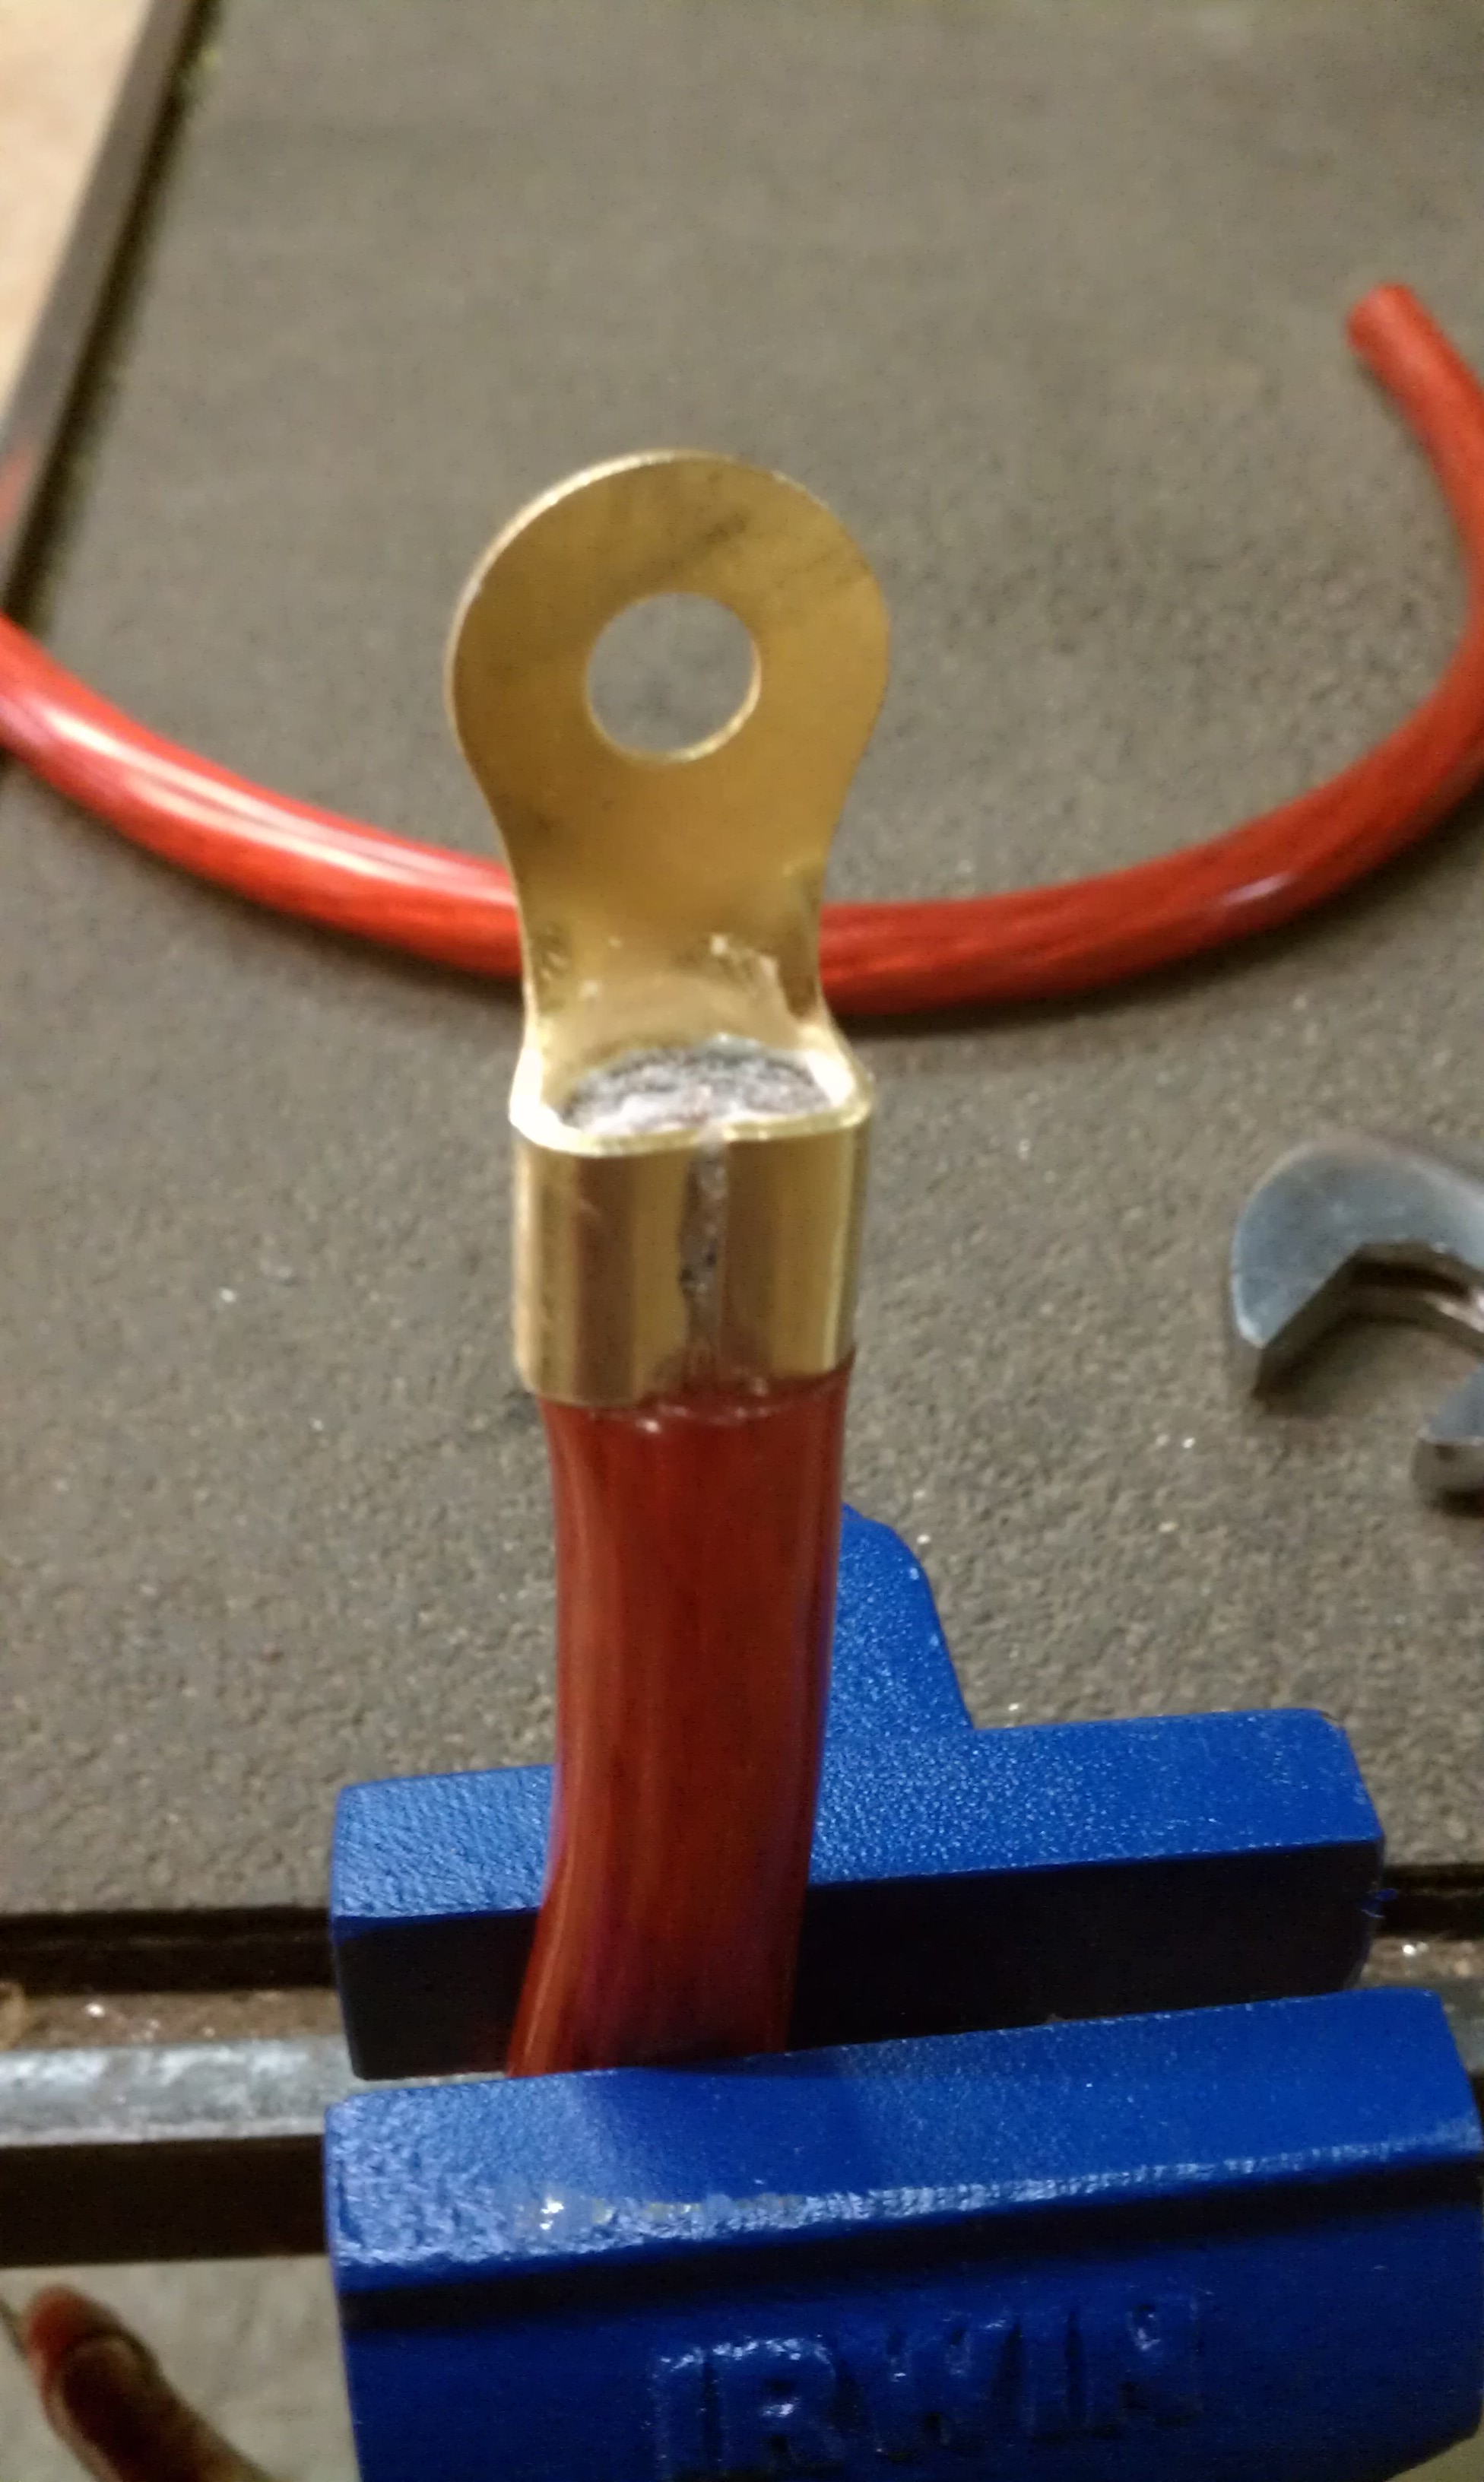
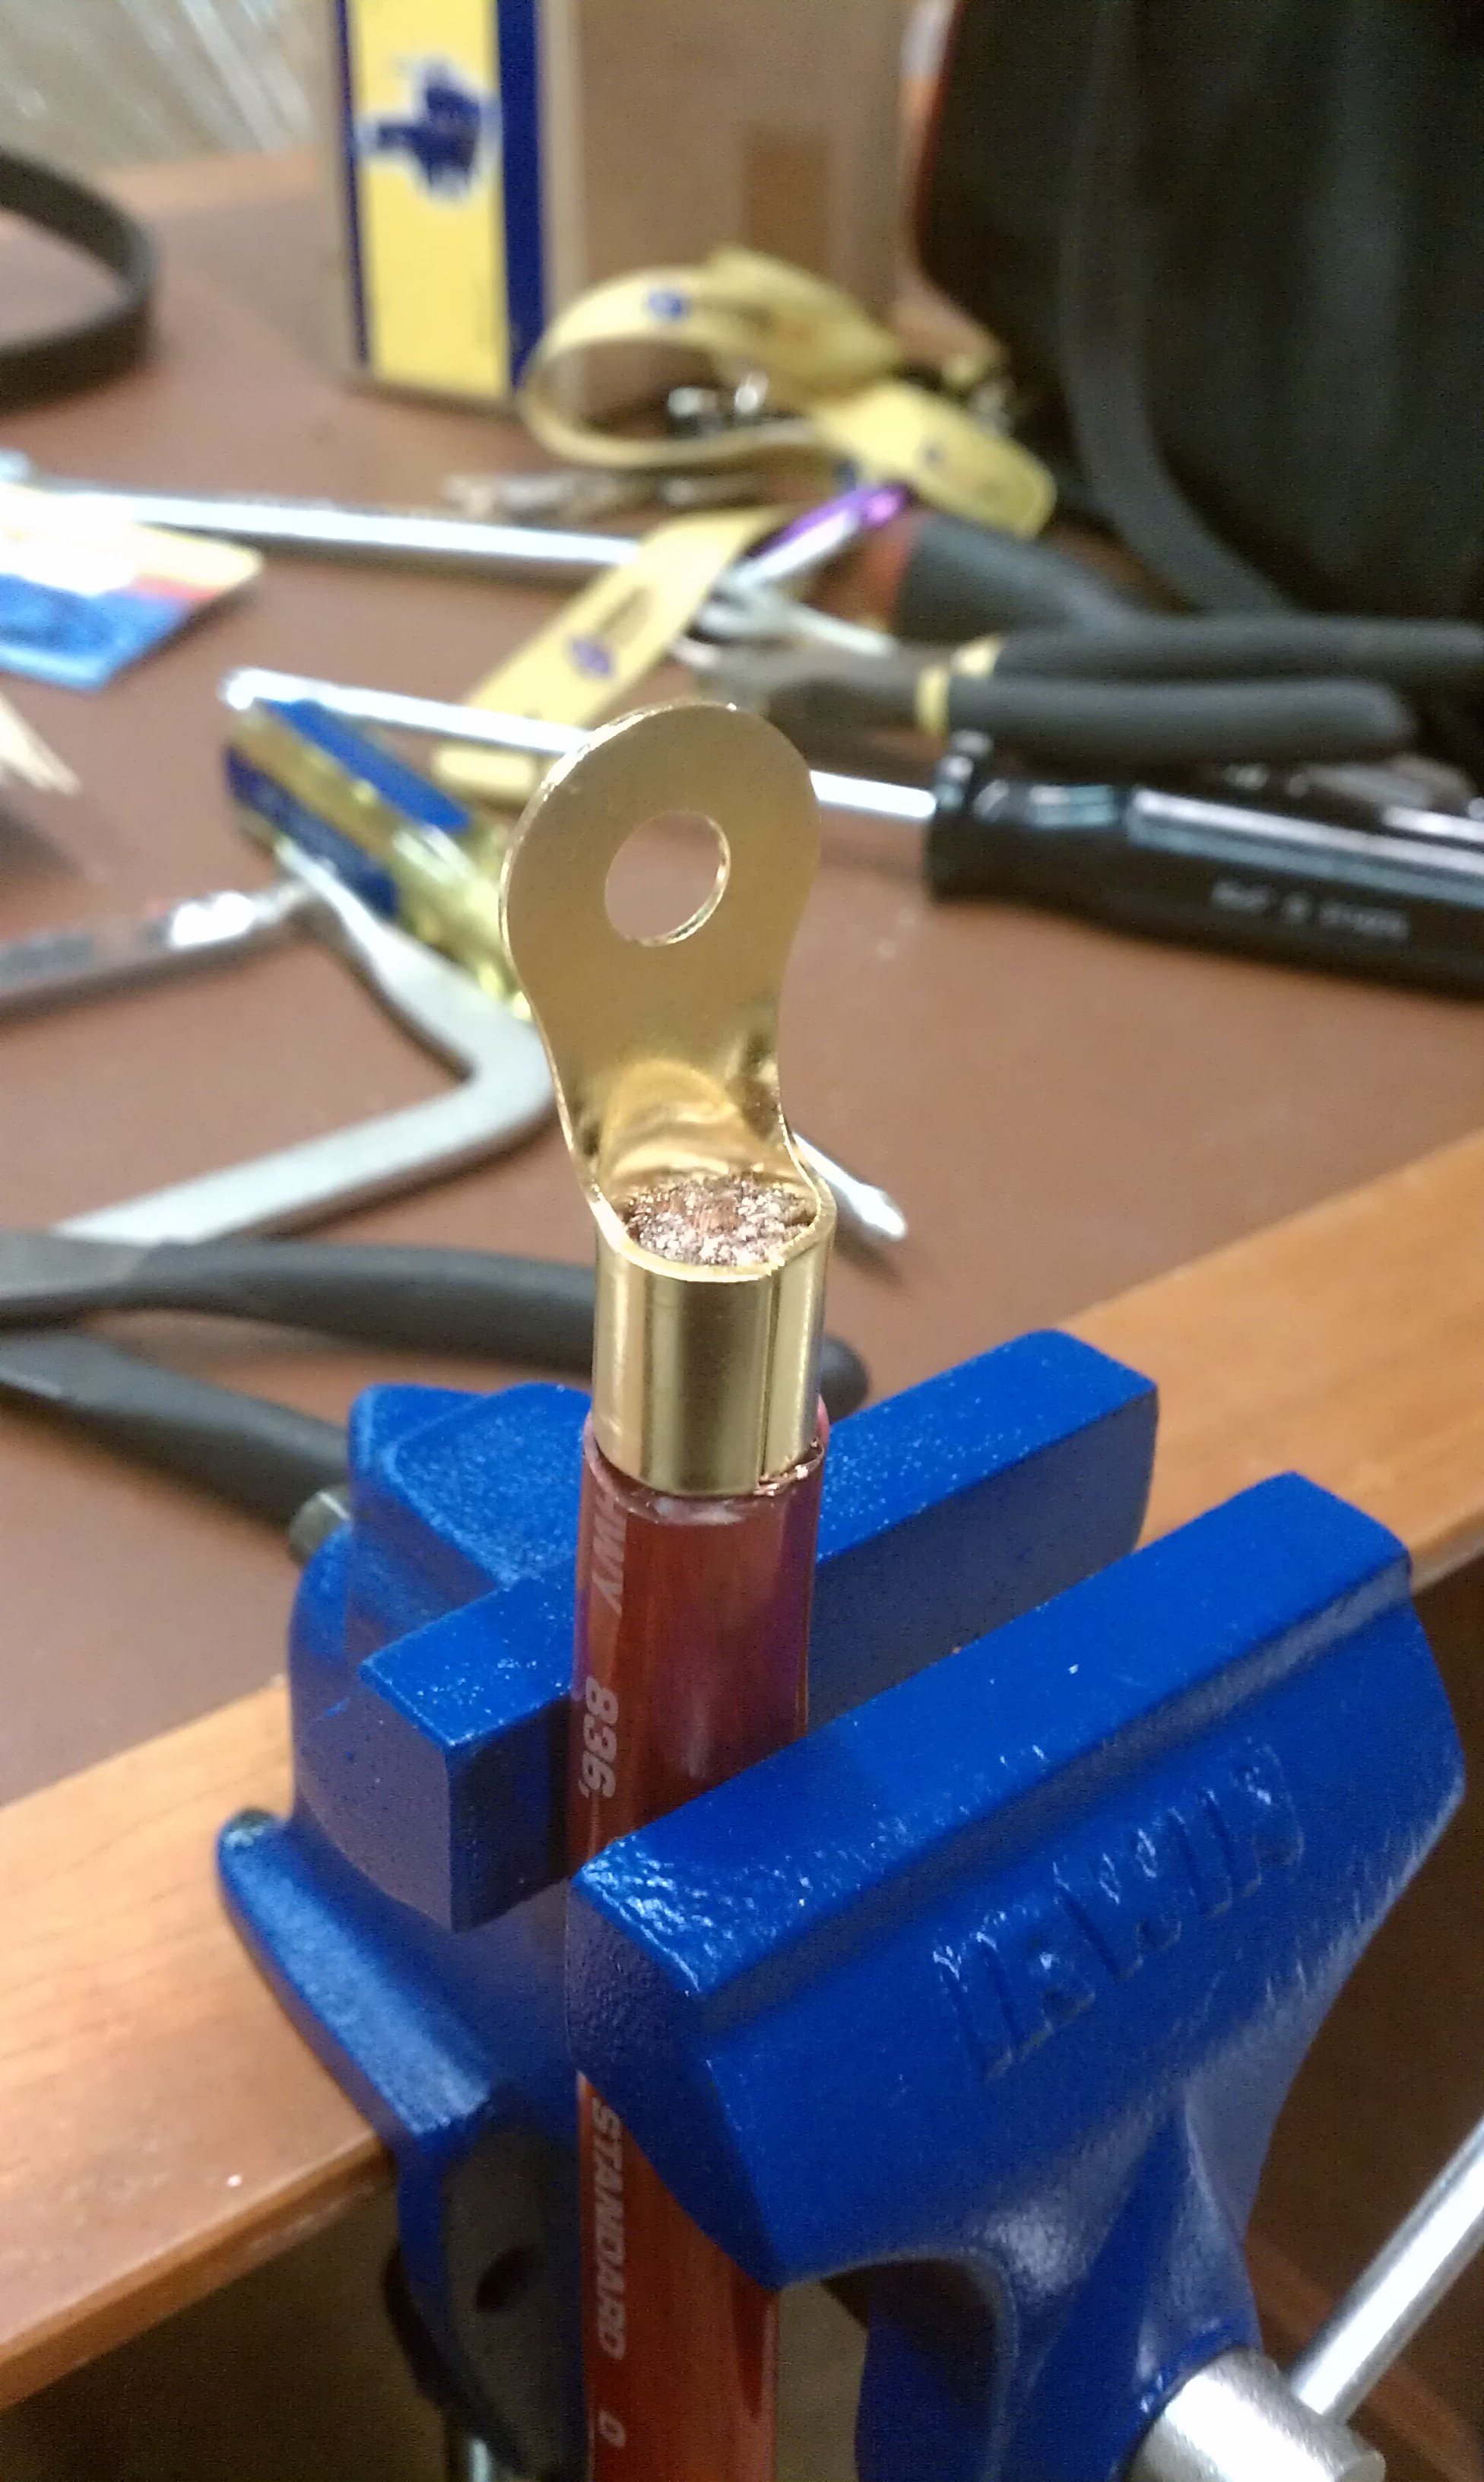
Now its time to start your solder. I had never done this before on anything but a pipe so I jumped on youtube and watched a couple videos quick. Basically you will heat the back side of the terminal until the solder melts. You should see it disapeering into any cracks and crevases until they are full and then you will form a puddle in the recess that you left earlier. When you are finished it should look something like this. (keep in mind I have never done this before so sorry its kinda ugly lol)

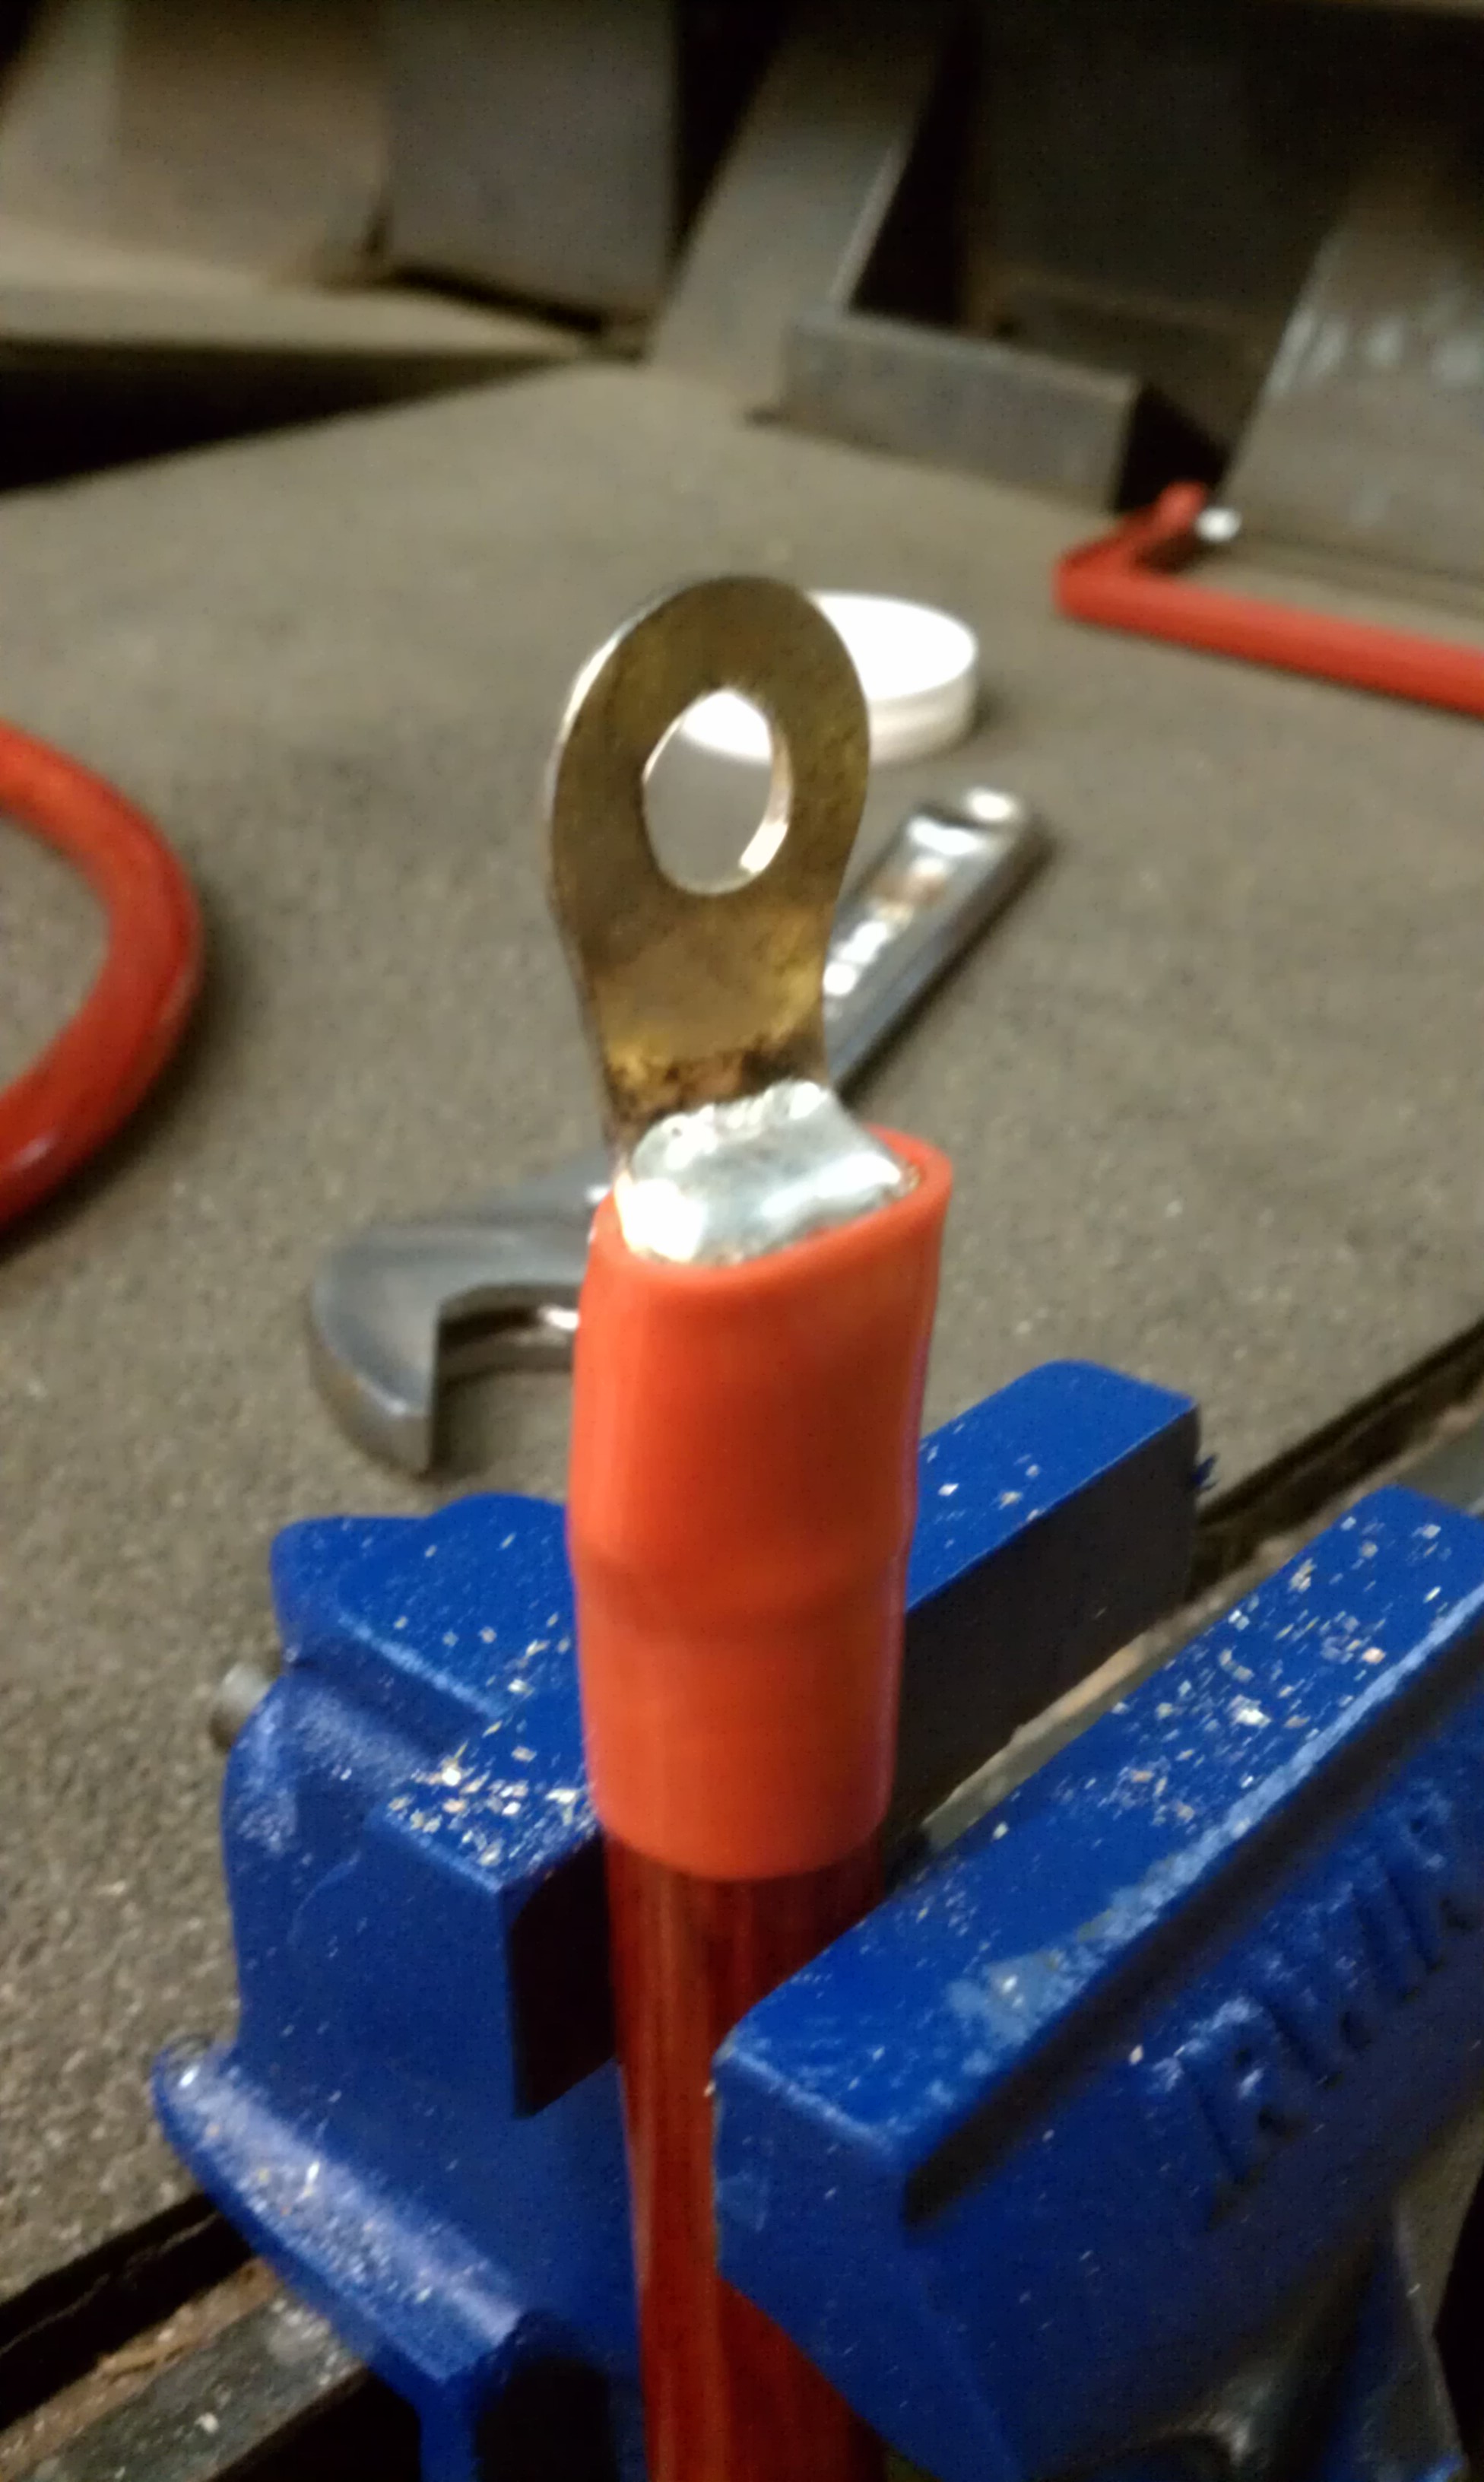
Now that you have let everything cool you will need to slide the boots up the wire onto the terminals like this.
Now just repeat this with the rest of your wires and you are almost done with the upgrade!
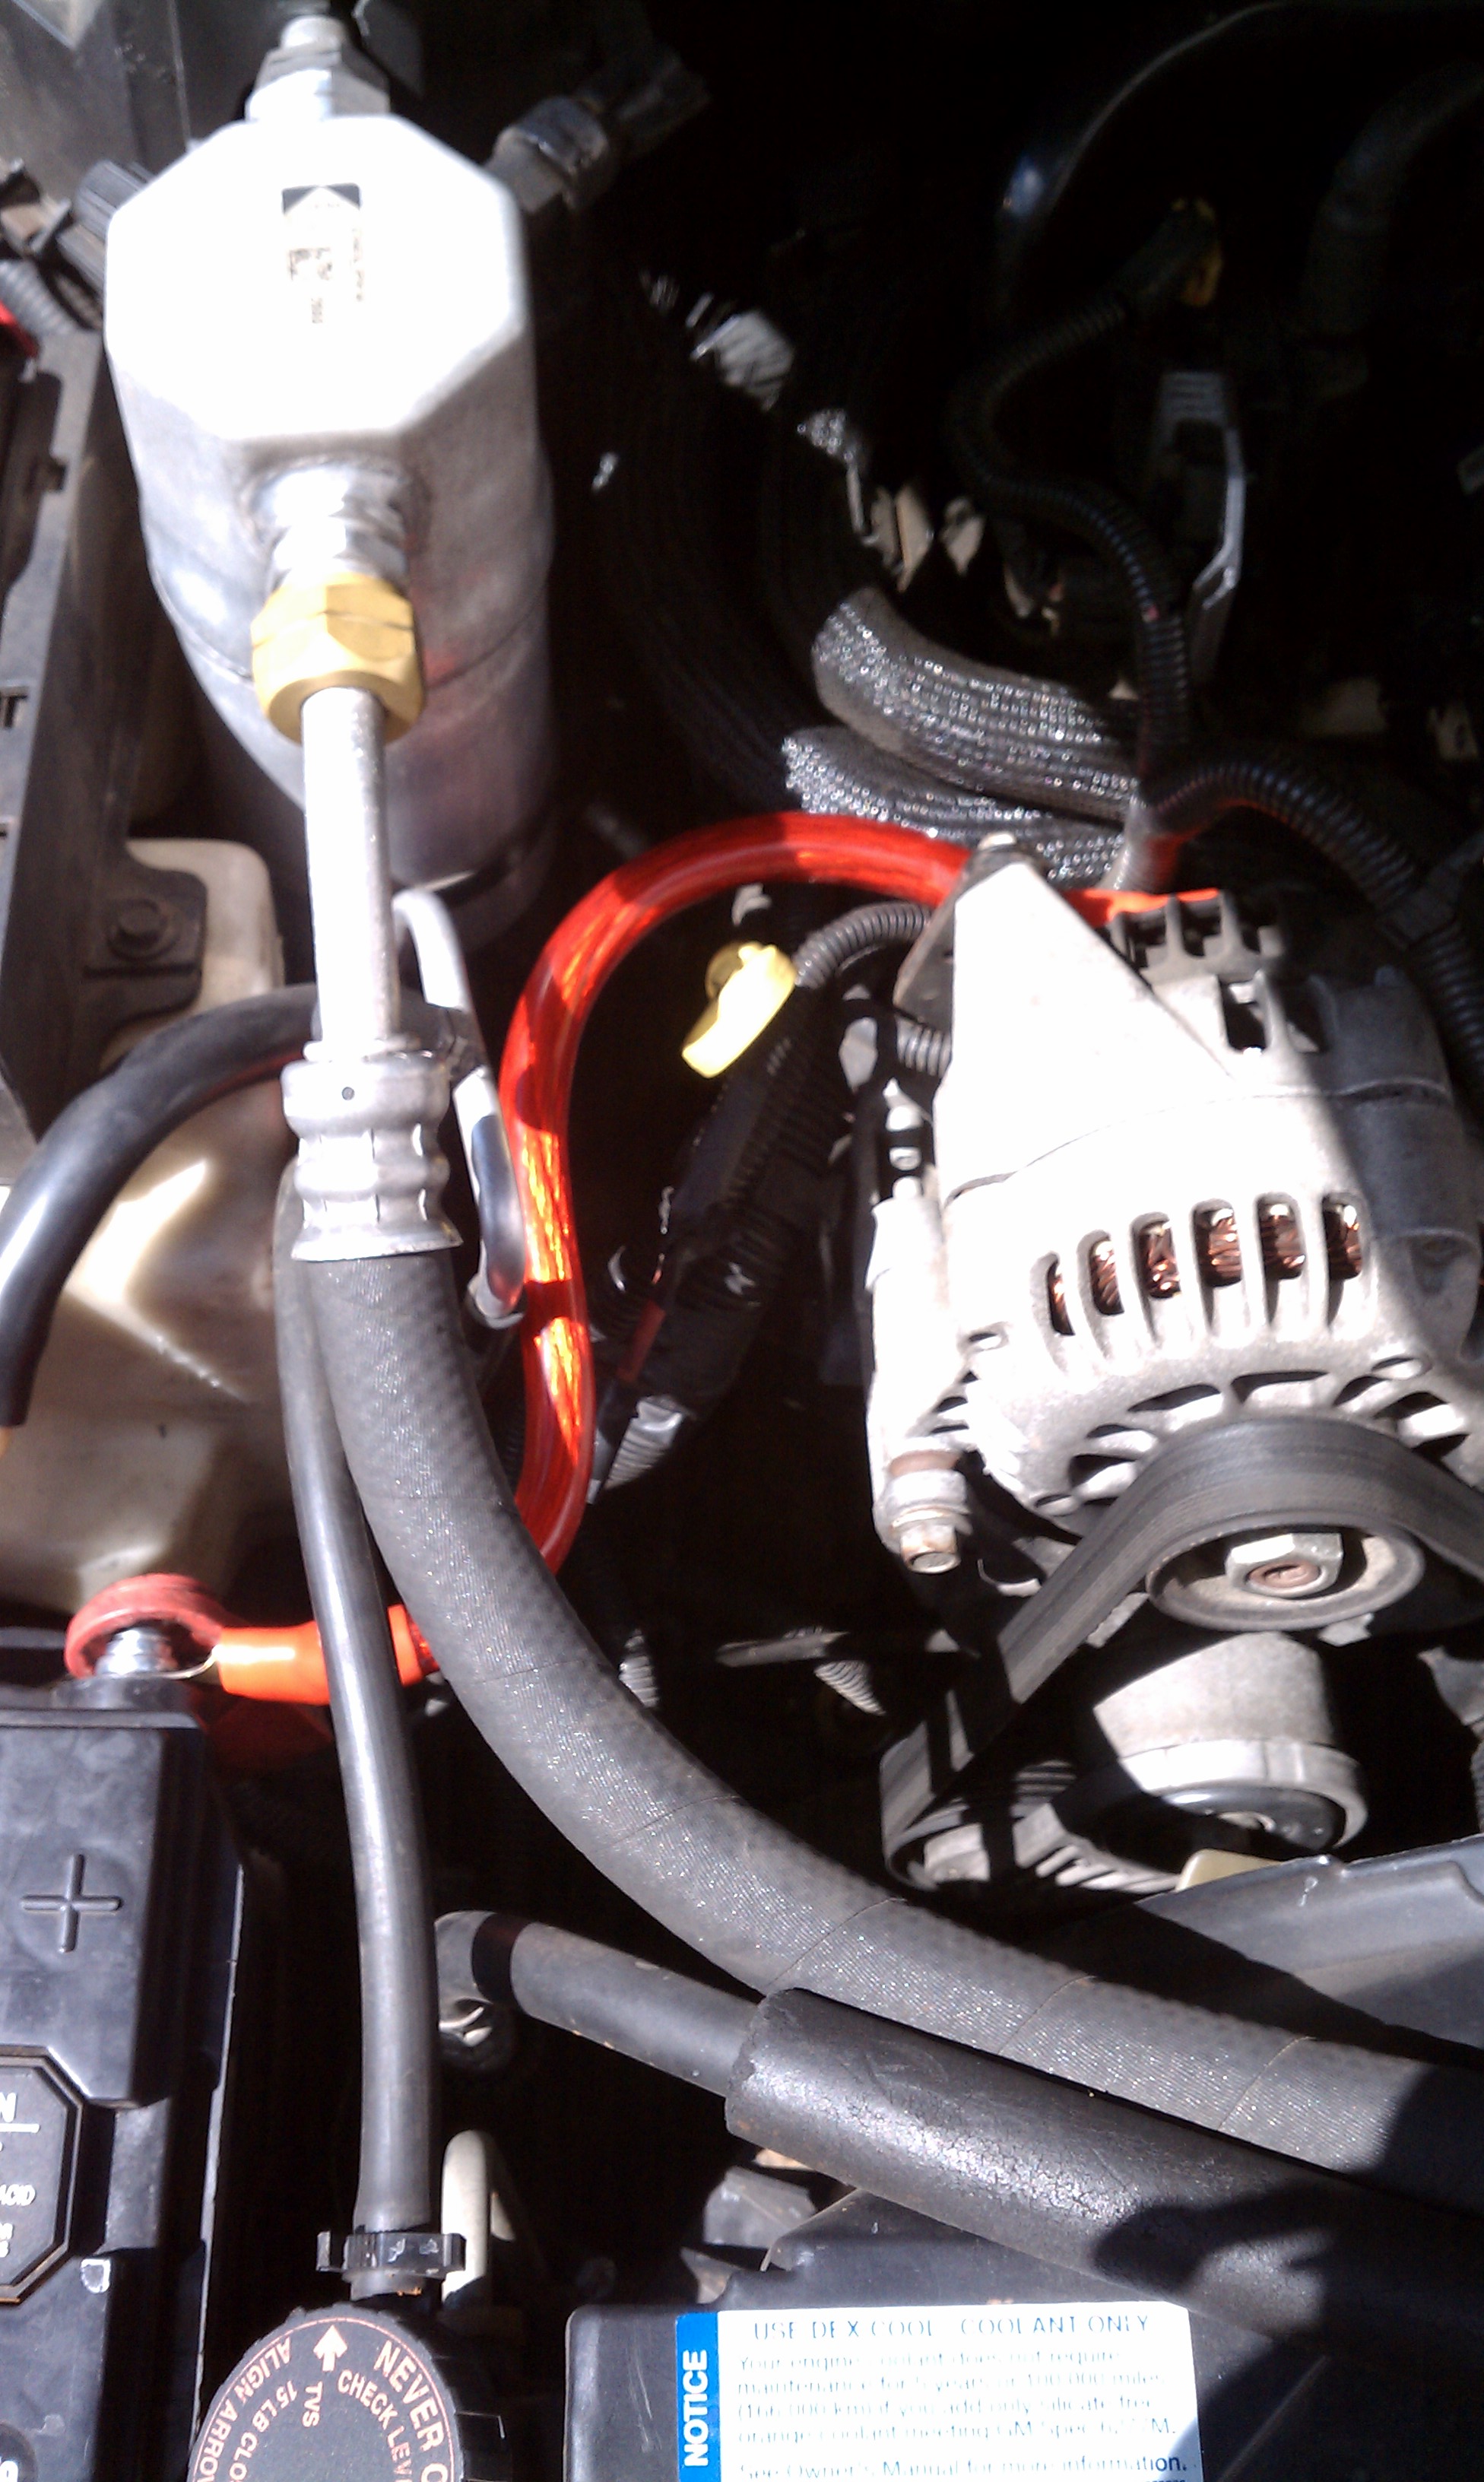
Now go to your truck and just bolt everything into the locations you choose to use as grounds. For the alt wire you will remove the + nut on the back side of the alt and slide your terminal over that and just reinstall the nut and tighten it up then the other end goes to the + on the battery where as the rest will go to the - side of the battery. Be sure to use the sandpaper to remove any deposits or paint under your terminals to ensure a good contact surface for the grounds. You should also leave all of your factory istalled wires attached and use these in addition to them.
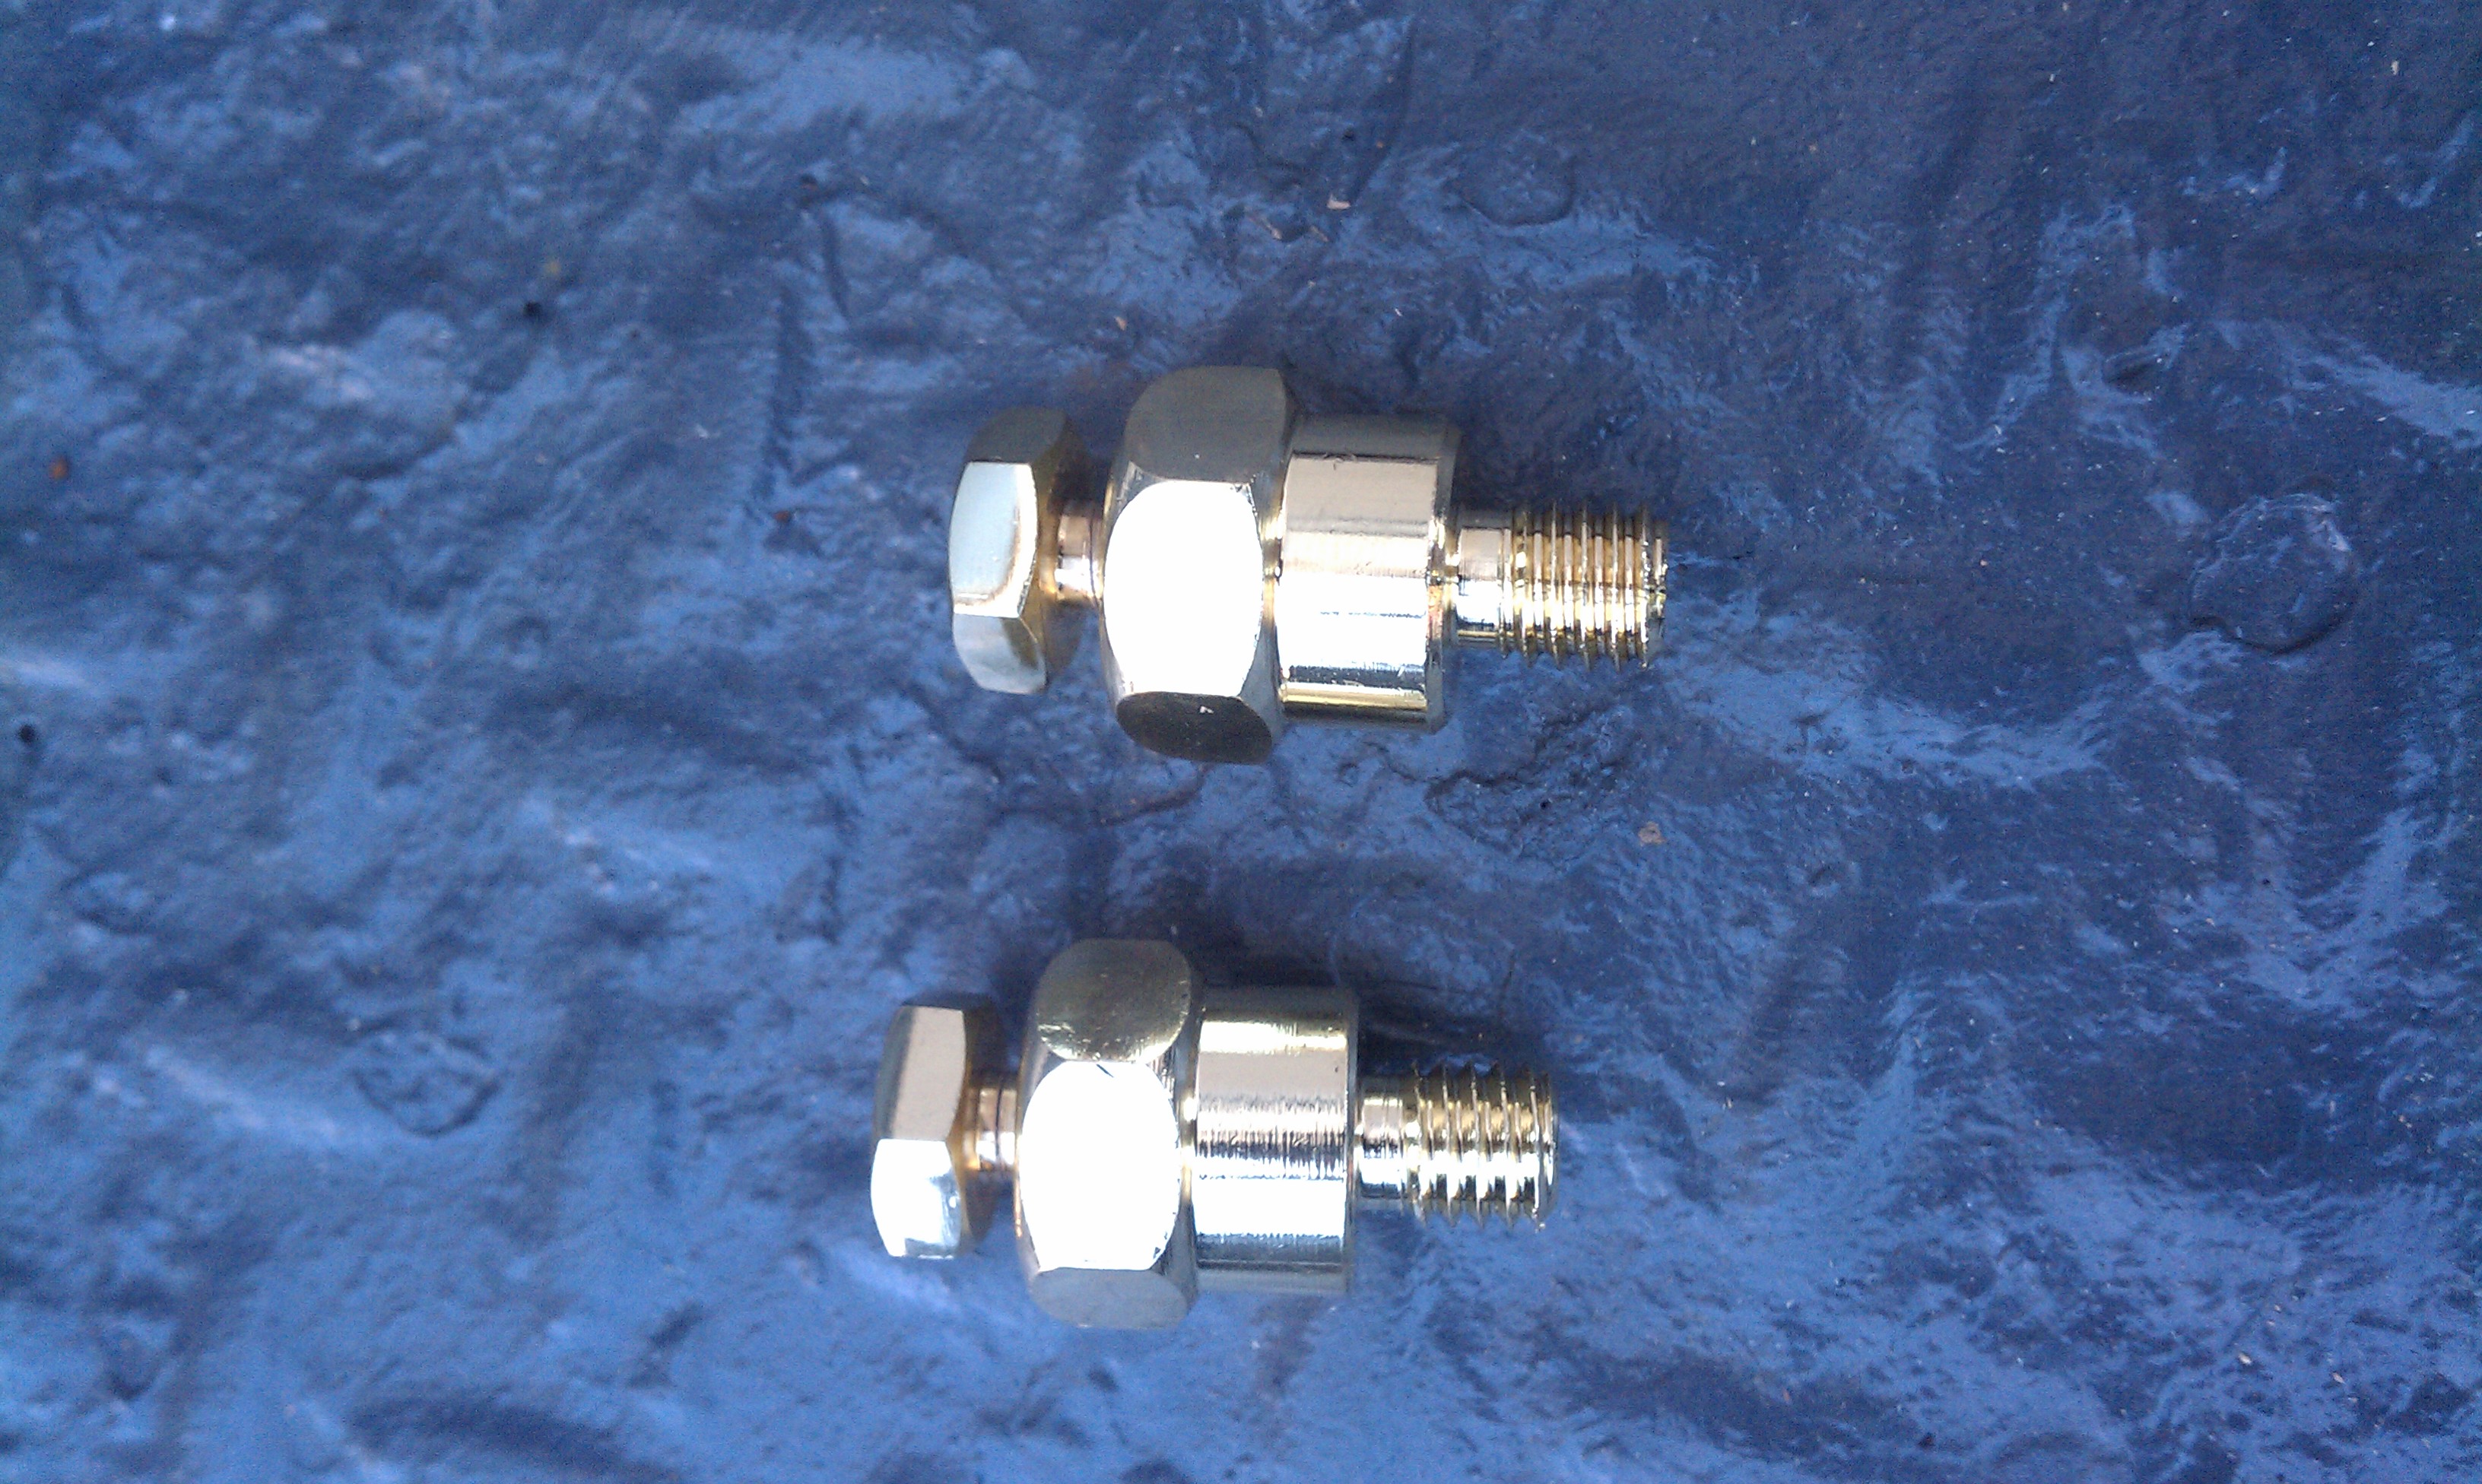
I used these new terminals to make life easier and they were only $9 shipped on ebay. I don't have to worry about stripping the battery sideposts out this way either.
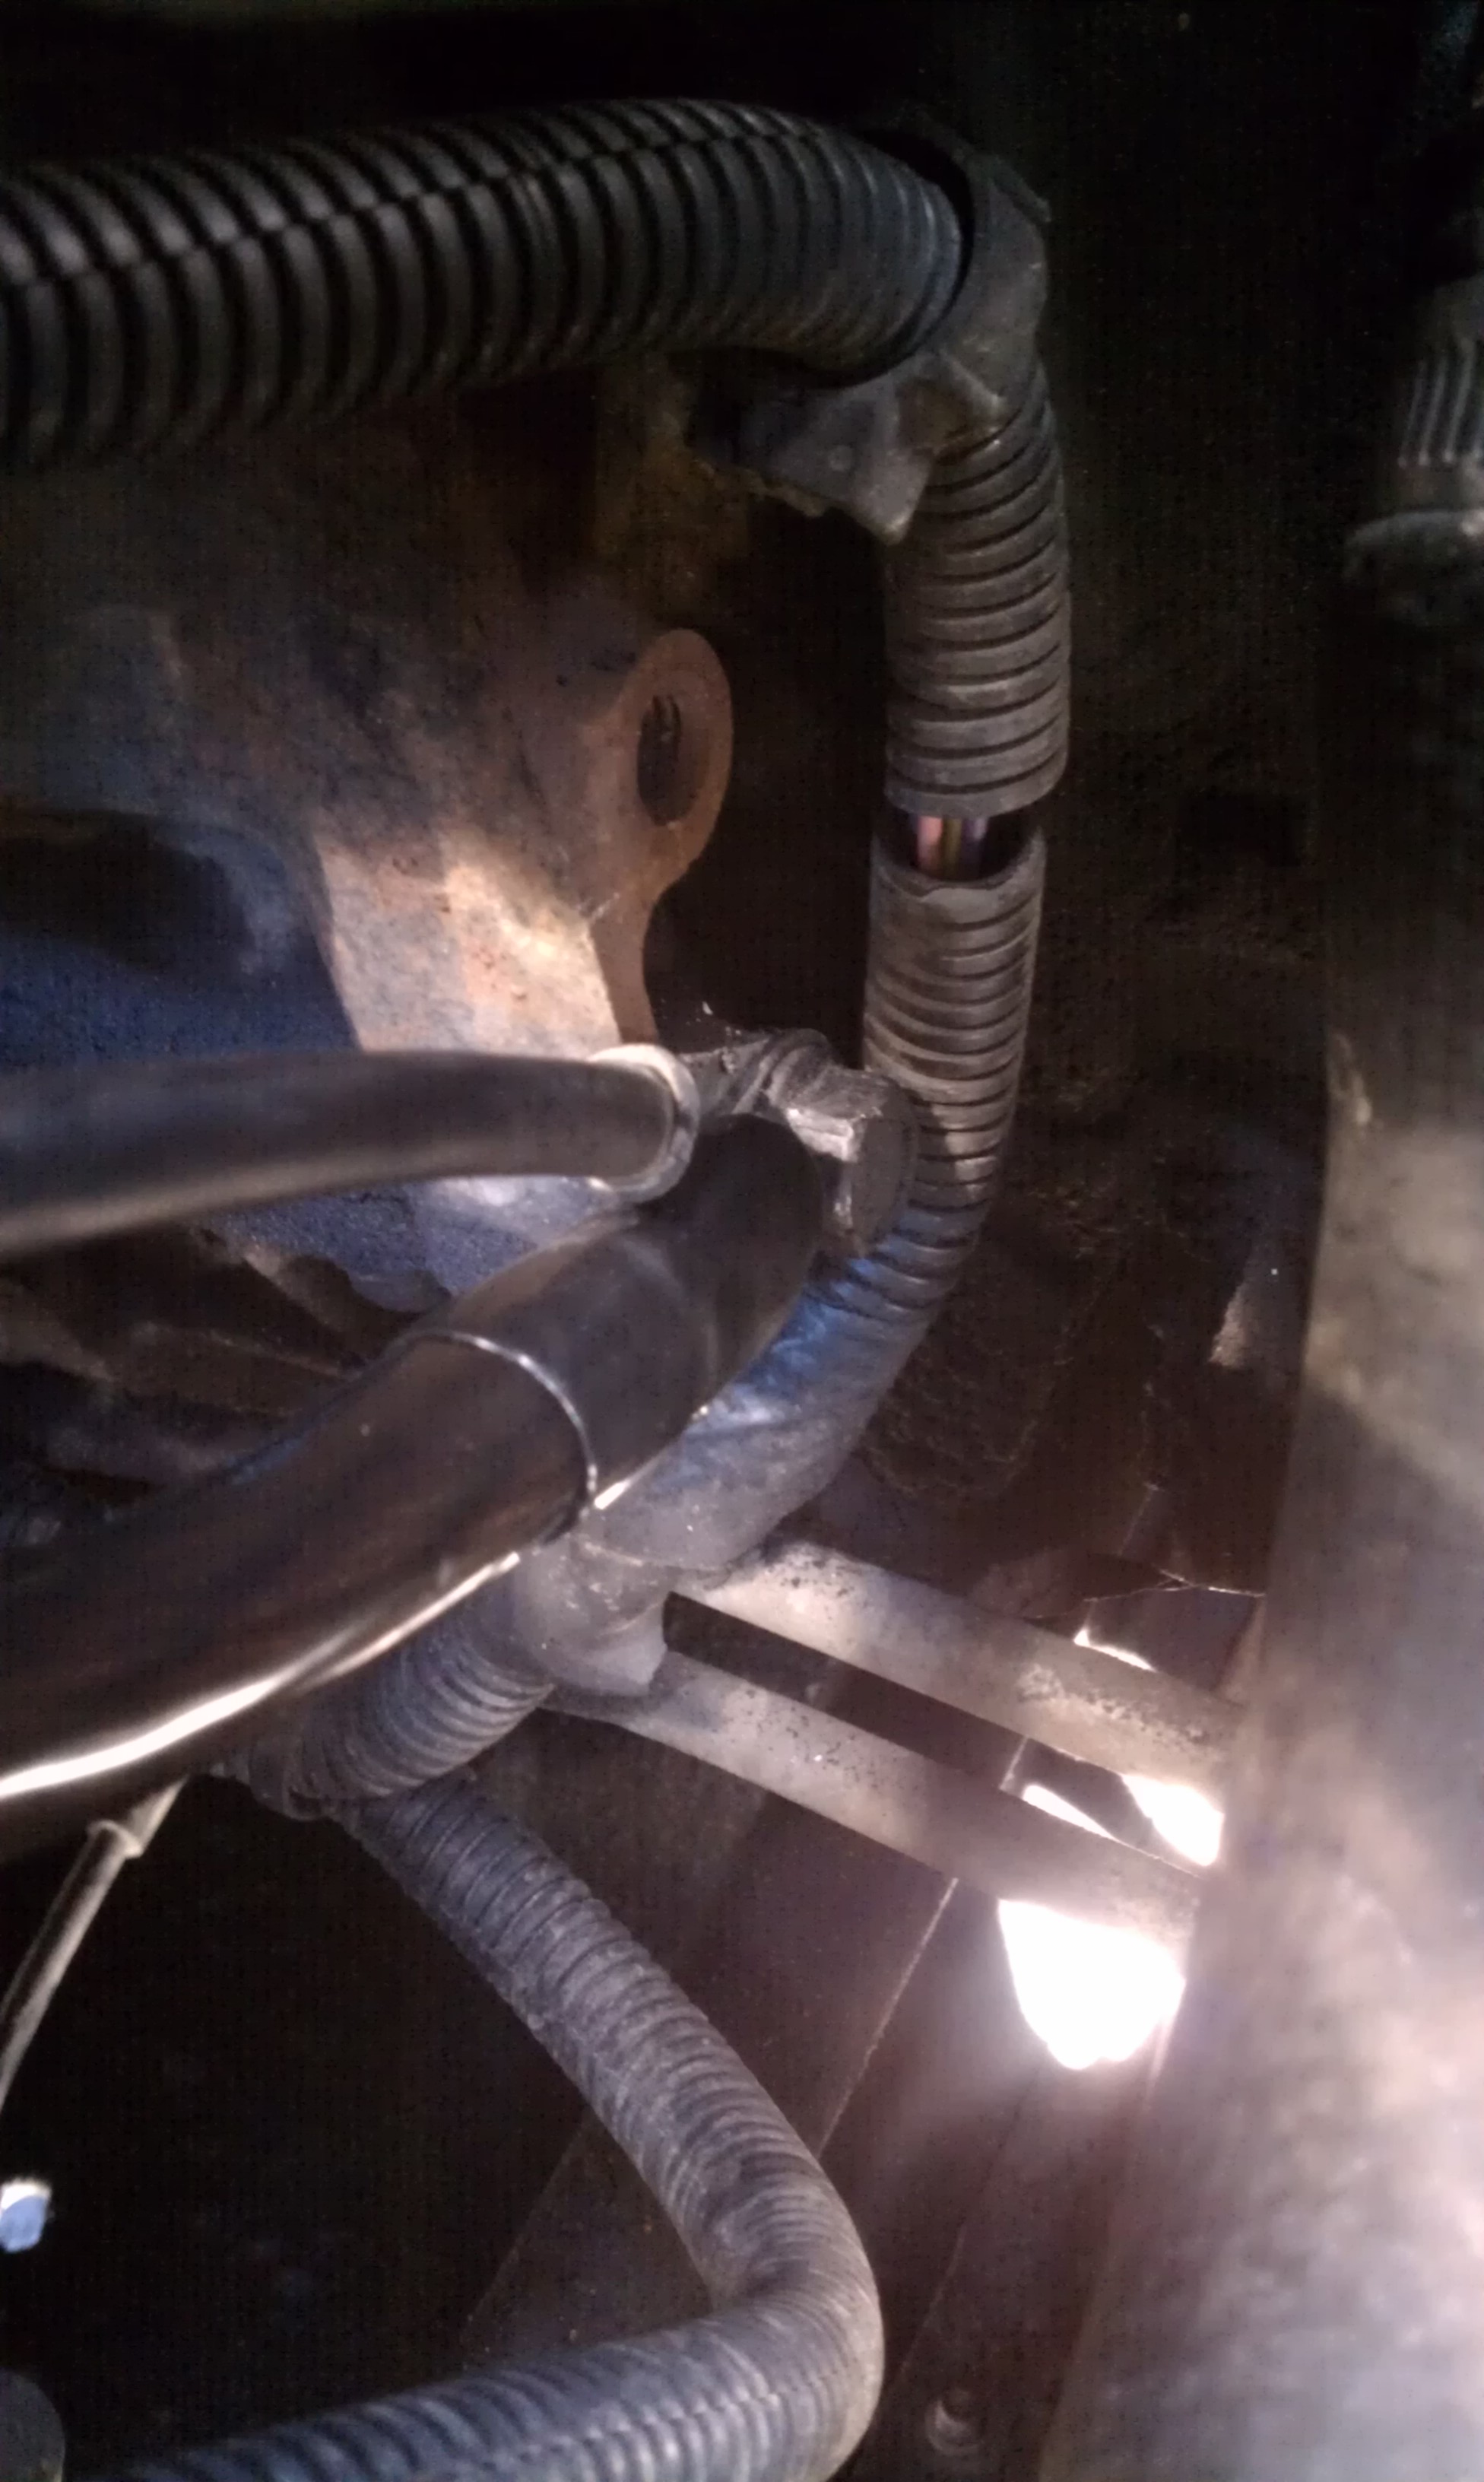
Now its just a matter of attaching all of your wires to the ground on the battery and you are pretty much done! Here's a shot of the block ground connection.
And another of them all installed at the battery.
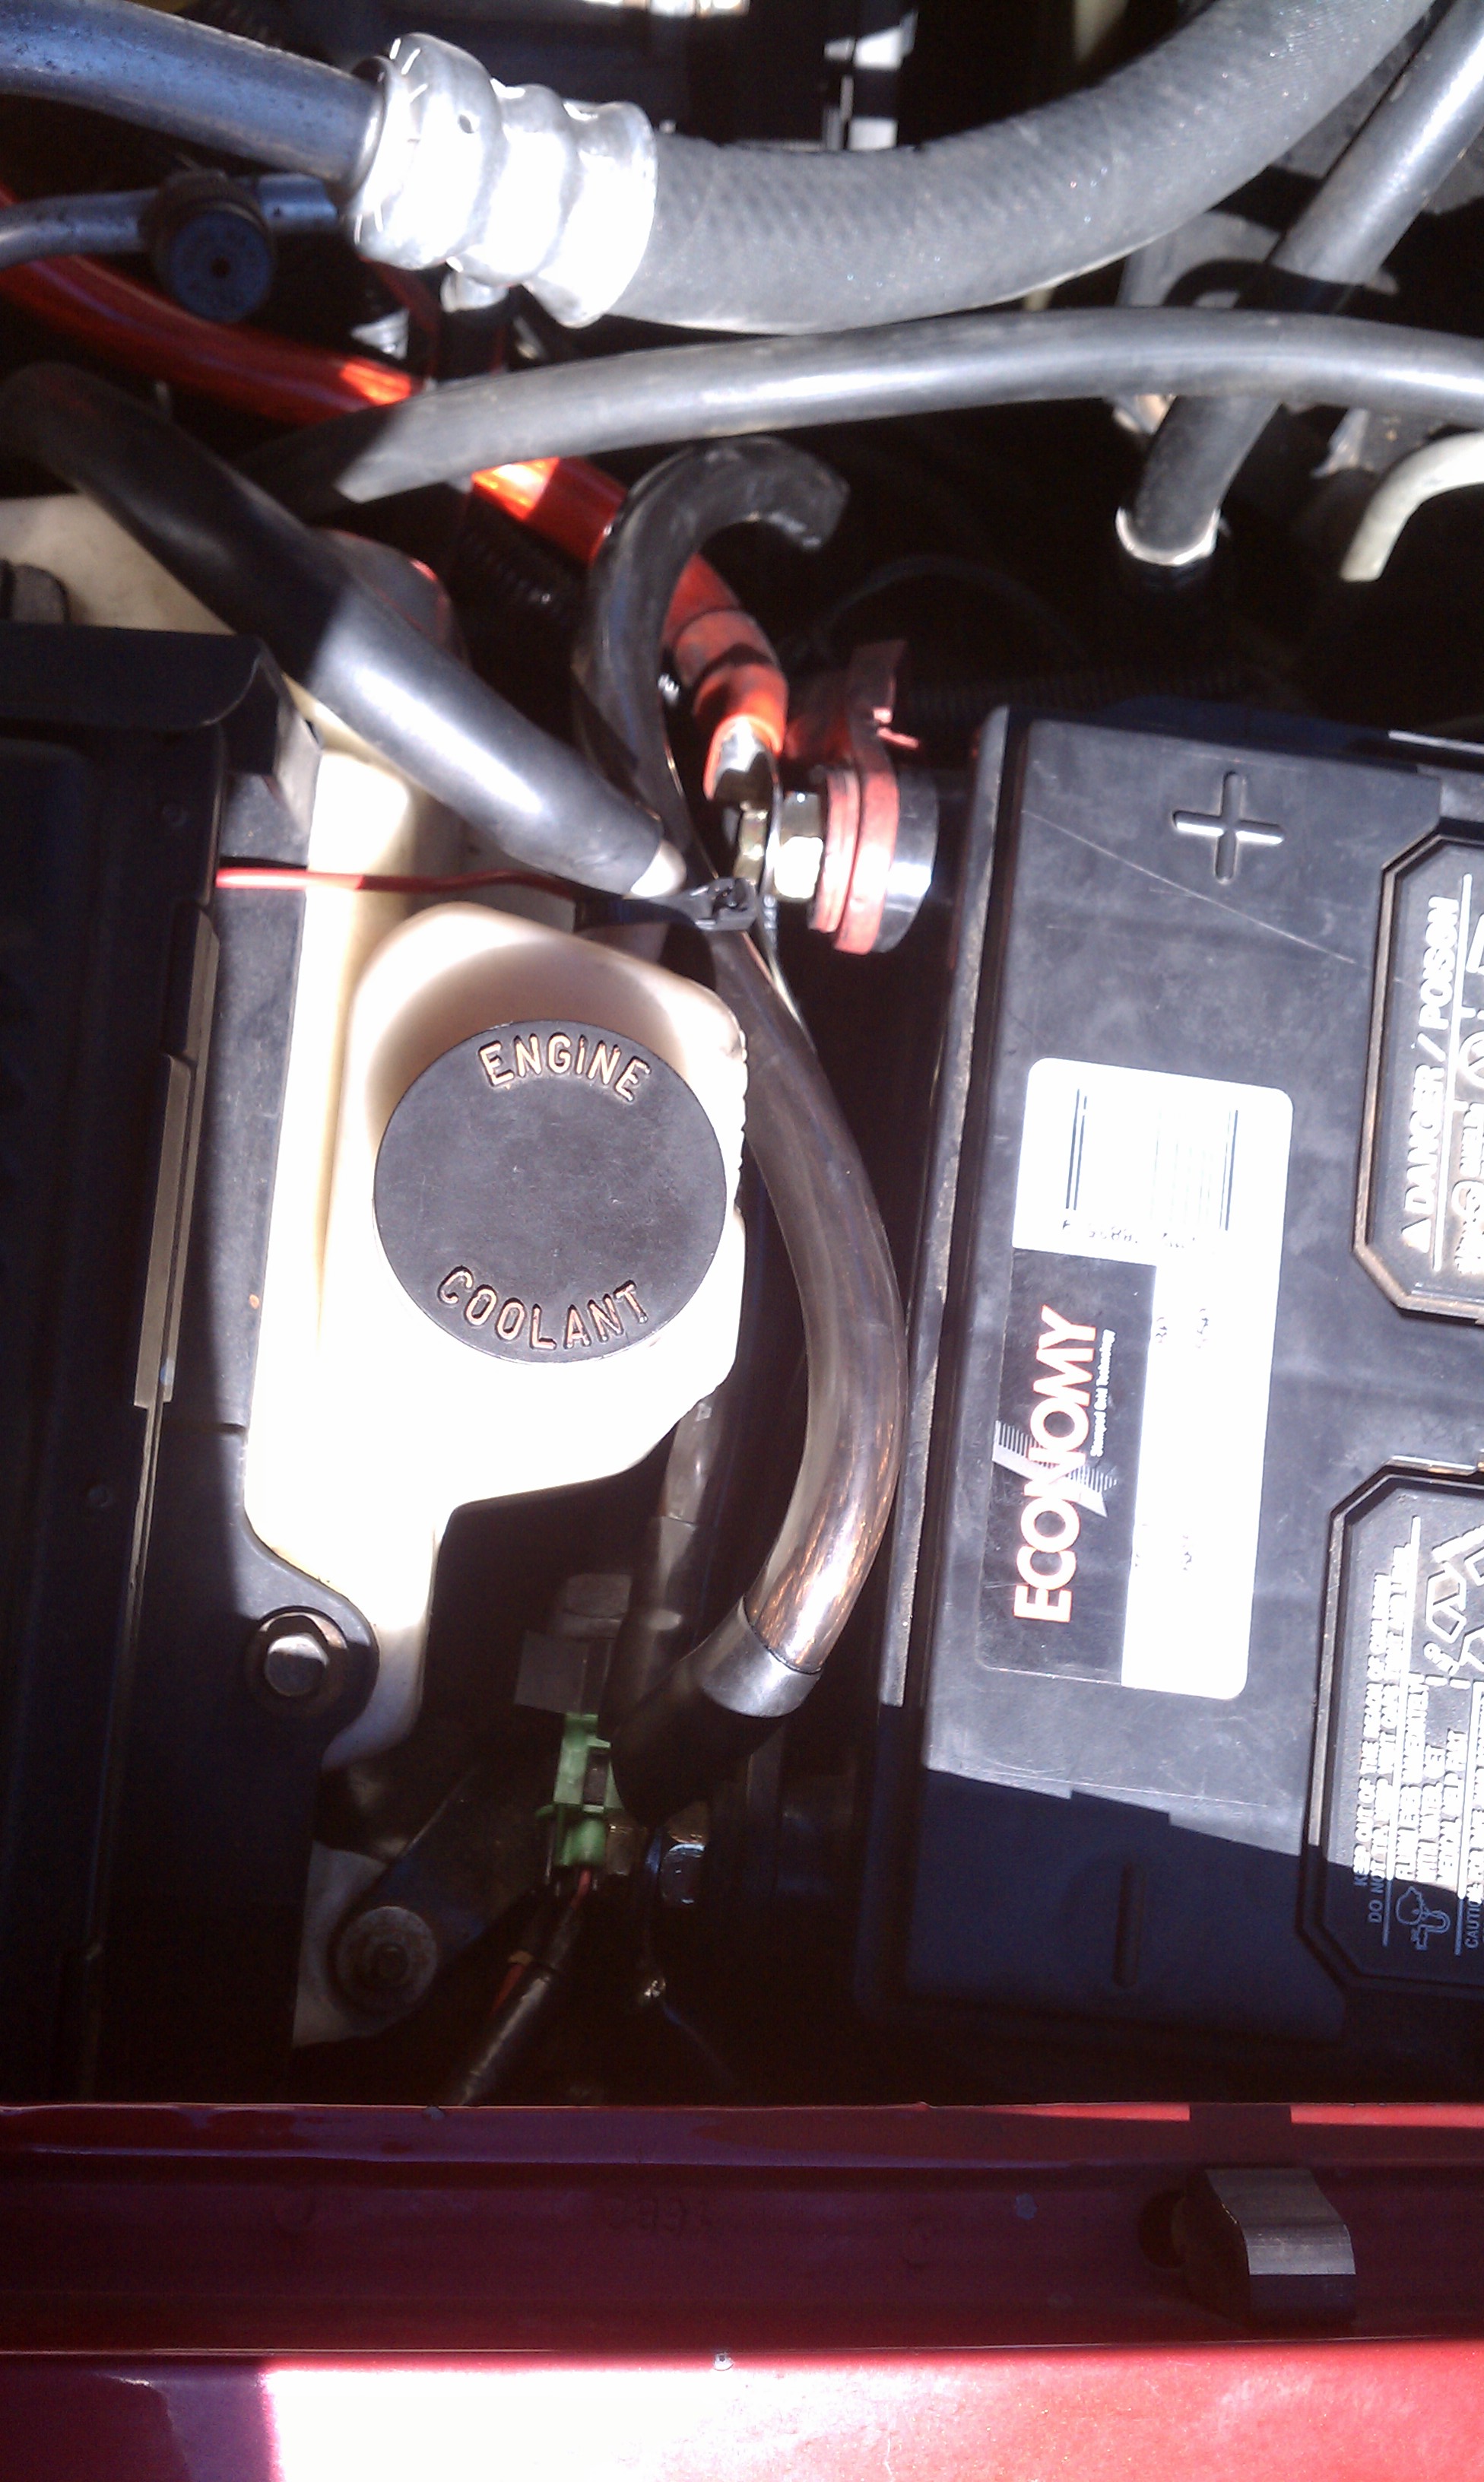
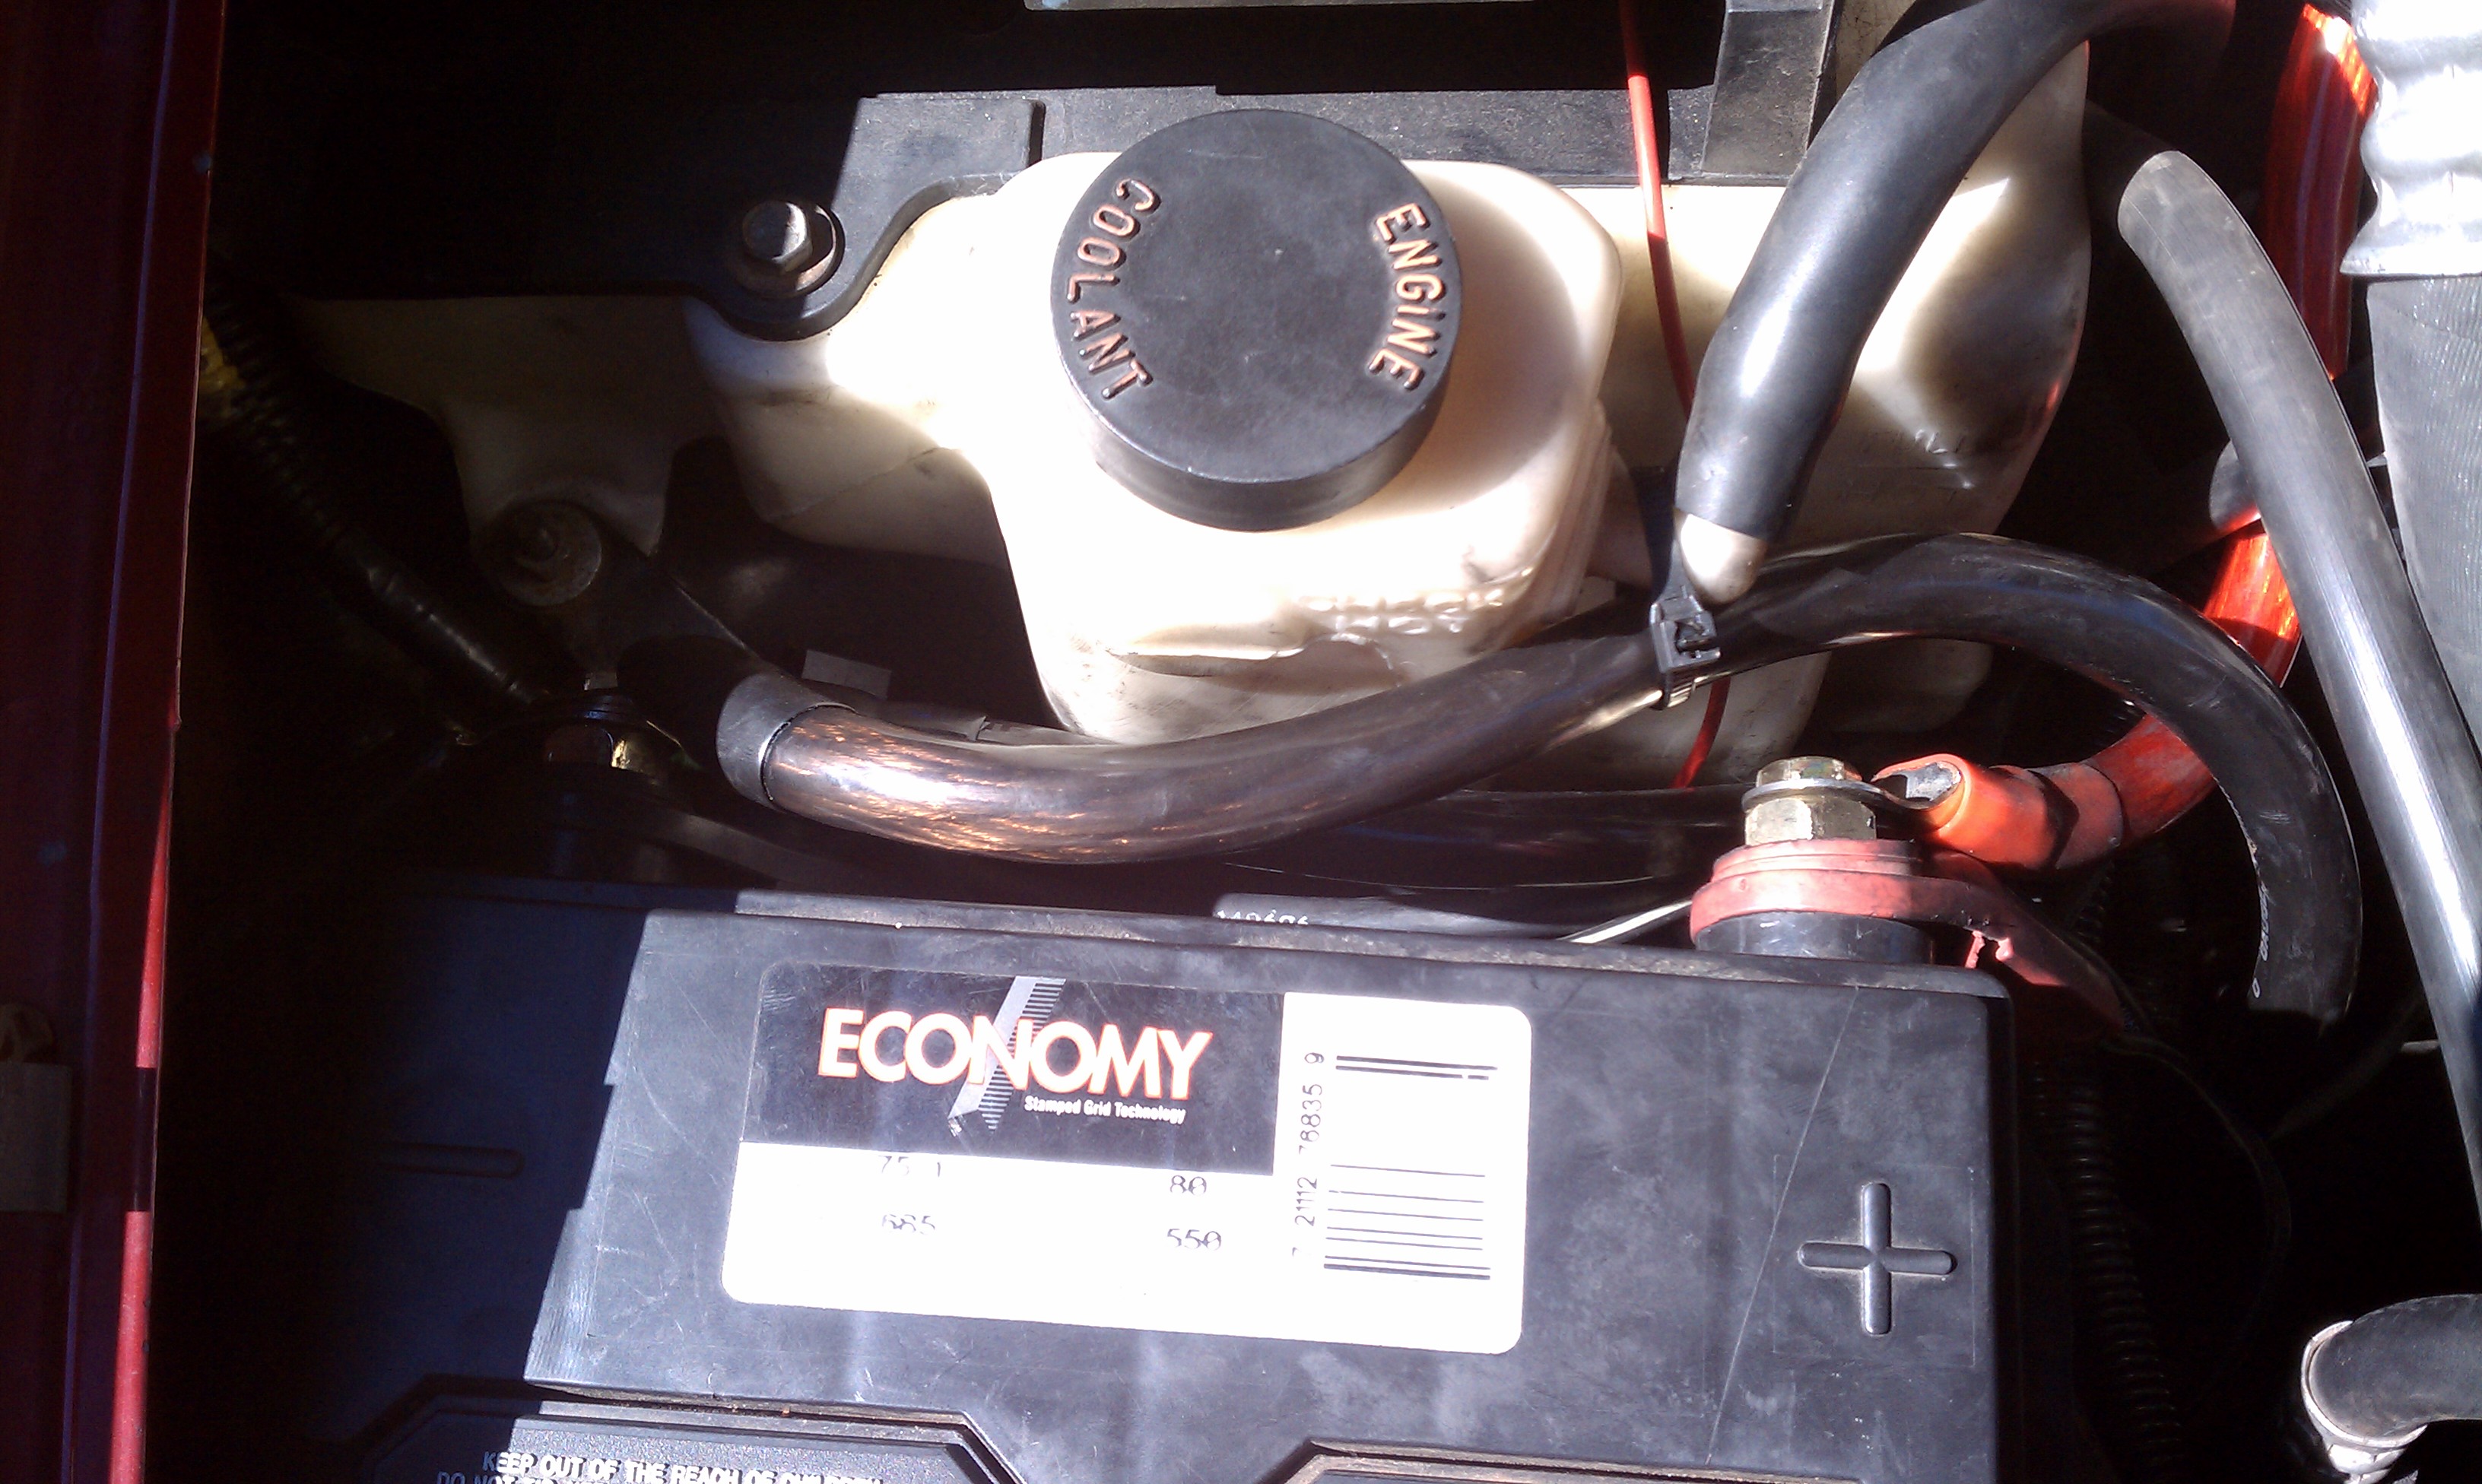
You can see in this shot I used a zip tie to hold the wire out of harms way against the overflow tank. There are a few more further down as well.
With everything isntalled just recheck that all of your wires are in a safe location away from moving or extremly hot parts and start your truck!
Now I just need to get an optima yellow top battery and I think I am going to do the AD244 swap as well just to be prepared for all of the lights and winch I plan to intall when I find the right deals.
If anyone has any questions please feel free to ask I'm no expert and did this from what I have found on this and other forums but I will be glad to help if I can
The big 3 upgrade!
Supplies (this is what I used yours may be different)
*1ft 0ga red wire
*5.5ft 0ga black wire
*8 0ga ring terminals and boots
*Electrical solder and flux
*razor blade
*light grit sandpaper
*2 gold battery termianl posts with accessory screw
Tools
*Bench vise
*Torch
*Various wrenches and sockets
*measuring tape
*Hack saw
To get started you will need to measure out the lengths of wire you will need. I actually used 4 wires 1. to the engine block 2. frame 3. body 4. alt. I used the factory ground points as my locations and just cleaned them up with some fine grit sandpaper. Once you have all of your lengths determined its time to cut your wires. I clamped the wire in the vise and used the hack saw to cut my wires. If you have a big enough wire cutter you can of course use that but I don't so the hack saw worked just fine for me.
Next you will want to slide the terminal boots over the and down the wires out of the way for later. Tip: if you put a little dish soap inside the boots they will slide on alot easier.
Once that is done you will need to install the terminals. To start lightly clamp the wire in the vise and use a terminal to determine how far back to strip the wire. Use the razor and cut away the outside of the wire so that terminal can be installed. You will want to leave a small recess on on the end of the terminal which I will explain soon.
Now that your wire is stripped you will need to apply flux to the wire and the inside of the terminal and then fit them together.
Now use the vise to crimp the terminal together for a tight slip free fit. Notice the small recess on the top?
Now its time to start your solder. I had never done this before on anything but a pipe so I jumped on youtube and watched a couple videos quick. Basically you will heat the back side of the terminal until the solder melts. You should see it disapeering into any cracks and crevases until they are full and then you will form a puddle in the recess that you left earlier. When you are finished it should look something like this. (keep in mind I have never done this before so sorry its kinda ugly lol)
Now that you have let everything cool you will need to slide the boots up the wire onto the terminals like this.
Now just repeat this with the rest of your wires and you are almost done with the upgrade!
Now go to your truck and just bolt everything into the locations you choose to use as grounds. For the alt wire you will remove the + nut on the back side of the alt and slide your terminal over that and just reinstall the nut and tighten it up then the other end goes to the + on the battery where as the rest will go to the - side of the battery. Be sure to use the sandpaper to remove any deposits or paint under your terminals to ensure a good contact surface for the grounds. You should also leave all of your factory istalled wires attached and use these in addition to them.
I used these new terminals to make life easier and they were only $9 shipped on ebay. I don't have to worry about stripping the battery sideposts out this way either.
Now its just a matter of attaching all of your wires to the ground on the battery and you are pretty much done! Here's a shot of the block ground connection.
And another of them all installed at the battery.
You can see in this shot I used a zip tie to hold the wire out of harms way against the overflow tank. There are a few more further down as well.
With everything isntalled just recheck that all of your wires are in a safe location away from moving or extremly hot parts and start your truck!
Now I just need to get an optima yellow top battery and I think I am going to do the AD244 swap as well just to be prepared for all of the lights and winch I plan to intall when I find the right deals.
If anyone has any questions please feel free to ask I'm no expert and did this from what I have found on this and other forums but I will be glad to help if I can
Last edited by rexmburns; Sep 12, 2012 at 02:50 PM.
Awesome job, looks pretty easy, as I expressed before, will be a bit tougher for me since the alt is on the drivers side, so finding a place to run the wire across will be interesting.
Any suggestions on that?
Any suggestions on that?
Thread Starter
|
Super Moderator
Joined: Sep 2011
Posts: 4,459
From: Northern VA
Can you zip tie it to your factory wire that runs across? Thats one thing I forgot to mention is to leave all of the factory wires in place as well. I'm sure you knew that but I'm going to edit my post to say that as well!
the factory wire goes into a loom and runs along the back of the motor and around I believe. I will have to double check, the casing on the wire is pretty thick stuff, so I could probably run it under the throttle body and zip tie it to some wires around there.
and yup, all the stock wires are staying hooked up
and yup, all the stock wires are staying hooked up
