
My small 96 Blazer build
#691
 09-23-2013, 02:27 PM


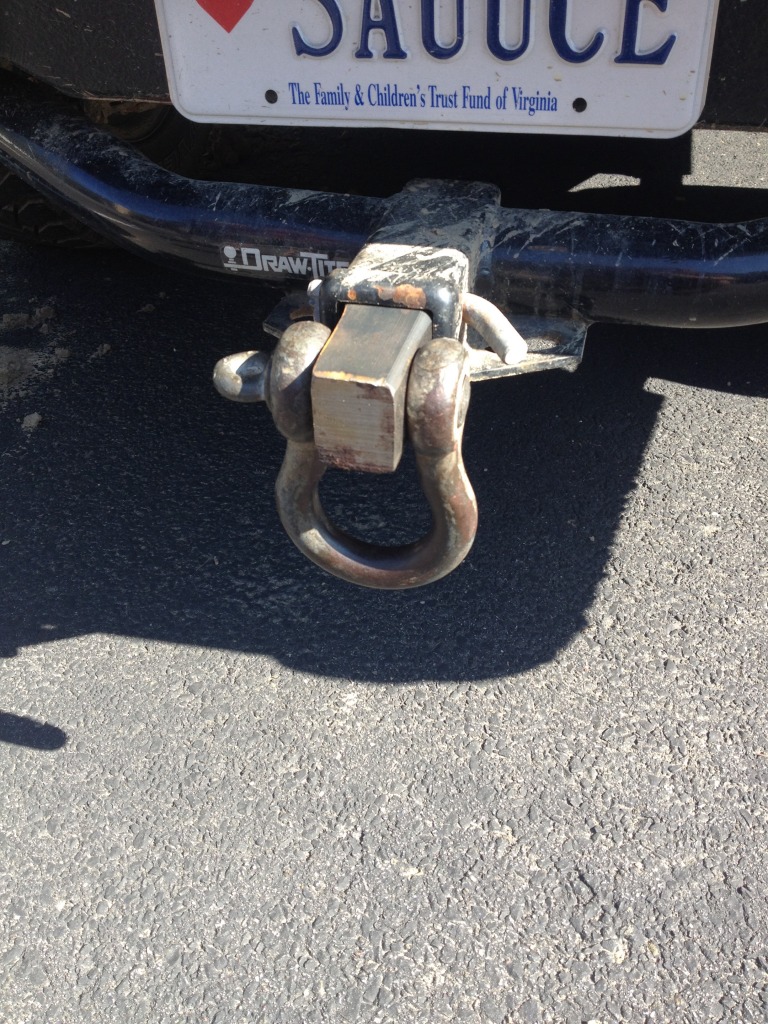
Finally after months of waiting my rear shackle has returned from the machine shop that is my step fathers job in Arkansas!
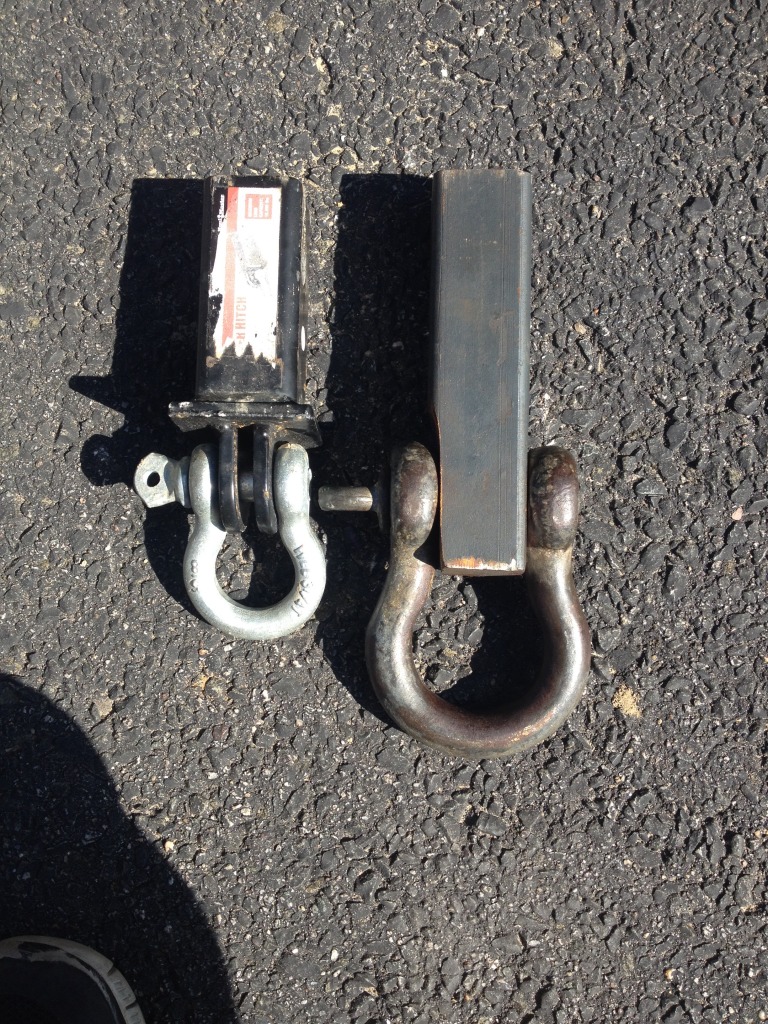
Old and tiny
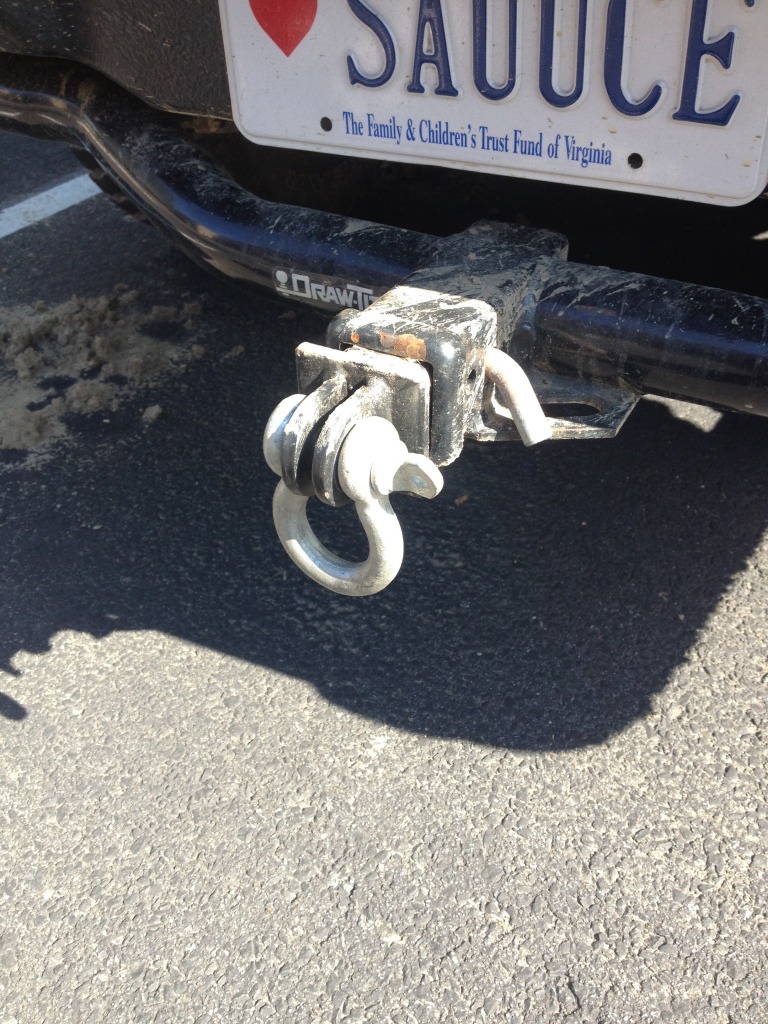
New and not so tiny
Side by side
I'm not super happy with how he only machined material off of one side of the bar but whatever I think it should still serve it's intended purpose just fine
Old and tiny

New and not so tiny

Side by side

I'm not super happy with how he only machined material off of one side of the bar but whatever I think it should still serve it's intended purpose just fine
#693
09-24-2013, 06:17 AM

That's damn nice. I see what you mean though, it would have looked a little better if it had been machined down symmetrically. That shackle is bad *** enough that no one is going to notice though.

#695
09-24-2013, 03:25 PM
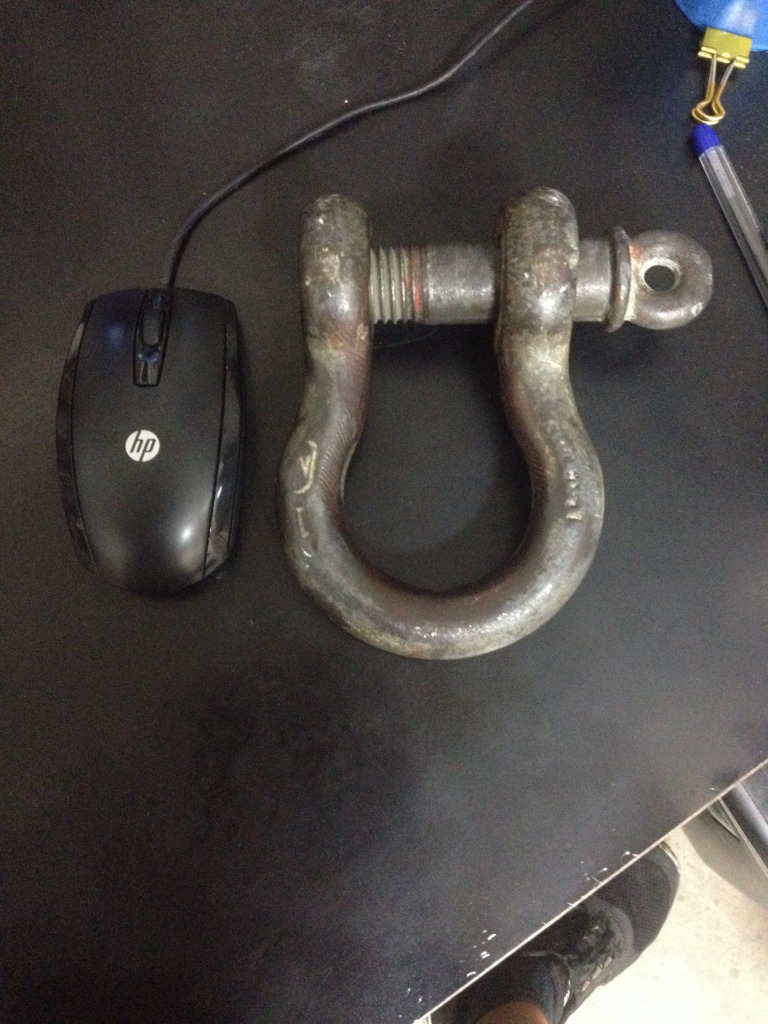
Yeah I think I will get over it lol! I doubt I would have been able to stretch it any for a couple reasons. 1. because then the threads wouldn't have as much contact to grip 2. cause it would probably throw off the pin alignment and 3. and the biggest challenge is just the size of it would be a bear to stretch! Here's a shot for size comparison next to a standard size computer mouse.

#696
09-26-2013, 03:15 PM
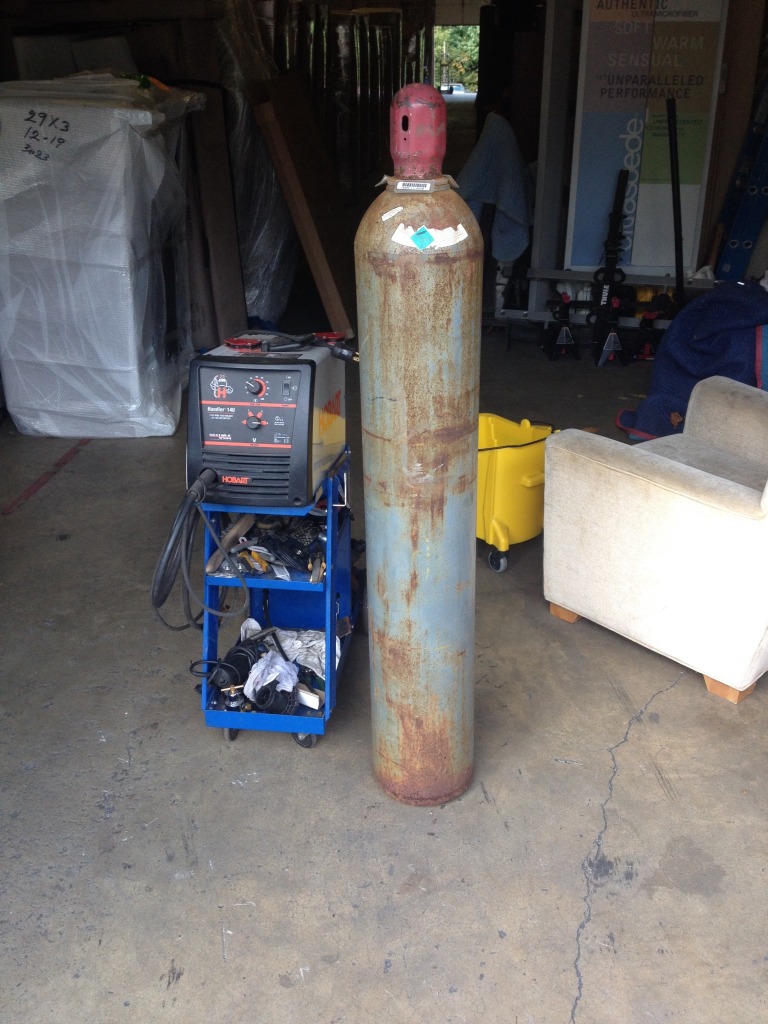
Well after a few months of patiently waiting/not really caring about not having one I finally picked up an argon tank so no more flux splatter everywhere lol! I have called around and price shopped buying a tank from local shops and decided to hold out until I could find a tank and just buy one. Well I found one its a huge 330cu ft tank lol! I had to do some research to find a place that would recertify and fill it for me do to the size and fact that no one actually sells them this large but I found a place about 10 miles away that will do everything I need. I paid ready for it.......... $99 for the tank!! It will cost me $25 to have it certified and another $165 to have it filled for a total of $289.
If that seems expensive figure this the cost a an 80cu ft tank is $160 plus another $65 to fill it for a total of $230. My tank is 4.12 times the size of an 80cu ft tank so if you do the math that equals $267.80 just for gas and add the cost of the tank on there and you are now at $427.80. That's a savings of $138.80! I think it was a good buy if you ask me. Not to mention with the amount of welding that I do this tank will last me a couple years.
Oh and heres a pic
its a huge 330cu ft tank lol! I had to do some research to find a place that would recertify and fill it for me do to the size and fact that no one actually sells them this large but I found a place about 10 miles away that will do everything I need. I paid ready for it.......... $99 for the tank!! It will cost me $25 to have it certified and another $165 to have it filled for a total of $289.If that seems expensive figure this the cost a an 80cu ft tank is $160 plus another $65 to fill it for a total of $230. My tank is 4.12 times the size of an 80cu ft tank so if you do the math that equals $267.80 just for gas and add the cost of the tank on there and you are now at $427.80. That's a savings of $138.80! I think it was a good buy if you ask me. Not to mention with the amount of welding that I do this tank will last me a couple years.
Oh and heres a pic

#697
09-26-2013, 04:34 PM
Sweet find! Now we get to see how your welding skills hold up with better tools!
#699
09-26-2013, 10:24 PM
great job on the rock sliders im super jelious and have to get my *** in gear to get some steal for mine but been procrastinating. ive been getting mine ready for the dreaded Canadian winter slowly creeping up on us.
#700
10-01-2013, 02:54 PM
Well a trip to HD and $30 later I have the hardware I need to actually bolt this thing on! So I got a bit more done today but not finished yet had to leave to go to daddy's day at Bentley's daycare
Took some 2"x3/16 steel I had cut it to length and bent it to fit the quarter panel


Drilled a couple holes

Test fit to make sure everything lines up

Then I used a bolt and some washers to hold the nut in place and welded the nuts to the steel making them captured nuts
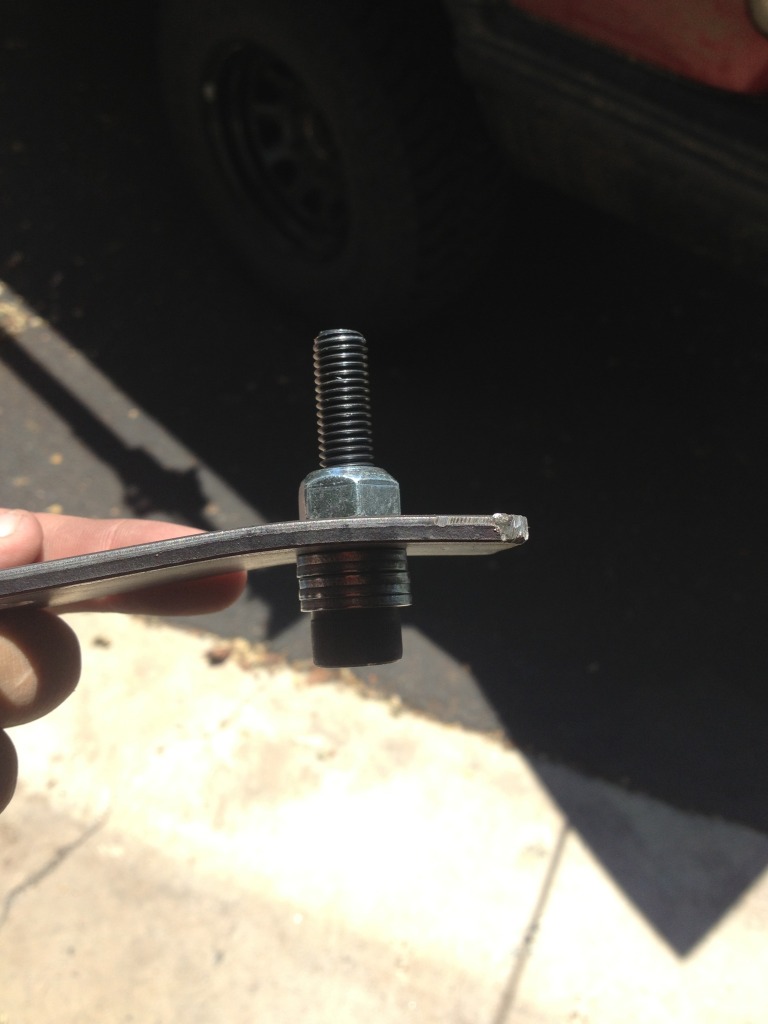
Some ugly welds cause I just didn't care
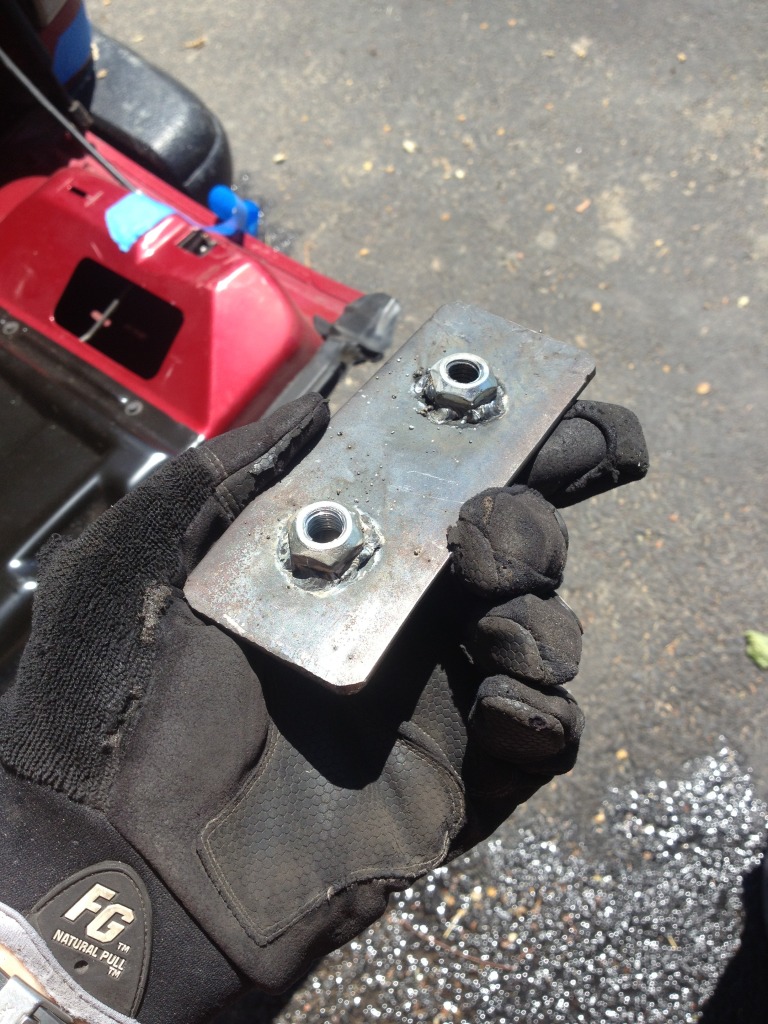
Did the same thing for the third hole but a smaller piece of steel

Painted the bare steel

Also added some weather stripping to the feet of the carrier


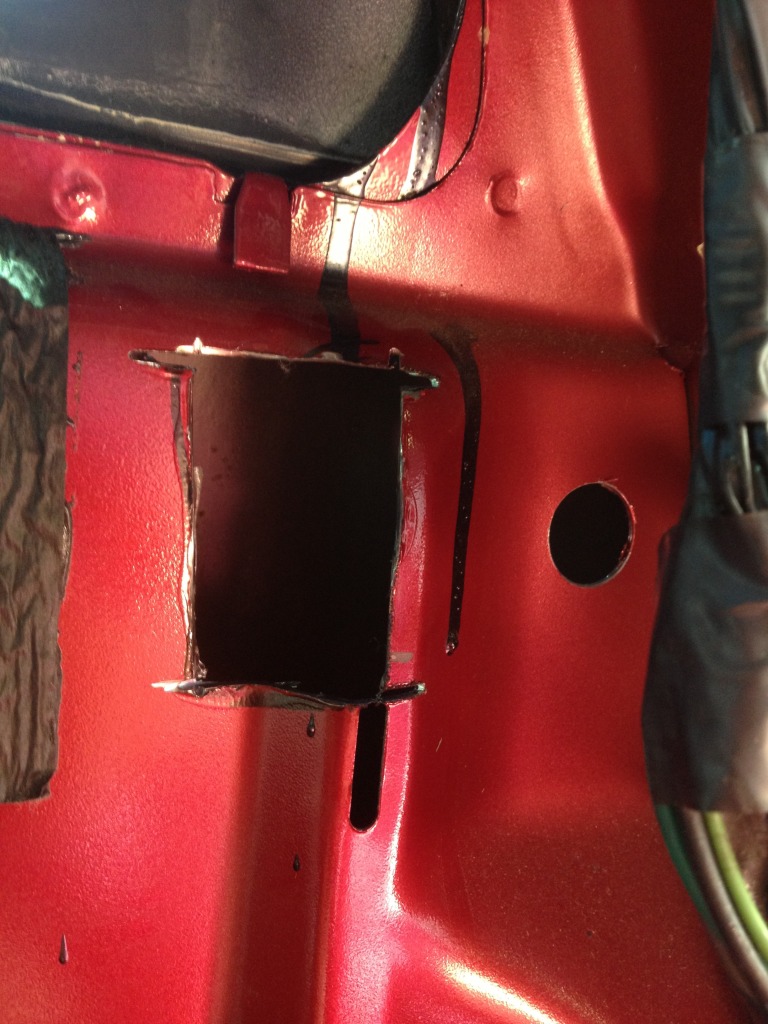
Then I cut an access hole just large enough to get the steel thru
I also got smart and attached a piece of wire to the steel incase I dropped it! (Which I did on my first attempt lol)

Here's the top foot bolted on.

I have the brackets bent and welded for the bottom foot as well. It's separated and ready to be bolted on then put the pins back in along with the carrier then I will tighten the feet down. After that all that's left is the lock plate and I will be a member of the four door tire carrier club!
Took some 2"x3/16 steel I had cut it to length and bent it to fit the quarter panel
Drilled a couple holes
Test fit to make sure everything lines up
Then I used a bolt and some washers to hold the nut in place and welded the nuts to the steel making them captured nuts
Some ugly welds cause I just didn't care
Did the same thing for the third hole but a smaller piece of steel
Painted the bare steel
Also added some weather stripping to the feet of the carrier
Then I cut an access hole just large enough to get the steel thru
I also got smart and attached a piece of wire to the steel incase I dropped it! (Which I did on my first attempt lol)
Here's the top foot bolted on.
I have the brackets bent and welded for the bottom foot as well. It's separated and ready to be bolted on then put the pins back in along with the carrier then I will tighten the feet down. After that all that's left is the lock plate and I will be a member of the four door tire carrier club!