When you click on links to various merchants on this site and make a purchase, this can result in this site earning a commission. Affiliate programs and affiliations include, but are not limited to, the eBay Partner Network.
Les, I tried the spit on the suction cup many times, that was the only way I could get it to work even a little lol then it would always slip off a few seconds after I started lapping. Maybe I got a bad tool, that spring idea sounds like it might work but I don't have a spring like that to try it. I ended up making my own tool, pictured below, it seems to do the job and hasn't fallen off yet while I was lapping. That being said I think the first valve is ready at last, it took a little longer than expected because I kept checking it with the prussian blue. Les if you could check out the pictures with the prussian blue on and let me know what you think that would be great.
Way too much blue is the problem. Just need very very thin coat - just enough to color - then gets wiped off just where the metal on valve touches metal on seat. And shouldn't need to lap for very long with new valves - so easy does it! Apply only a very thin coat of blue, wiping most of it off, then hold the valve in against the seat and turn it. You should see rings where it gets wiped off the metal on both the seat and the valve face. You did clean up all the lapping compound off the seat and valve before applying the blue, correct? (sorry, but I had to ask)
I think I see how you are using your home-made lapping tool..... putting the loose end of the hose on the valve coming through the valve guide, and then spinning the loose valve between your palms from the opposite side of the head while pulling valve against the seat??? That should work. Took me a while to imagine it. Just remember that it doesn't take a lot of pressure on the seat to do the lapping and it is best to go back and forth rapidly with the direction of turning. Good job.
Alright guys... First of all, thanks Les for those tips above they definitely helped out. Lapping the valves really kicked my a**, I almost threw the towel in and called up the machine shop to see how much for a resurface and to replace all the exhaust valves especially since I've been so busy lately. But they came back and wanted $550 for both heads, which just gave me more motivation to do it myself. I started to get the hang of things more near the end, the second head went much faster than the first. Here's the kicker, I thought I had a good seal on all the exhaust valves definitely and I wanted to check all the intake valves so I put all the valves in with valve springs then put old spark plugs in finger tight and put distilled water all over the valves to see if any would leak down. The passenger side head passed with flying colors, no water leaking anywhere. However, cylinder 5 intake and exhaust valves leak, very slow but regardless they leak. I find it weird the intake valve is leaking seen as I haven't lapped any of the intake valves, I guess I have to get back out there and keep lapping. Also, I took the rear main seal off, it barely could come out with the space between the crank and stand, not enough space to get it back in I don't think. I'm pretty much set on hanging the engine from my garage rafters, it is all trussed so I'll just do a few 2x6's screwed together then put that over a few of the trusses and hang the engine from that. I'll get started on that right after I get a good seal on these leaking valves and paint the heads.
Alright guys... First of all, thanks Les for those tips above they definitely helped out. Lapping the valves really kicked my a**, I almost threw the towel in and called up the machine shop to see how much for a resurface and to replace all the exhaust valves especially since I've been so busy lately. But they came back and wanted $550 for both heads, which just gave me more motivation to do it myself. I started to get the hang of things more near the end, the second head went much faster than the first. Here's the kicker, I thought I had a good seal on all the exhaust valves definitely and I wanted to check all the intake valves so I put all the valves in with valve springs then put old spark plugs in finger tight and put distilled water all over the valves to see if any would leak down. The passenger side head passed with flying colors, no water leaking anywhere. However, cylinder 5 intake and exhaust valves leak, very slow but regardless they leak. I find it weird the intake valve is leaking seen as I haven't lapped any of the intake valves, I guess I have to get back out there and keep lapping. Also, I took the rear main seal off, it barely could come out with the space between the crank and stand, not enough space to get it back in I don't think. I'm pretty much set on hanging the engine from my garage rafters, it is all trussed so I'll just do a few 2x6's screwed together then put that over a few of the trusses and hang the engine from that. I'll get started on that right after I get a good seal on these leaking valves and paint the heads.
Great! Glad to hear you're still with us!! Whenever you get the time, please proceed!
Great! Glad to hear you're still with us!! Whenever you get the time, please proceed!
Thanks Les, I definitely lost a lot of motivation in doing the lapping I would just keep getting disappointed with my results time after time but I kept going and it got easier along the way. It's just such a slow process, I should be all done really soon though then I can move on to other things!!
Okay, guys... All done with the lapping and I painted the heads at last. I was able to clean out all the chunks stuck in the cooling passages really good when I cleaned them up with the pressure washer so I'm really happy about that. I probably would have had the rear main changed by now however I've run into some problems, I was using the screw and drill method to try and pop the old seal out of the housing when I thought I drilled right through it... I ended up running the screw down the indents and using the force of the screw hitting the back of the retainer to pop it out. I then found out I didn't even drill through it at first but running the screw down definitely marked it up to the point I don't think it will seal anymore, pictures attached, what do you guys think? Also, I want to confirm ACDelco 14088556 is the correct replacement housing?
Heads look good. Did you take any photos of the blueing on the valves and seats when you were finished lapping?
You might be able to get the housing to seal up, but I think better go ahead and spend the money to replace it - since the rear main seal was one of your definite original "need to fix" things. Now's not the time to cheap out since doing it a second time is a lot of work on a Blazer. Best thing is that a new one comes with the seal installed.
P/N 14088556 is for 1991-1996 V-8
I came up with yours needing a 12595923, which is specific to 1996+ V6. Not saying to get it at this place, but has a decent search engine for GM parts.
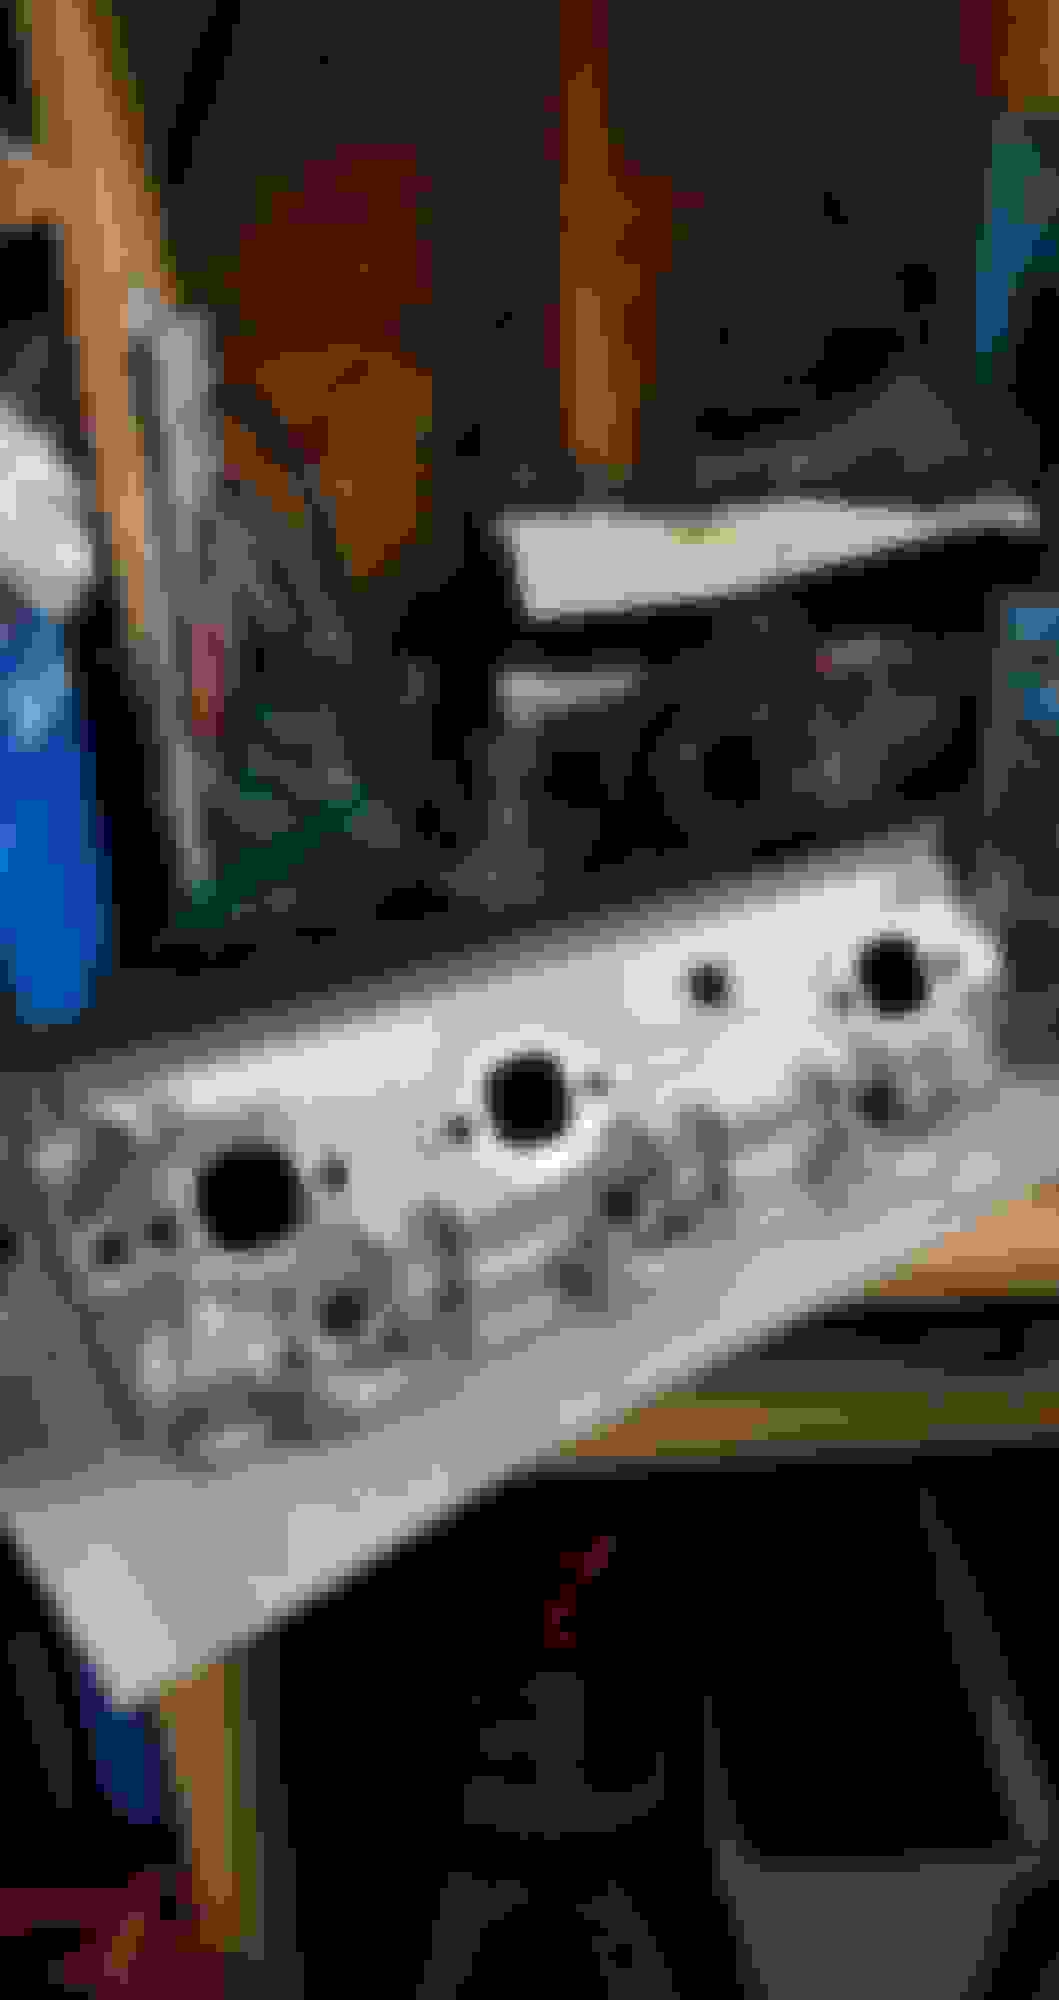
Thanks a ton Les, I was having a real hard time finding that part. I'm seeing none in Canada online and the local parts stores of course don't carry it, so I'm considering biting the bullet and getting one from the stealership here. On another note, I had five of the passenger side lifters all laid out in a tray and bumped the tray putting all the lifters on the ground. So now I don't know which lifter went where and they are all filled with dirt from the ground, what are your guy's thoughts on this? And if they are usable still what would be the best way to clean them? Here's a video and picture of two different cylinders with the blue Les.
Thanks a ton Les, I was having a real hard time finding that part. I'm seeing none in Canada online and the local parts stores of course don't carry it, so I'm considering biting the bullet and getting one from the stealership here. On another note, I had five of the passenger side lifters all laid out in a tray and bumped the tray putting all the lifters on the ground. So now I don't know which lifter went where and they are all filled with dirt from the ground, what are your guy's thoughts on this? And if they are usable still what would be the best way to clean them? Here's a video and picture of two different cylinders with the blue Les. https://youtube.com/shorts/AFiSrpUZUXw?feature=share
Thanks for the photos. I'm sure the valves will seal fine but it seems you were a bit over-zealous with the lapping. For the record, you really want the valve to seal in a ring on the center of the face for longest life. Seems you have ground down the seats enough that the valve contacts all the way to the outer edge. The danger in grinding down the seats too far, is that the valve gets sunk in the head and this has potential to cause non adjustable rockers/lifters to be out of their range. Since you did not grind on the intakes, you can compare the two valve heights. Just lay a straight edge across the valve stem tips on a head and measure the distance to the intake valves. This gives you a good idea how much the exhaust valves are sunk, and if it might be excessive. Just something I think you should check after commenting how much you had to lap the valves.
But onward and forward.......
For the lifters just spray them down with carb cleaner, dry, inspect for any marks or damage to the rollers. If ok, soak them in oil and install. It's not so critical with the roller lifters to remain matched to a lobe, but you dont want them to be used if they are damaged or worn.
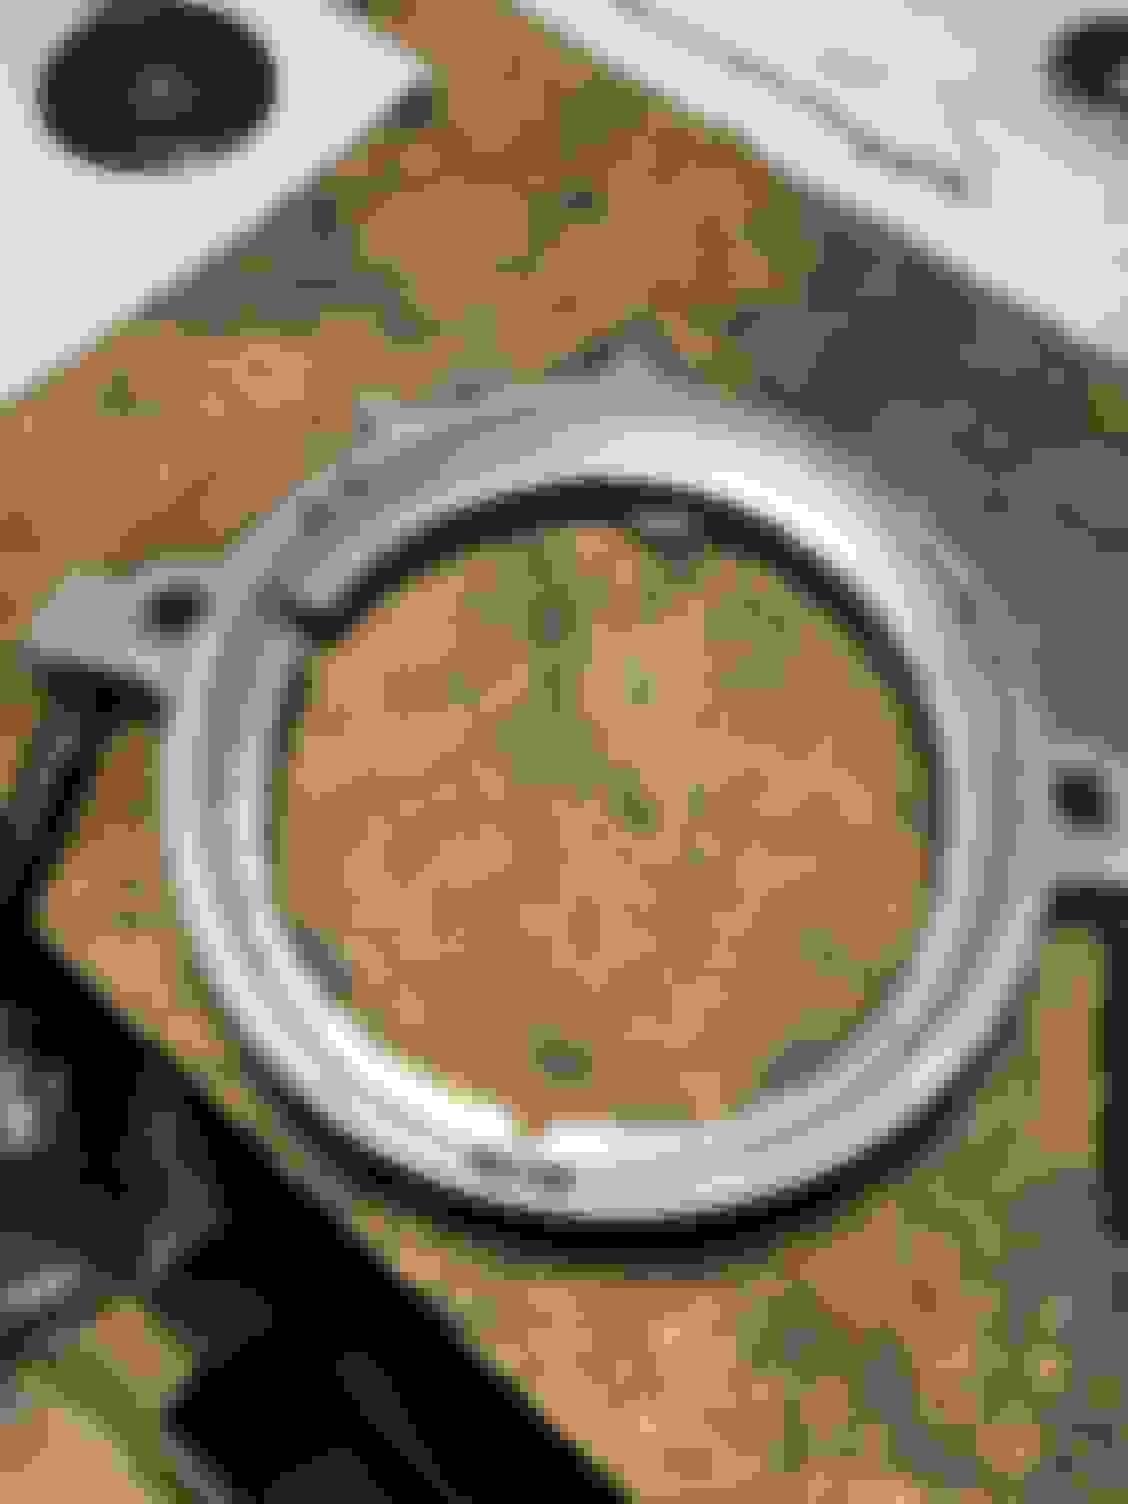
For your reference, here is the ideal after a professional valve job. I realize that if your seats were worn, you may have done the best that you could in getting a seal without having the seat grinding tools.
Can local part store cross from the GM part number? Just has to be the one for the 1996+ V-6, not the V8.
 02-27-2022, 12:01 AM