When you click on links to various merchants on this site and make a purchase, this can result in this site earning a commission. Affiliate programs and affiliations include, but are not limited to, the eBay Partner Network.
This vehicle has a 1piece rear main seal. Therefore you have to take the trans out or remove the engine to do it. Beware there is a special Kent-Moore tool used to install it. I think I have a photo when I was doing mine one time. Factory manuals will have detailed instructions on how to install using the tool. Some people might pound theirs in with something, but I wouldn't recommend doing that as the seal is expensive and its a lot of work to redo once all is back together.
Also be advised the oil pan on a 4WD Blazer is a structural component and the trans bellhousing attaches to it. So final tightening of the oil pan to engine bolts and trans to oil pan bolts, they should be left until the trans is first bolted securely to the engine.
Unless you are going to do a complete teardown, don't try to inspect bearings. IMHO nothing good will come from it. If you look at bearings with 300,000 miles on them you will decide to replace them all, and to take the crank out while leaving pistons in place is a highly skilled and special operation. Even if the bearings are fine you risk getting dirt in and damaging them. The other option is to take the pistons out and then you need new rings and cylinders honed, which means 100% teardown to clean out honing grit. To do it right you will need cylinders bored to remove the taper worn into them and new pistons. It keeps going on and on. So I implore you not to try to inspect the bearings on a 300000 mile engine unless you are going all the way with a rebuild.
Here's the redneck way to take off the valve spring. You're going to like this one!!!
Get a 5/8 or 3/4 deep socket (whatever fits the retainer good with the hex/12 point side) and put it on top of the valve spring retainer over the valve stem tip. Hold the valve spring between your palm and 2 fingers (pinky side). Hold the socket in place with the same hand but the thumb and 2 fingers (index finger side). Gloves are your friend but not truly necessary. Now whack the socket with a big ****ing hammer (dead blow if you have one). Keepers are now under the socket and you can take the valve spring and valve out for inspection. If keepers don't come out first time, put socket back on and hit it again. If you have held on to the spring with your palm and kept the socket in place, it will be in your hand and the keepers hopefully are still under the socket. Don't do this where the keepers can jump and get lost! Once you have the spring off, note how much wiggle you can do back and forth (side to side) with the valve to check the valve guide clearance. Video please.
Anyone else ever done this? You can take 16 valve springs off in about a minute.
If the valve doesn't want to come out because the stem is bent, just spin it to see where is bent and tap with hammer gently to straighten. (Don't pound it out with a screwdriver and hammer or something, even if it is tempting to do so).
If valve guide and valve seat are OK (and intake valve also checks out OK), please source a new valve, a new valve spring, 2 new split keepers, a new pushrod, valve stem seals for both intake and exhaust on that cylinder, some valve lapping compound, and some machinist blue - along with gaskets to put back together. At some point before you are done you will need a valve spring compressor. Rock Auto sells the individual pieces if you can't get them locally without buying sets of things.
Okay, I have a big finding here. I got both the exhaust and intake valve spring free using the hammer and socket method, I just needed to flip the head around so the springs were angled toward me and I could get a better hit, much easier. I noticed the exhaust valve was sticking really bad in multiple places, thinking it might be sticking because it was bent I pulled it out to look at it. I found it was only bent right at the head, the whole stem still looked straight. However, after cleaning the carbon off of it I could see what was causing it to stick, it had this dimple in it. I put the valve back in now knowing about this dimple and it definitely felt like that's what it was making it stick. Then I sanded down the dimple with a 3m pad on a die grinder until it was nice and smooth again and put it back in, no more sticking. I think I have found what originally caused the valve to stay open. The intake valve looks nice and straight, the valve seat for the exhaust valve has seen better days but it might be ok with the lapping compound? I forgot to grab a picture of that I will upload one later. I did some searching and it seems I'm definitely not the first this happened to, I found two other cases of bent exhaust valves on the forum that I must say sound like exactly what happened to me. This guy just got a new head for it and it sounds like that fixed it, it also seemingly happened out of the blue as well. This guy also had a problem with a bent exhaust valve, the same thing as me happened, the valve is almost bent identically to mine with very similar marks on the piston, he got the heads rebuilt by a machine shop and that seemed to fix the problem. I have a video of the exhaust valve sticking
How are the guides? Can you wiggle the valve back and forth side to side? Is the hole in the guide still round? You can pry those seals off now. They cannot be reused once the valve goes out through them. Will need to install new with a protector sleeve over the valve stem.
Seal of valve to exhaust seat is checked with the machinists blue I previously mentioned after lapping the valve. It colors the metal very dark and then valve is rotated while touching the seat. It gets wiped off where it touches. You want to have a ring all the way around on the seat itself - a good seal - about all you can hope for. Optimum during machinists valve job is also to have a ring of certain width in center of valve face.
Make sure to 100% clean up all lapping compound when you are done. You dont want any left inside your engine
Here is the proper way to install the rear main oil seal on an late 1990's/early 2000's 4.3 Vortec (also 5.7 Vortec with 1-piece seal).
I leave the bolts to the seal plate slightly loose so the seal will exactly center the plate, then tighten the bolts to spec once the seal is in. Use ultra-thin layer of non-hardening Permatex form-a-gasket #2 on both sides of the thin gasket for the seal plate and have everything ultra clean and oil free. Do not lubricate the seal unless seal manufacturer specifically says to do it.
You can buy the tool used on ebay - then sell it later to recoup cost if you have been thrifty when buying yours.
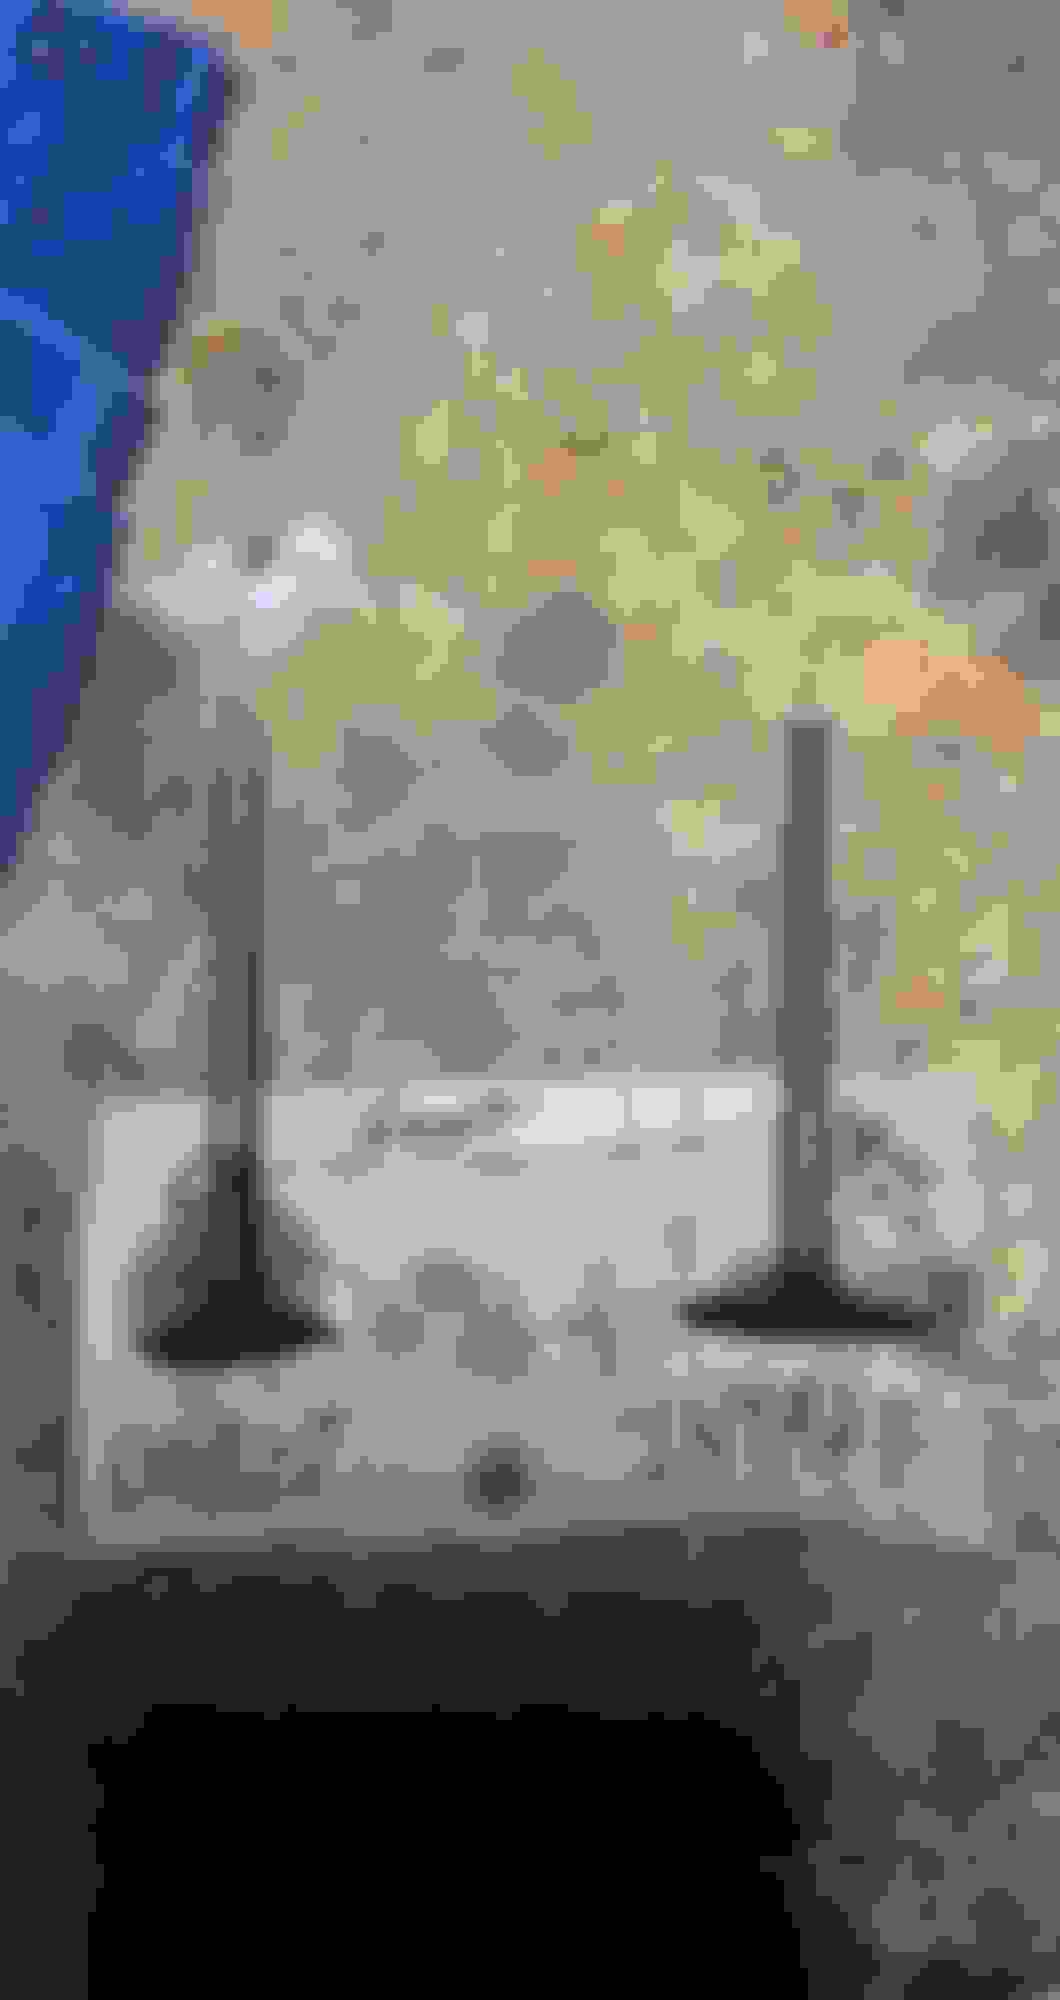
Ok so I checked out the guides, both the intake and exhaust valve can wiggle back and forth about the same amount, very little. I couldn't even pick it up on camera really. So, if you cant install the oil pan without the tranny bolted on, does the front diff have to come out either way? Also, since I had this exhaust valve sticking I'm thinking of taking out all the exhaust valves and checking them over as well, what do you guys think about this? And Les I need to correct you here, this engine has 250xxx km on it, so only about 155k miles. But I'm with you I'm thinking I will just put a new oil pan, and rear main seal on then get everything you previously stated to make that valve work properly again. I may replace the rocker arms too we will see about that. Hopefully, I can get the engine pulled this week I just need to figure out renting a cherry picker. Where do you guys think would be the best place to bolt the cherry picker to especially since I have one of the heads off? I see the manual says to use these hooks that bolt down to the intake bolts, quite unfortunate since I don't have that on anymore! Here's a picture of the exhaust valve seat.
You install the oil pan but leave the bolts slightly loose until both are bolted up to trans. I may be making more of this than it deserves, but I have read warnings about the alignment being critical to trans life.
If you like to pull both heads and check all exhaust valves for the heck of it, go ahead. Wouldn't be me doing it, but choices and the work are yours. Be sure to keep valves in order and put new valve stem seals in any that are removed. Might as well check the guides out on all valves if you're going to pull both heads. The two you wiggle-checked sound like they are fine.
You should be able to eek the engine out with the front diff in place. Just jack the trans up against the trans tunnel after the engine is disconnected and it will be tipped back for clearance for the flex plate to come out.
Sounds like you're going to need to use a head bolt hole on the one side without the head. Don't forget to buy new TTY head bolts for going back together in any case.
One more thing In forgot to mention. I would not worry about cleaning the piston tops with the pistons in place. A lot of that carbon grit gets along side the piston on top of the rings. Does more damage than good. Also when cleaning head gaskets care is needed. Use a razor blade/carb cleaner and wipe cylinders clean before so you can vacuum out any junk later. (Yeah I know its a lot of work with a razor blade). It helps to turn the engine on the engine stand so the cylinder is horizontal, and have the piston in the bottom of the cylinder. Then things dont fall in on top of the piston so easily.
In the photo of the head not sure what Im looking at. Is that lapping compound all around the valve seat?


 01-21-2022, 04:29 PM