
what have you gotten done on your blazer today?
 02-17-2016, 10:32 PM


Attachment 27243
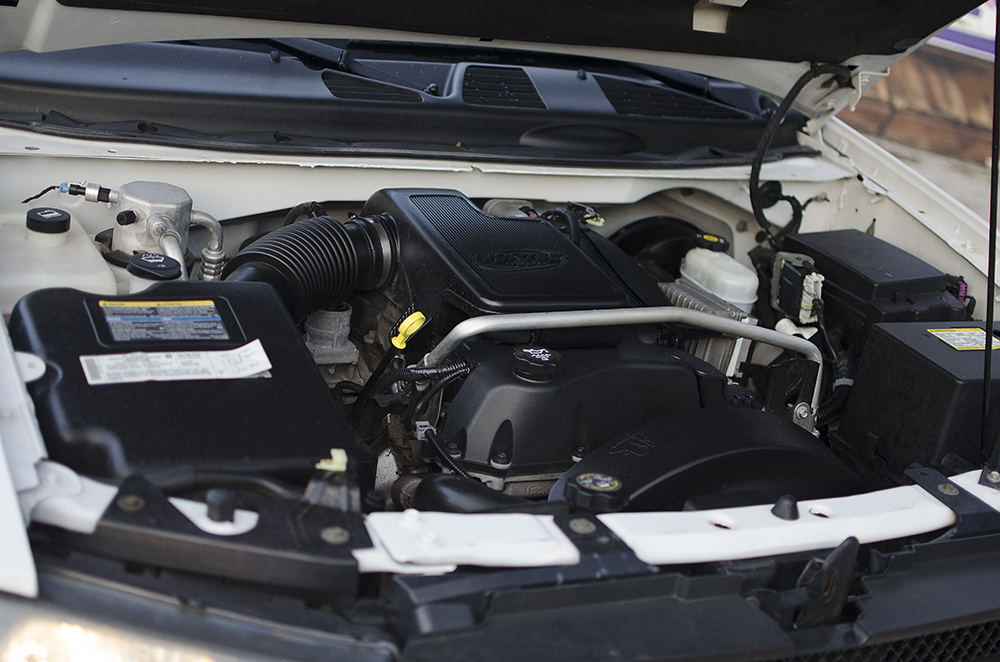
Got rid of the Jimmy and picked up this 04 Trailblazer with 93,000 miles.
Have not had working 4wd for 2 years so we got a 2wd.
The thing is spotless, picked it up for a bit over 5000. Got 200 for the Jimmy.
Got rid of the Jimmy and picked up this 04 Trailblazer with 93,000 miles.
Have not had working 4wd for 2 years so we got a 2wd.
The thing is spotless, picked it up for a bit over 5000. Got 200 for the Jimmy.
Check out how well the rear wiper works. If it doesn't work all that well, get the plastic version from a newer year. I used to have the part numbers somewhere.
02-17-2016, 10:41 PM
Very nice! I'm sure you'll like it. I know my move from my old '00 Bravada to the '04 Rainier was a huge difference in refinement, power, and all around driving comfort. Your next step will be to a fullsize!
Check out how well the rear wiper works. If it doesn't work all that well, get the plastic version from a newer year. I used to have the part numbers somewhere.
Check out how well the rear wiper works. If it doesn't work all that well, get the plastic version from a newer year. I used to have the part numbers somewhere.
The ride quality and acceleration between the 93 jimmy and this are night and day.
02-18-2016, 09:45 PM
They are nice, We are happy with the purchase.
I do not mind getting the 2wd version. It does have traction control and the g80 so the few and far between times in MN where I live that 4wd is actually needed, that will help.
We could not pass it up, an 04 with 93,000 miles.
And I have now finally figured out the wiring to get the tail lights to work how I want them to once I get the housings in the mail. Just going to tap into the trailer light wiring harness for what I need to do...
02-19-2016, 03:40 PM
Nothing today besides started the long tedious process of de-soldering 240 LED's. Ordered new pcb boards and resistors to get rollin on these tail lights.
02-20-2016, 08:02 PM

Starting Member
Still doing the shade tree mechanic's dance: Three steps forward; two steps back. I had to put of working on my son's Blazer for a while due to weather and other issues. I got back to recently and we managed to figure out how the alternator and power steering pump mounted and got them on thanks to some pictures sent to me by Angie from down under. We also got the heater hoses on it. Minor, but another step forward.
Then came the two steps back - I put the upper 'pulley cluster' on the water pump and instantly thought, 'That sure seems close.' Sure enough, as soon as I tightened it up finger tight it was hitting the heater hose inlet/outlet and wouldn't turn. We pulled it back off and swapped it on the off chance that the water pump had been milled wrong. No such luck. For some reason it still did the same thing. (Mind you, we bought this as a project and have never had it all the way together and running.) The only solution I could figure was to take my grinder to the inlet/outlet. I was afraid to take it off the back side of the pulley cluster because I was afraid it might get out of balance and cause the water pumps wear out faster.
As luck would have it we had another issue when we put it back on. I should have trusted my instincts instead of the Chilton's manual. However, it specifies to tighten all fasteners to 22 foot pounds. My son was doing the work and even with a clicker torque wrench, after the larger bolts and One 10 mm headed one, stripped the second 10 mm headed one. I took over but sure enough I had the same thing happen to me. I'm Hoping it will still be ok.
I also managed to use my Dremel to 'turn down' a line splice until it tightly fit into the back of the carburetor where a line was broken off. Once it would Just fit I pulled it back and put a thin smear of Copper silicone on it, worked it back in and then put a small amount around it as well.
Tomorrow is another day. Of course I've got about half a dozen projects going at once so we'll see what gets done.
02-20-2016, 08:36 PM


 02-20-2016, 08:53 PM
02-20-2016, 09:03 PM
02-20-2016, 09:20 PM
02-20-2016, 08:53 PM
02-20-2016, 09:03 PM
02-20-2016, 09:20 PM