
what have you gotten done on your blazer today?

BF Guru
Joined: Dec 2016
Posts: 5,643
From: Moscow, ID

I replaced the idler arm, not as easy for me as the pros here but I'll tell my tale and maybe help the inexperienced.
In my 2002 Xtreme (2wd) the nuts holding the idler arm to the bracket and the center link were an odd size. I think they take an 18mm socket, which does not exist. After spraying a day before with PB Blaster and putting the truck up on ramps, I was able to remove the nuts with an assortment of a 23/32 "metrinch," a 3/4" socket (loose, but okay for holding the bolt inside the frame rail), open-end and crescent wrench. I did not have to resort to vice grips. If you can find a 18mm socket: get it!
The nut on the center link ball joint was just a regular-looking nut, not a castle nut. And the nut that came with my new AC Delco idler arm was not a castle nut either. However, I think all the nuts were slightly tapered because after a few easy turns the turning got tougher.
I was able to loosen the nut on the ball joint. Then I used a Harbor Freight ball joint separator tool to pop the centerlink stud out of the idler arm by putting the fork end under the arm and the anvil end on top of the stud. I cranked it real tight and when went to get a cheater bar for more cranking the joint popped by itself, thereby not scaring me.
Using a vice I turned the new arm at 45 degrees to the bracket and set it into the bracket bolts, which luckily had not fallen into the frame rail. I took the bracket nuts to the hardware store and found two metric nuts (maybe M14?) that fit (nice and loose) on the inside and were 19mm outside, so that way I could use a normal 19mm socket. I also got two lock washers for them, and back under the truck, tightened them on. At this point the idler arm was not on the stud but you can grab ahold of the linkages and push and fit them together.
The trouble began when I started screwing the last nut onto the ball joint stud. As the nut turned the stud started turning, too, and I could not get the joint to snug up. This problem may have been caused by excessive PB Blaster, IDK. To solve the problem I got a C-clamp and a piece of 1x2" wood and found a way to squeeze the centerlink and the idler arm together, which tightened up the stud enough to stop it from turning. That let me tighten the nut and torque it to 35 ft-lbs. The bracket nuts take 79 ft-lbs which is just about as hard as you can crank it from under there.
I screwed in the zerk and pumped the arm with lube. Just four hours and job done. I hope this experience helps someone.
One thing that might or might not apply to you: I once got very close to having one of the transmission cooling lines spring a leak due to it rubbing against the top corner of the idler arm bracket. A gentle bending got it out of the way. I also took some old gas hose and cut it so I could slip it over the metal line as a cushion.
Thanks for the write-up!

Starting Member
Joined: Jul 2010
Posts: 145
From: New York

Super Member
Joined: Apr 2014
Posts: 1,968
From: Lake City, Florida
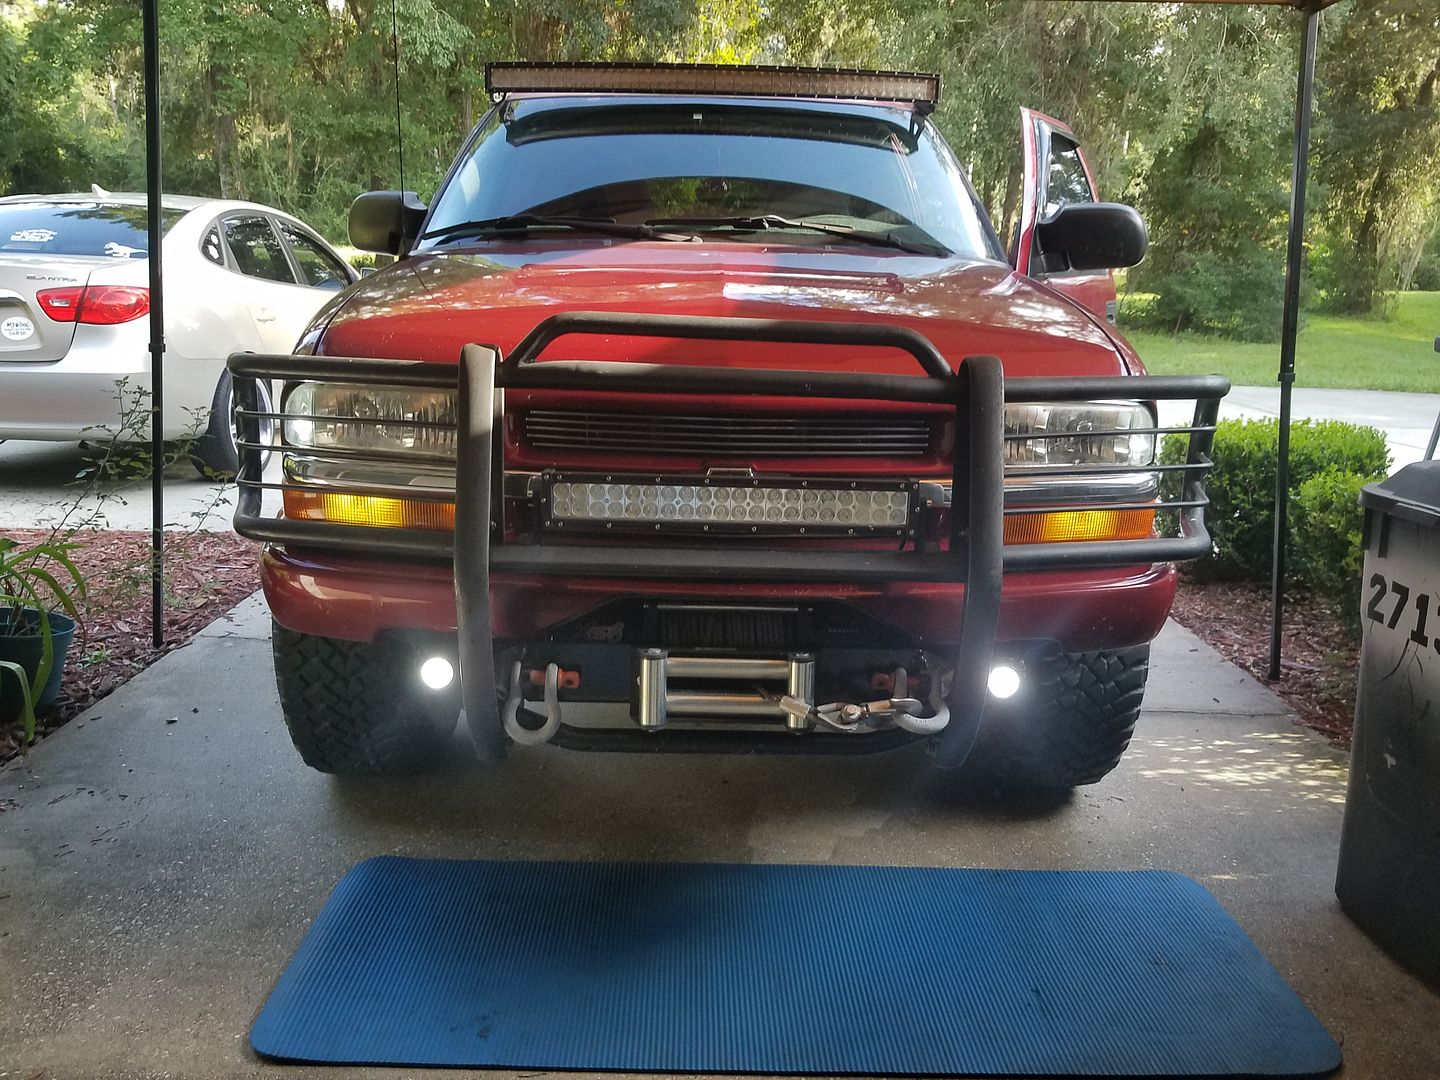
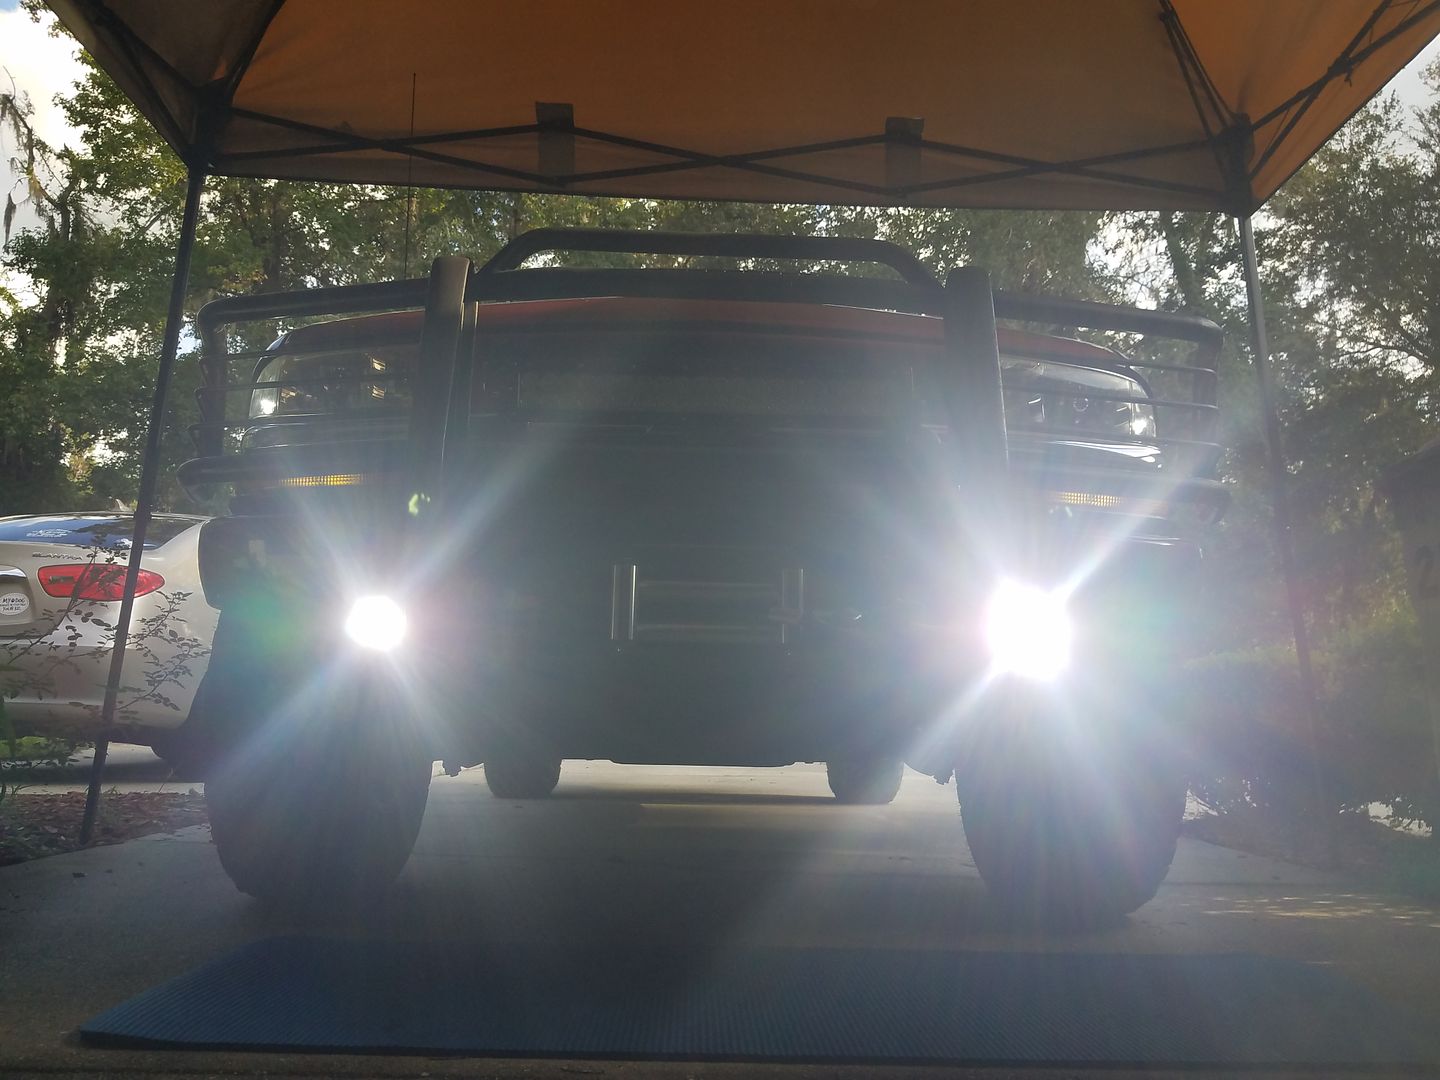
Installed some 6000k 55w HID's into my Corvette retrofitted fog lights. Looks MUCH better now, no longer that ugly yellow...
LOVE the cut-off pattern of these fogs. It's actually pretty flat in person, I'm parked a little crooked compared to the garage door so the last picture doesn't really do it justice lol
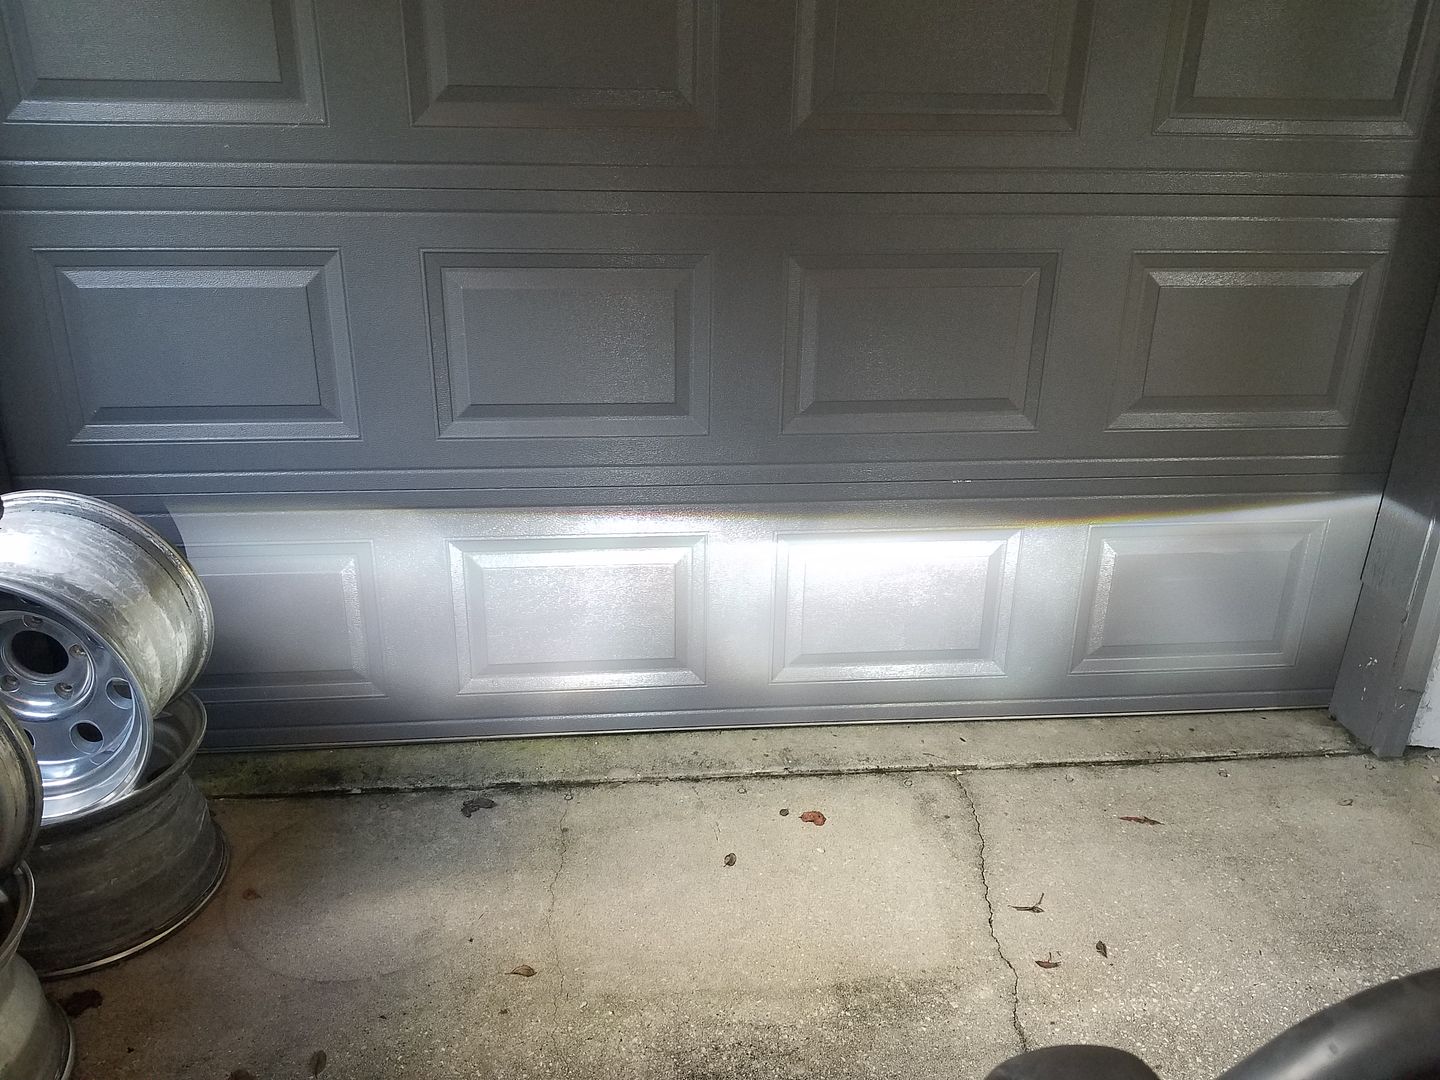
LOVE the cut-off pattern of these fogs. It's actually pretty flat in person, I'm parked a little crooked compared to the garage door so the last picture doesn't really do it justice lol


Junior Member
Joined: Oct 2008
Posts: 325
From: Pasco,WA

Swapped out the tail lights. The originals were faded and I didn't feel like spending the time to clear them up. After installing the new Anzo's I really like the look. I'm usually all about original look but this mod might change my mind. Sorry about the crappy pictures. In person they look great! I also replaced the cracked dash speaker covers. Next up is installing the dash cover I got in the mail yesterday.
