
2000 Boring Blazer Build

Thread Starter
|
Super Member
Joined: Jul 2012
Posts: 1,542
From: Glen Rock, PA

Well, I have been thinking of replacing the cat mainly because the front pipe keeps getting pin holes and I am getting sick of welding them up. I am pretty sure it is the factory pipe and Cat. I just don't have the time or cash to do it right now. When I get the time I might pull it off and weld on a universal cat.

Thread Starter
|
Super Member
Joined: Jul 2012
Posts: 1,542
From: Glen Rock, PA
Looks like my distributor went bad. I guess I'll see how it runs when I get it back. So far I have been really pleased with this shop I have been going to. They are very good at diagnositics and don't try to sell me a bunch of stuff I don't need.
Thread Starter
|
Super Member
Joined: Jul 2012
Posts: 1,542
From: Glen Rock, PA
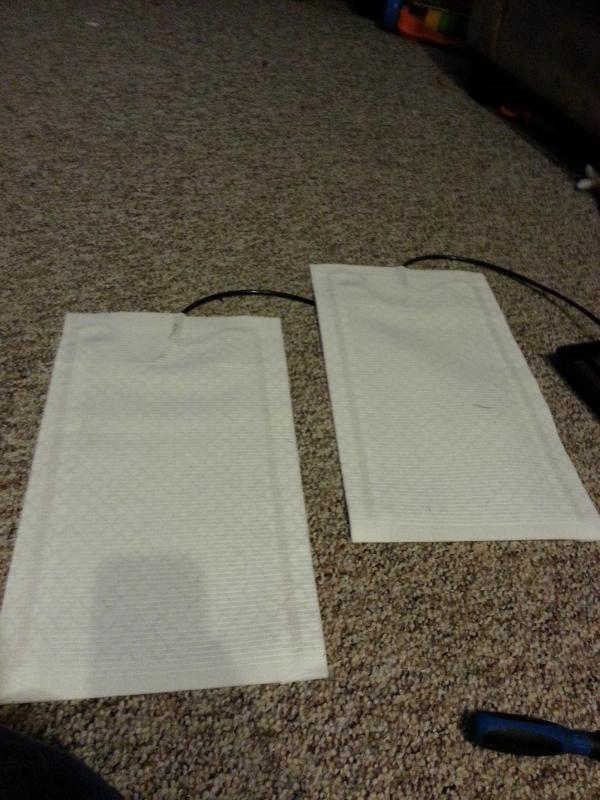
About a month ago I got
after seeing a video on Youtube about them (not the same exact ones). I figured for $45.99 how bad could they be. The answer is not at all, they work great.
here they are
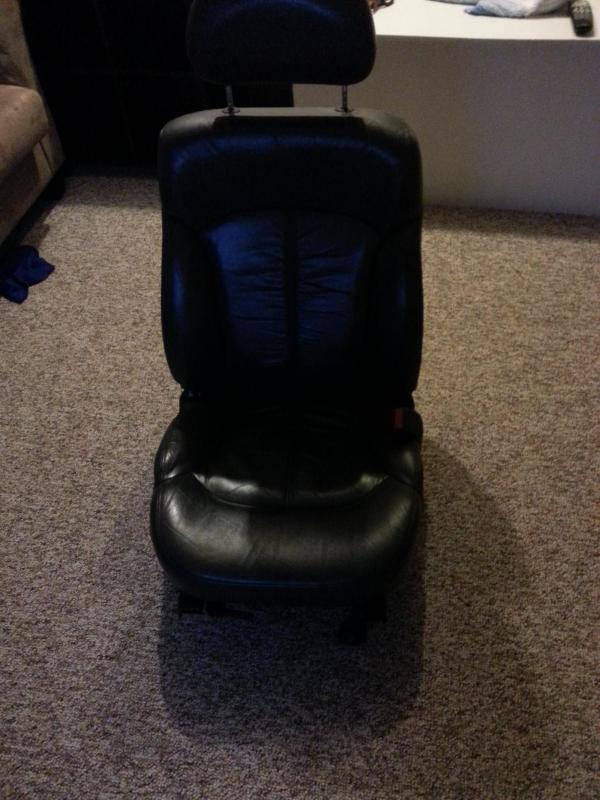
first I brought the seats in because it was like -10 degrees outside. I did the driver's side first and then did the write up using the passenger.
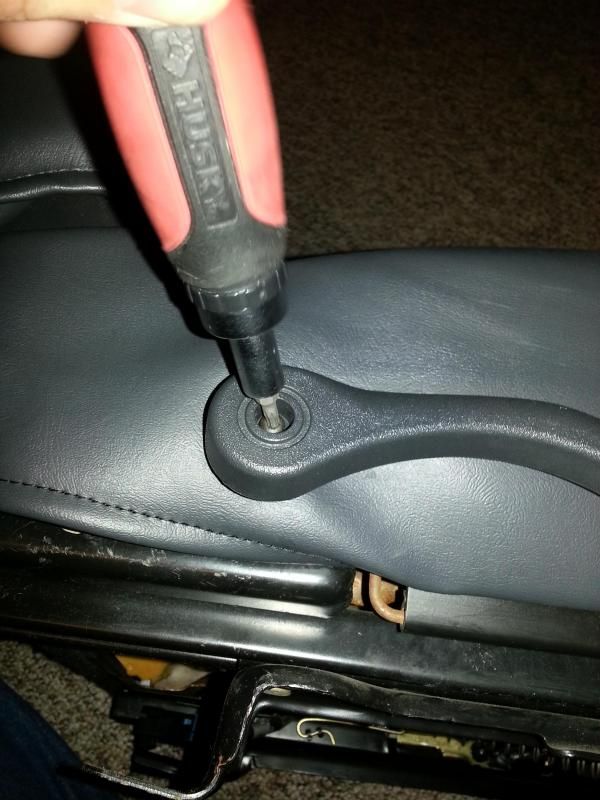
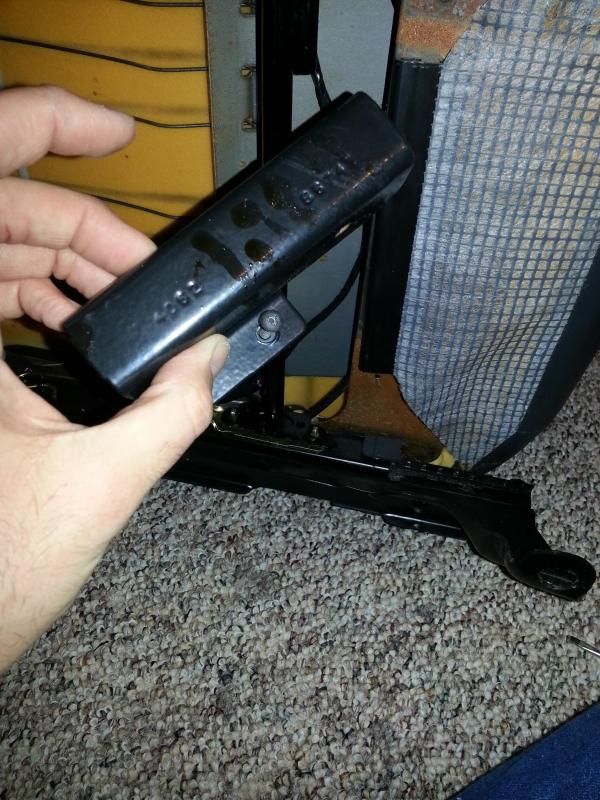
take all of your handles and random brackets off that are in the way of pulling the seat cover off.
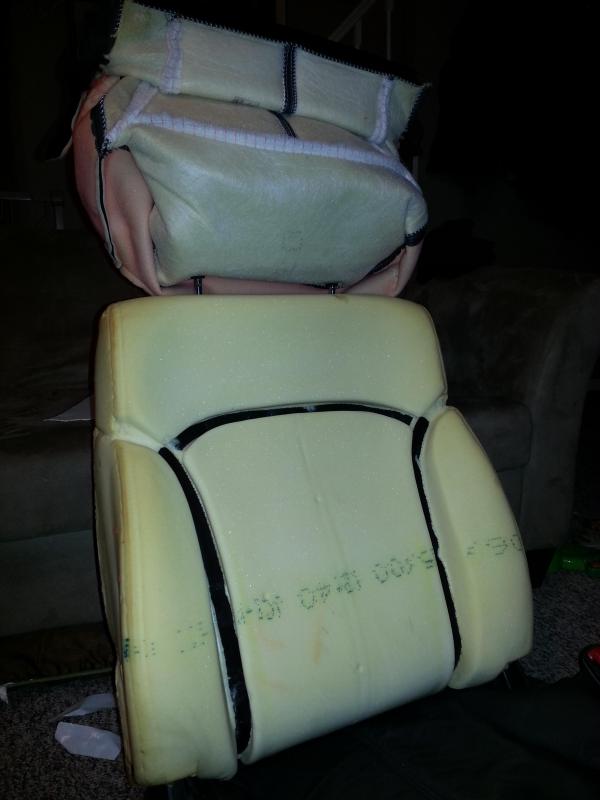
The seat covers (at least for leather) hooks to the bottom of the seat frame, with a little convincing from a small screw driver they come off.
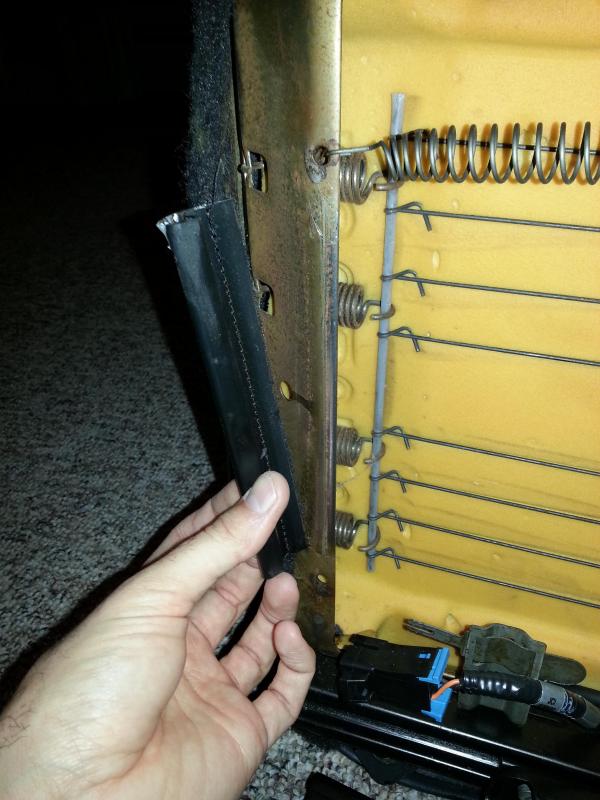

The back has one long clip connecting the front to the back. Pulling it apart is a bit tricky, once it is apart you can carefully walk the cover up the seat.
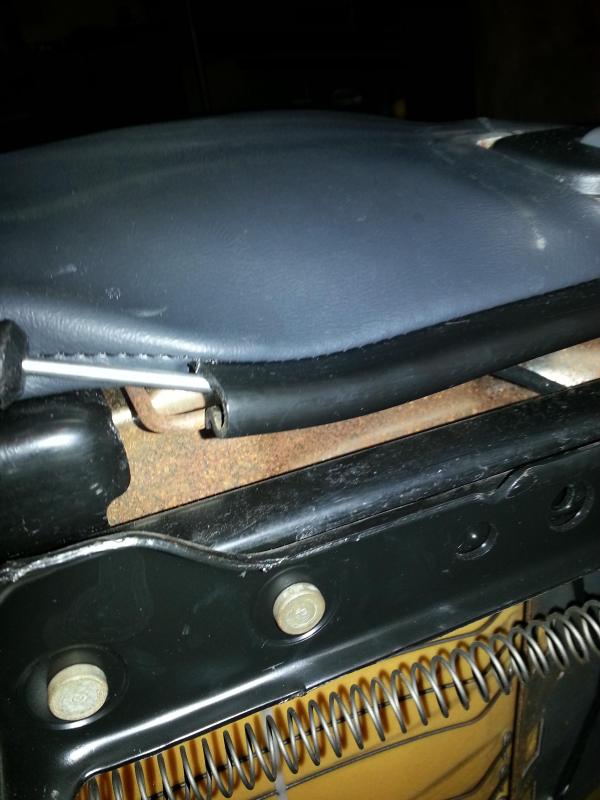
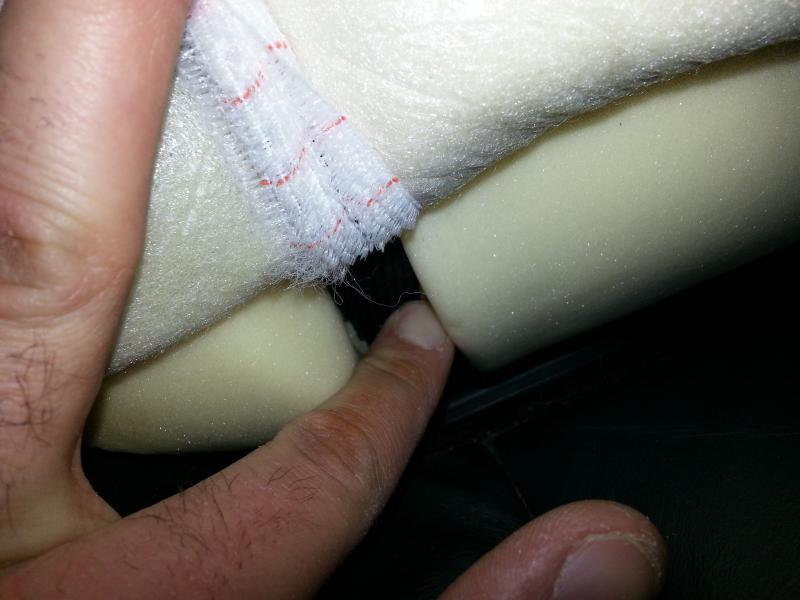
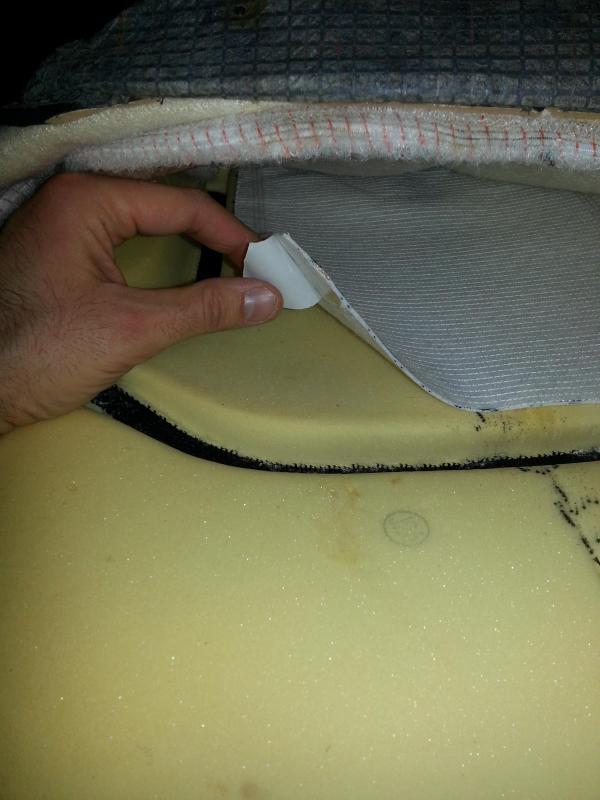
This is where it gets a bit tricky. The seat cover is held down by strong velcro. You have to hold the velcro on the padding while you pull the cover off, if not it will rip right off the pad.
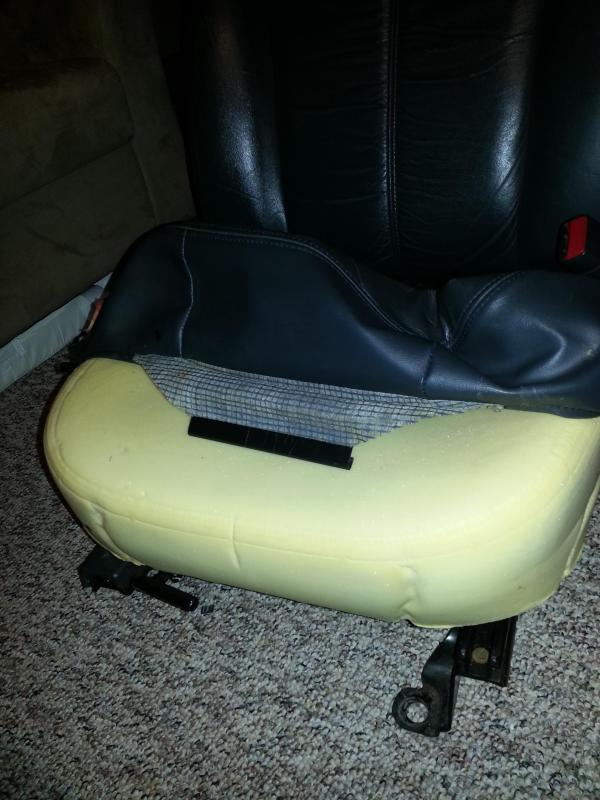
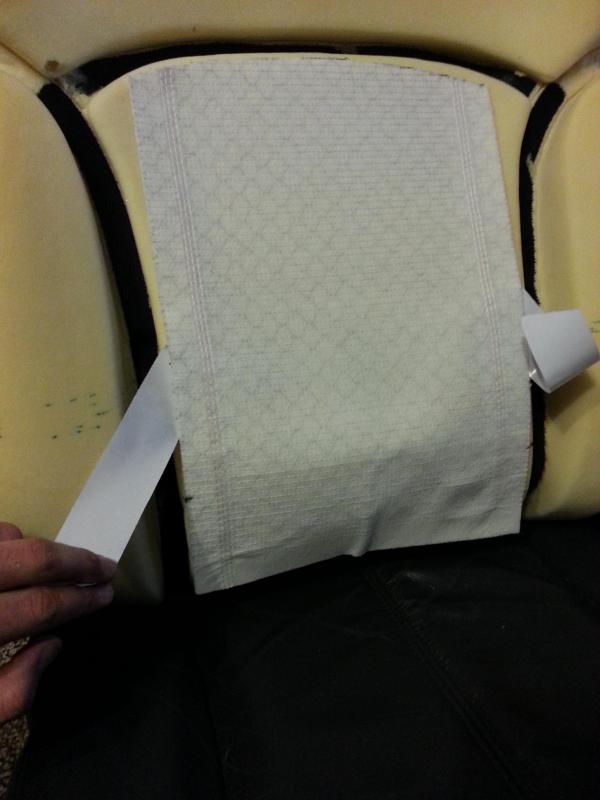
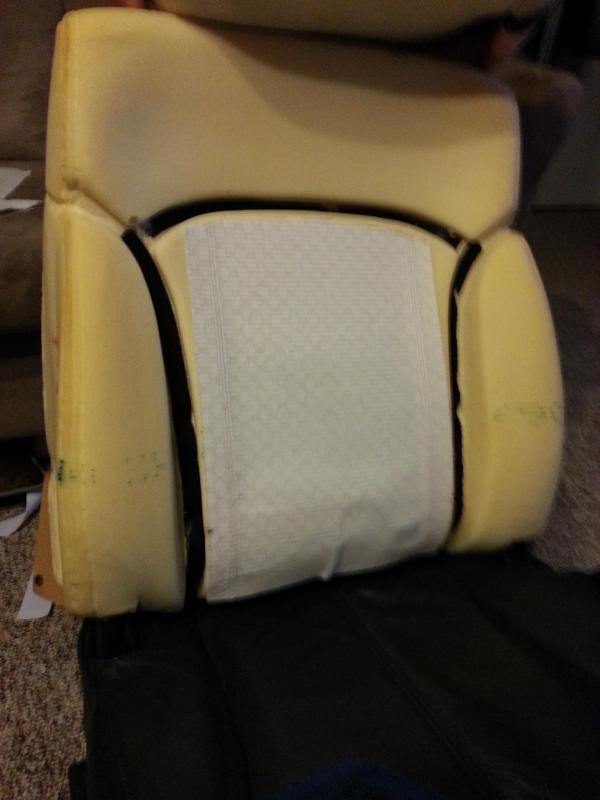
Once you have the covers back, put your heating pad on the center section only, and then trim it to fit. One thing I like about this is that they are able to be trimmed.
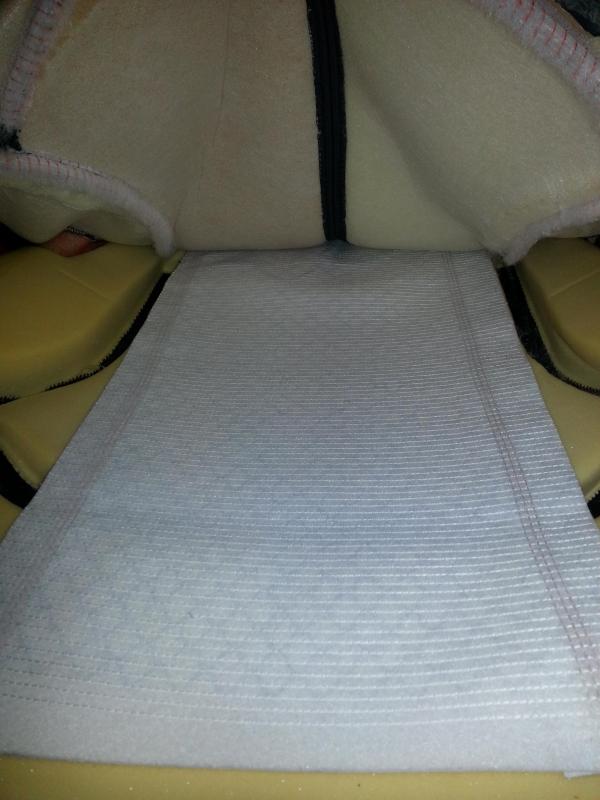
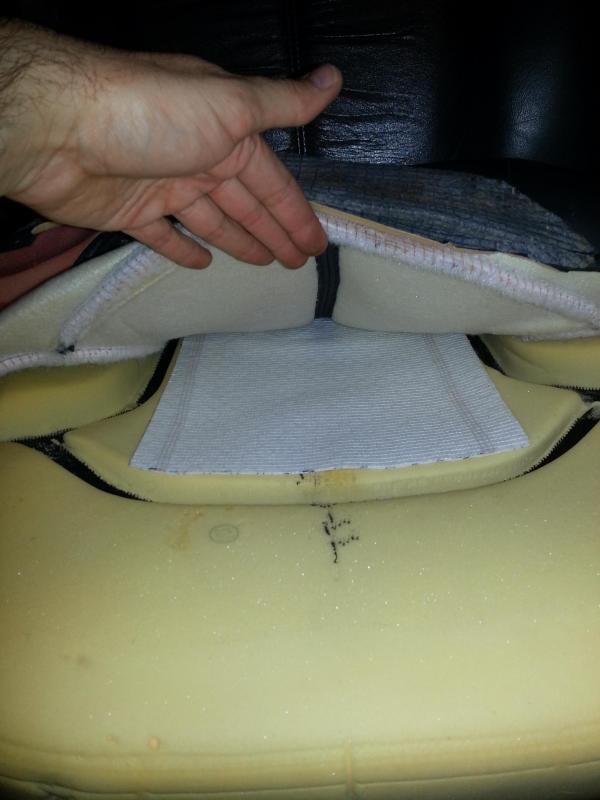
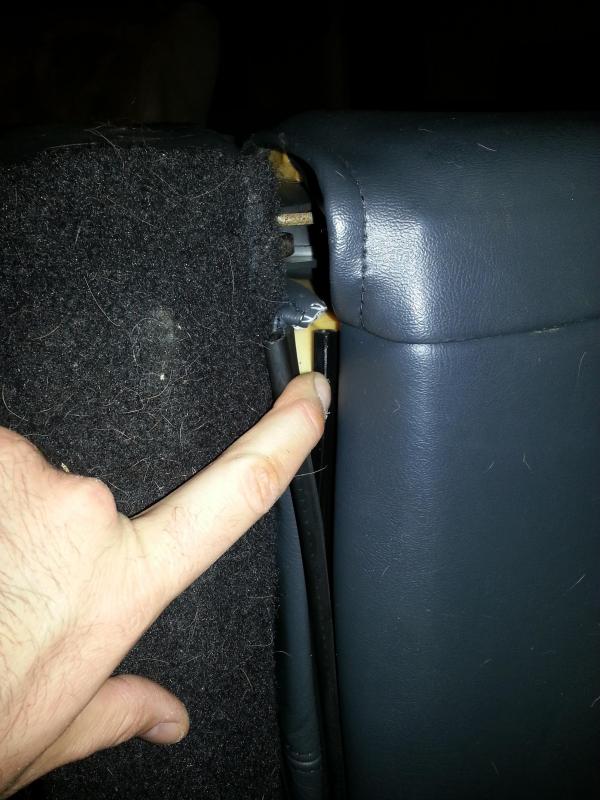
Next, run the wires out to the bottom of the seat, then pull the backing off and stick them to the foam padding. What I did was start one end of it while i held the heater in place and pulled the backing off.
here they are
first I brought the seats in because it was like -10 degrees outside. I did the driver's side first and then did the write up using the passenger.
take all of your handles and random brackets off that are in the way of pulling the seat cover off.
The seat covers (at least for leather) hooks to the bottom of the seat frame, with a little convincing from a small screw driver they come off.
The back has one long clip connecting the front to the back. Pulling it apart is a bit tricky, once it is apart you can carefully walk the cover up the seat.
This is where it gets a bit tricky. The seat cover is held down by strong velcro. You have to hold the velcro on the padding while you pull the cover off, if not it will rip right off the pad.
Once you have the covers back, put your heating pad on the center section only, and then trim it to fit. One thing I like about this is that they are able to be trimmed.
Next, run the wires out to the bottom of the seat, then pull the backing off and stick them to the foam padding. What I did was start one end of it while i held the heater in place and pulled the backing off.
Thread Starter
|
Super Member
Joined: Jul 2012
Posts: 1,542
From: Glen Rock, PA
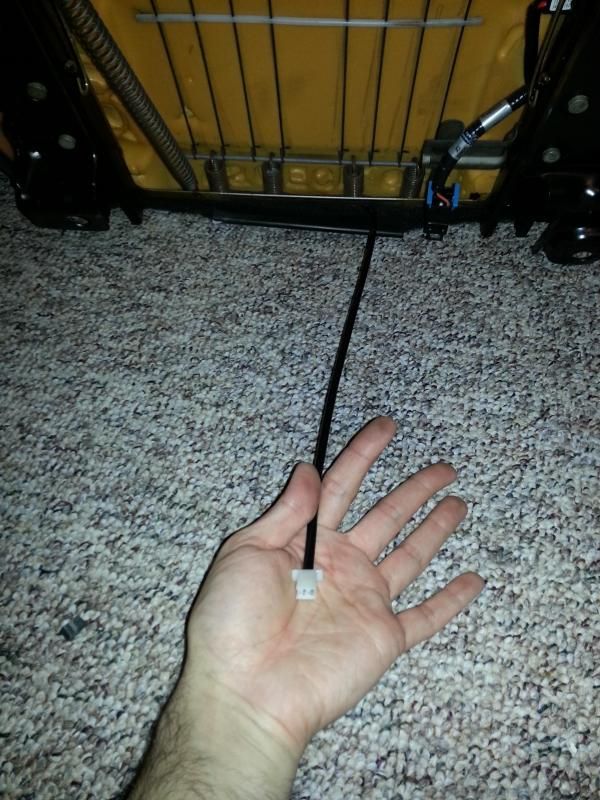
I zip tied the wiring and the relay to the bottom of the seat.


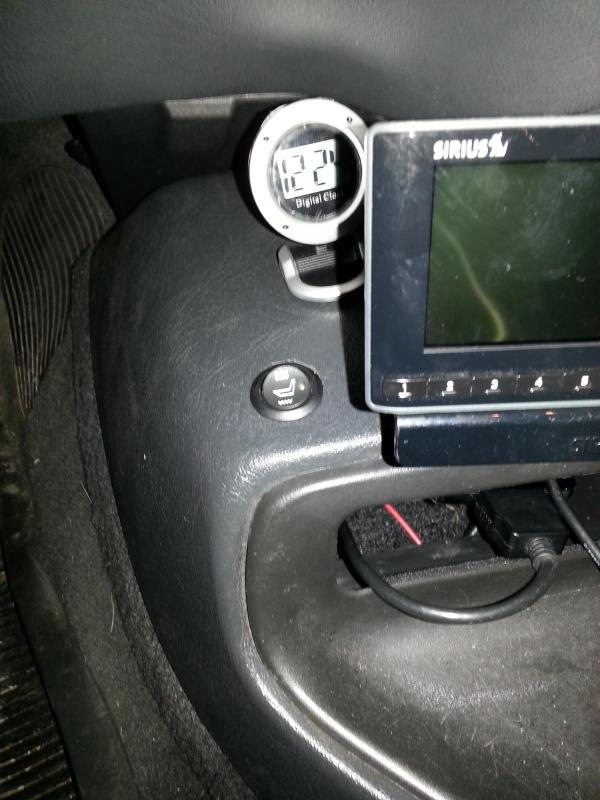
I didn't run the wiring under the carpet, but I plan to when the weather is warm and there isn't snow everywhere. I installed the switches in the console next to where I moved my Sirius radio. The directions call for a 5/8" bit but it is actually a 3/4"


For power I used an add a circuit and tapped the radio fuse. then I ran through the dash and under the center console to the 2 20 amp fuses that came with each seat.


I didn't run the wiring under the carpet, but I plan to when the weather is warm and there isn't snow everywhere. I installed the switches in the console next to where I moved my Sirius radio. The directions call for a 5/8" bit but it is actually a 3/4"
For power I used an add a circuit and tapped the radio fuse. then I ran through the dash and under the center console to the 2 20 amp fuses that came with each seat.

