
Altoncustomtech's 2001 Jimmy = slow audio build

Thread Starter
|
Senior Member
Joined: Oct 2010
Posts: 931
From: Monroe City, IN

Okay, got a bit more done on the enclosure. It's crunch time now, the cuts for the plexi inserts are ready to be made. They're critical cuts cuz there's no going back if something screws up. Once those three holes are cut I'll take the 3/8" rabbeting bit and cut a 3/8" deep x 3/8" wide shelf in the hole and on the plexi. Once that's done I'll seal the plexi to the wood with silicone and sandwich the plexi in under the double baffle panels, gluing those in place at the same time. Then it will be time for the sub/PR cutouts to be done with the router after trimming the edges up with my flush trim bit. Yay, that was exciting, lol. Onto a few pictures.
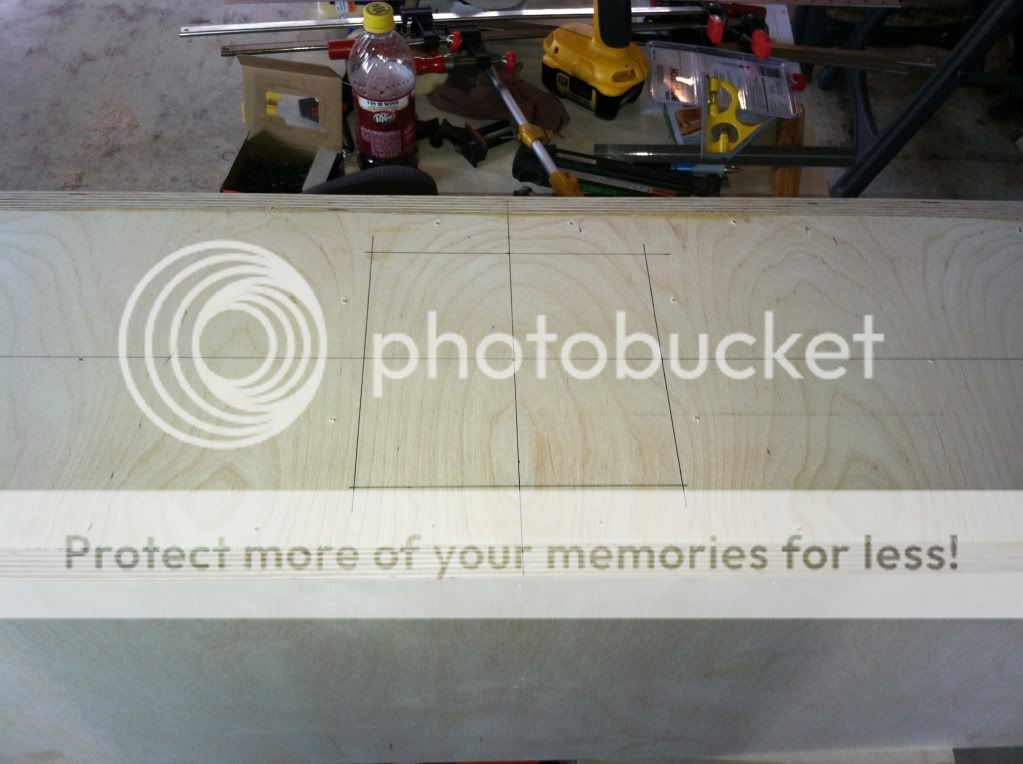
Here I've drawn on the cutout for the plexi window that's on the front center.

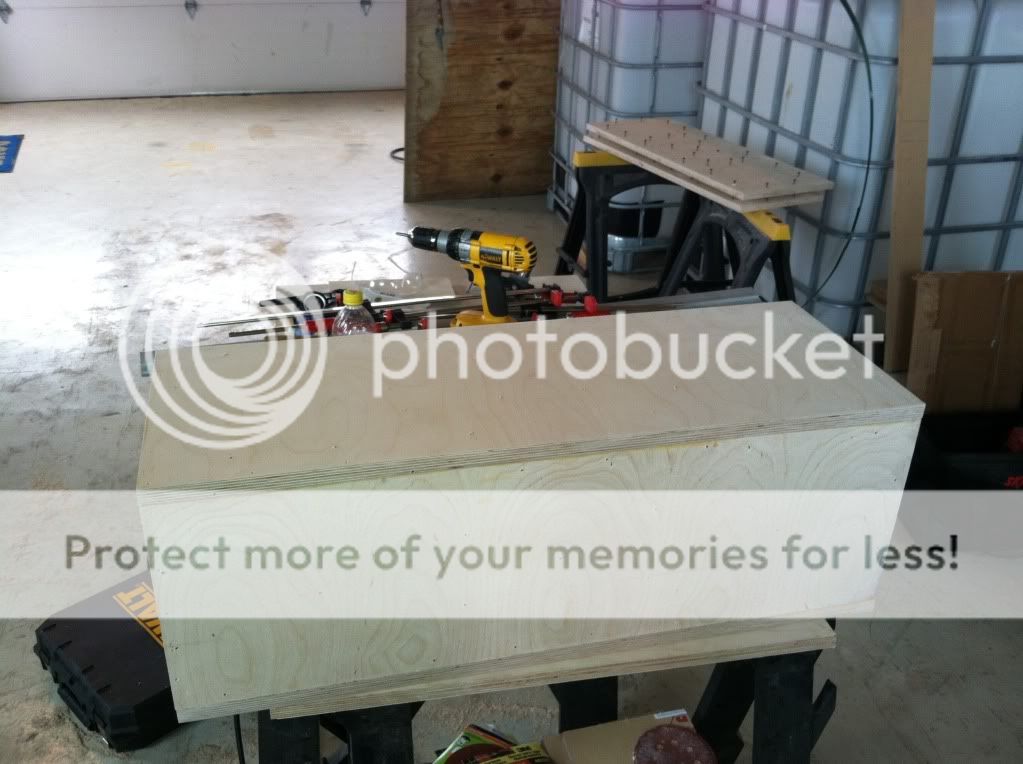
I've gotten the front double baffle screwed onto the front of the enclosure, everything is set and will be centered up and in good alignment at this point thanks to holes I drilled as reference points through the double baffles into the body of the enclosure. The holes are drilled through parts/areas that will be removed by the cutouts so there's no worry about sealing them up later.
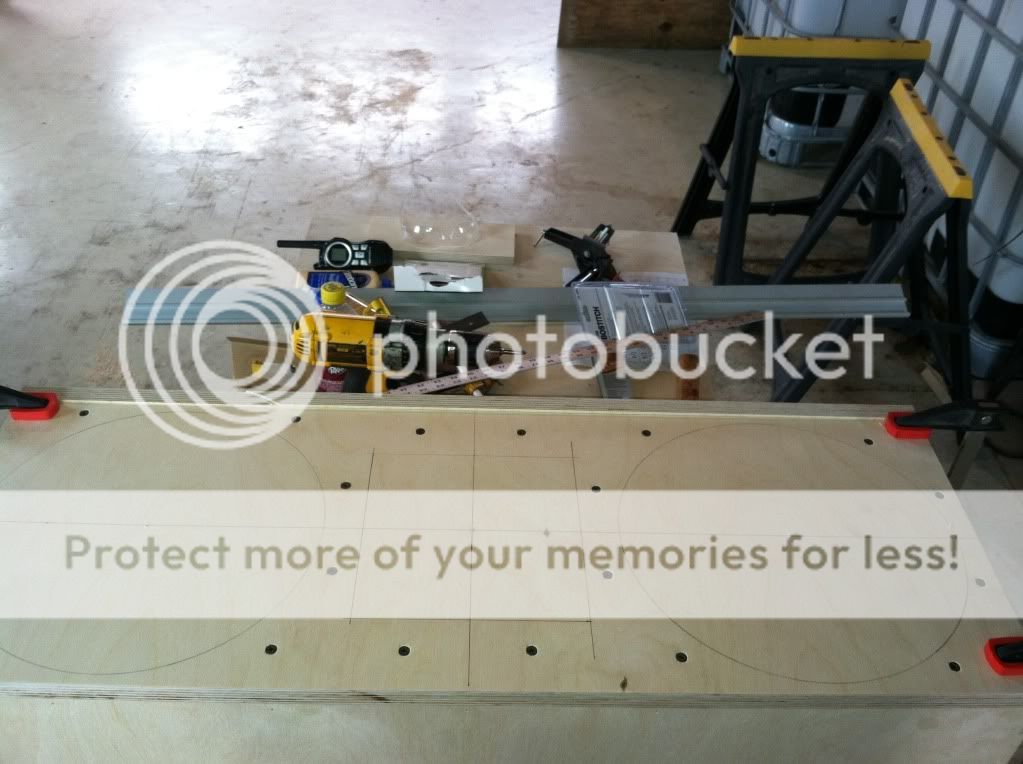
Notice the double baffle panels removed in the upper right corner? Back down to the body of the enclosure now. Getting ready to draw on the cutouts for the plexi panels using the holes I drilled for reference.
Here I've gotten the first one drawn on, everything lined up perfectly.
All three done and the alignment has turned out as close to perfect as I could hope for.

Well, that's where it stands when I left it today. I'm praying I'll get some time this weekend to cutout the plexi holes. If I can get past this point and get the sub cutouts made it's all downhill from there as it will just come down to filler, lots of sanding and applying the bedliner to get the enclosure finished.
Here I've drawn on the cutout for the plexi window that's on the front center.

I've gotten the front double baffle screwed onto the front of the enclosure, everything is set and will be centered up and in good alignment at this point thanks to holes I drilled as reference points through the double baffles into the body of the enclosure. The holes are drilled through parts/areas that will be removed by the cutouts so there's no worry about sealing them up later.

Notice the double baffle panels removed in the upper right corner? Back down to the body of the enclosure now. Getting ready to draw on the cutouts for the plexi panels using the holes I drilled for reference.

Here I've gotten the first one drawn on, everything lined up perfectly.

All three done and the alignment has turned out as close to perfect as I could hope for.

Well, that's where it stands when I left it today. I'm praying I'll get some time this weekend to cutout the plexi holes. If I can get past this point and get the sub cutouts made it's all downhill from there as it will just come down to filler, lots of sanding and applying the bedliner to get the enclosure finished.
Thread Starter
|
Senior Member
Joined: Oct 2010
Posts: 931
From: Monroe City, IN
Another small update. Got started cutting the holes out for the plexi windows. Just as I had planned (and really hoped) for they line up perfectly from the double baffle layer to the enclosure layer which really takes a lot off my worries about the enclosure turning out right. So far so good! Onto a few pics.
Got the holes cut out. I hate using a jigsaw for anything, but I couldn't figure out a good way to do it with a router or anything else that would make a better cut.


I doubt you can see a difference in the pictures but this is the holes in the panels after sanding them smooth. Whether it can be seen or not it has them nice and smooth and ready for the round over bit.


Here's the first hole cut out of the enclosure for the plexi. Still need to cut the other two and sand them smooth.

Alright, that's all I have for today.
Thread Starter
|
Senior Member
Joined: Oct 2010
Posts: 931
From: Monroe City, IN
The point is simply to show everyone that the two forward facing "subs" aren't actually subs at all. They'll see the motor on the XCON through the front center window, then be surprised when they look through the other windows and not see any motor at all.
As for lowering the integrity of the enclosure and vibrating, not really. The plexi windows are 3/4" thick, just like the wood, and is stronger than the wood is. The process I use to put the plexi in keeps the integrity of the enclosure very strong and doesn't vibrate or make any noise at all. I've been running the enclosure in the van with a much larger size plexi window in it for several years now with no issues at all with more power and mechanical forces than these little ones will see in this enclosure.
As for lowering the integrity of the enclosure and vibrating, not really. The plexi windows are 3/4" thick, just like the wood, and is stronger than the wood is. The process I use to put the plexi in keeps the integrity of the enclosure very strong and doesn't vibrate or make any noise at all. I've been running the enclosure in the van with a much larger size plexi window in it for several years now with no issues at all with more power and mechanical forces than these little ones will see in this enclosure.
Thread Starter
|
Senior Member
Joined: Oct 2010
Posts: 931
From: Monroe City, IN
lol....
Nope, no motors at all because they're not subs, they're passive radiators. They're replacing the port. I can tune them just like a port but they take up less space and don't have issues with port compression or noise.
Nope, no motors at all because they're not subs, they're passive radiators. They're replacing the port. I can tune them just like a port but they take up less space and don't have issues with port compression or noise.
That is crazy, I learn some things every day.
Thread Starter
|
Senior Member
Joined: Oct 2010
Posts: 931
From: Monroe City, IN
Yep, so do I! lol
Passive radiators have been around for a very long time. What I find is odd is that the primary reasons for their use makes them fairly ideal for car audio use but you very rarely ever see PR builds in car audio. I like being the odd man out, so I thought I'd give it a try. Plus it gives me the distinction of being the only person in the world with SSA XCON PR's.
Passive radiators have been around for a very long time. What I find is odd is that the primary reasons for their use makes them fairly ideal for car audio use but you very rarely ever see PR builds in car audio. I like being the odd man out, so I thought I'd give it a try. Plus it gives me the distinction of being the only person in the world with SSA XCON PR's.
Last edited by altoncustomtech; May 14, 2013 at 07:49 PM.
Thread Starter
|
Senior Member
Joined: Oct 2010
Posts: 931
From: Monroe City, IN
Another little update. Got all the holes for the plexi windows cut out. Everything has turned out well so far on these. I also got the edges of the plexi windows rabbeted today as well. The table router I bought used from a friend really makes doing that sort of stuff NICE. I used some practice pieces of wood to get the depth just right then just went to town. I had all three pieces rabbeted in about ten minutes. Tomorrow I'm going to rabbet the holes in the enclosure the same (3/8") depth after sanding the openings and then it will be ready to seal them with silicone, glue the double baffles on, and get the holes cut out for the sub and PR's!!
Hole number two cut out.

All three cut out.

Here's a shot with the first one rabbeted and the second one getting ready to be done.

Here they are resting in their perspective locations.

The last two pictures here show where just a little tiny bit of sanding will be all they need to slip right into place. Once they fit down in there correctly I can rabbet the enclosure to match and when thats all done the plexi windows will sit perfectly flush (ideally just a few thousandths of an inch above flush) with the rest of the enclosure when dropped into place.


Well, that's all for today. If I can get through the aforementioned steps tomorrow it's all downhill from there. Sanding, rounding the edges of the enclosure, more sanding, body filler, more sanding, more body filler, more sanding, primer, more sanding, more primer, more sanding, painting the interior of the enclosure then applying the bed liner to the outside to finish it!
Thread Starter
|
Senior Member
Joined: Oct 2010
Posts: 931
From: Monroe City, IN
Another update. It's really starting to come together now. Instead of going through the spill I'm just going to post of the pics.
Got the holes sanded so the step in the plexi would fit.

Here the center hole on the front is rabbeted.

I used my hole cutting router with it's 1/4" upcut spiral bit to work the corners in and the plexi fits like a glove in it's hole.

All three holes rabbeted.

All three windows fitting in their respetive locations.

Putting in the silicone to seal the plexi up.

Had to work fast to get everything put together so no pics of the entire process, but here it is with the double baffles on and the plexi is now forever locked into place.


Tomorrow should end with the sub and PR cutouts made and the beginning of all the sanding to prepare for the body filler.