
2000 Boring Blazer Build

Thread Starter
|
Super Member
Joined: Jul 2012
Posts: 1,542
From: Glen Rock, PA

Minor update.

I had to replace the passenger rear caliper bracket because the slides were frozen in place. So I bought a caliper and bracket that came with everything except for the pads. It was cheaper to buy it that way than it would have been to just buy the bracket and all the hardware by itself. Plus, now I have a new caliper.
I had to replace the passenger rear caliper bracket because the slides were frozen in place. So I bought a caliper and bracket that came with everything except for the pads. It was cheaper to buy it that way than it would have been to just buy the bracket and all the hardware by itself. Plus, now I have a new caliper.
Thread Starter
|
Super Member
Joined: Jul 2012
Posts: 1,542
From: Glen Rock, PA
So I have been getting some serious shaking on the highway and it sounds like a rear tire is out of round. So I took it back to the shop and they told me that the 2 back wheels were bent. So I bought 4 more wheels from someone on CL. Took those to the shop and we put all 4 on the balancer and they are all fine. So we put 2 of these on with the 2 new tires. I drove it down the highway and it still shakes. So I took it to the goodyear shop and had them re-balance them. So I drove it on the highway and it still shakes. My next idea was to remove the wheel spacers. So I did that and guess what... it still shakes. I guess my next idea is to rotate the tires and see if the shaking moves to the front. If that happens then I think I have a lemon tire. Anybody else have any ideas?
Thread Starter
|
Super Member
Joined: Jul 2012
Posts: 1,542
From: Glen Rock, PA
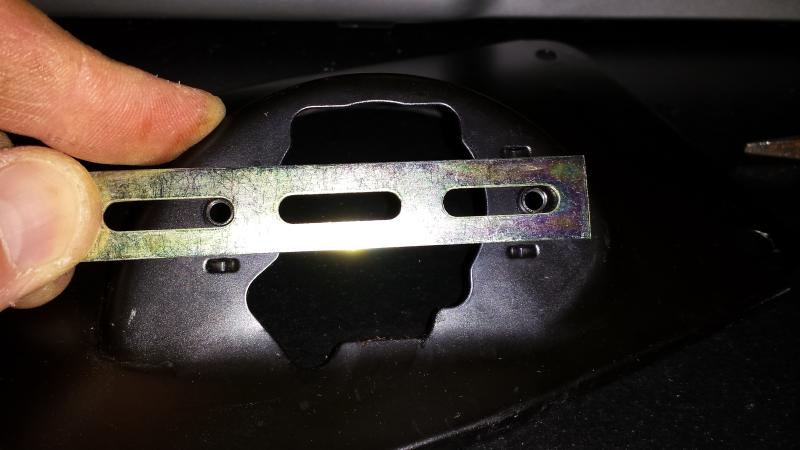
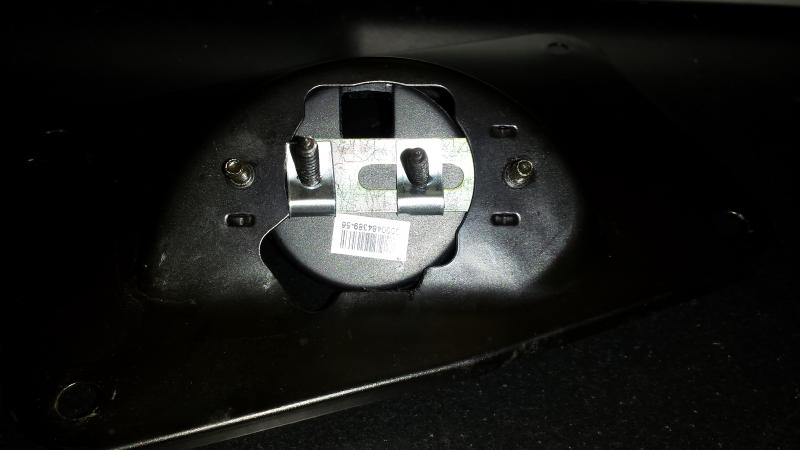
So I decided I want to make some changes to my stereo set up. I like the way the 4x6 speakers in the dash sound, but they are over powering everything else out, I guess because of their location. I picked up a set of Renegade RX6.2C Components from a local audio shop for $32. I was skeptical until I did some research and found out that Renegade is may by Rockford Fosgate. I mounted the tweeters to the location of the stock tweeters using some metal strapping.
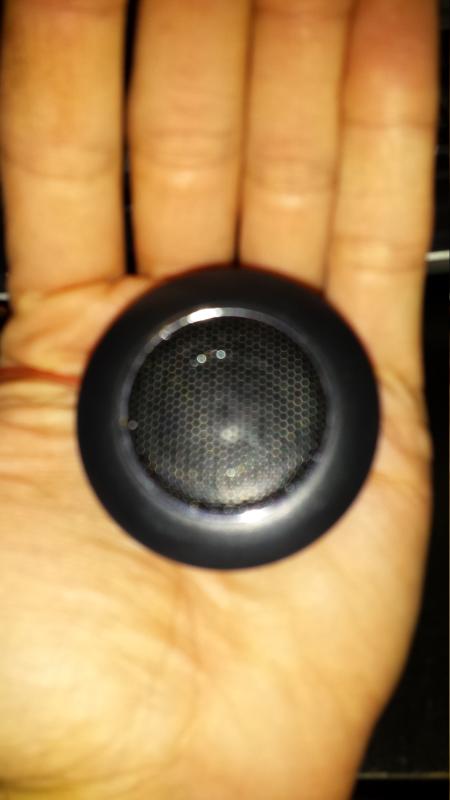
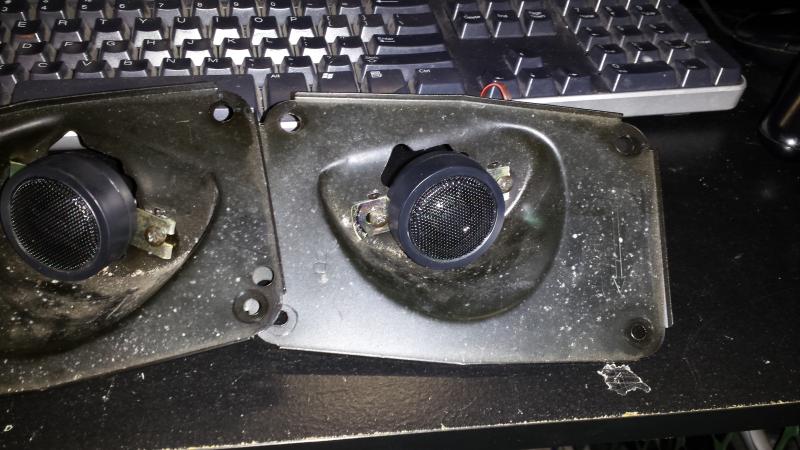
Stock tweeters.

I thought all those spots were dust or something but it doesn't seem to come off. It may just be some discoloration. I think I will just paint them to appease my OCD.
Measuring and mounting the strapping.
Here are the tweeters

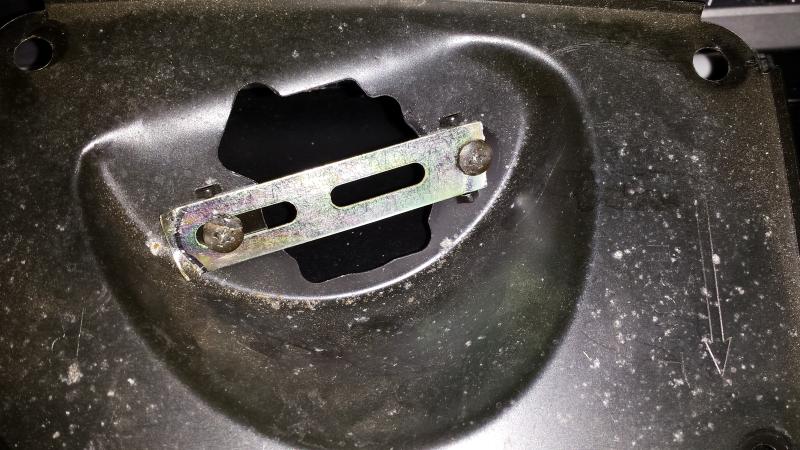
Here are the cups mounted to the strapping. I used the supplied hardware for now, but I think I will use some small nuts and bolts before I finally install them.
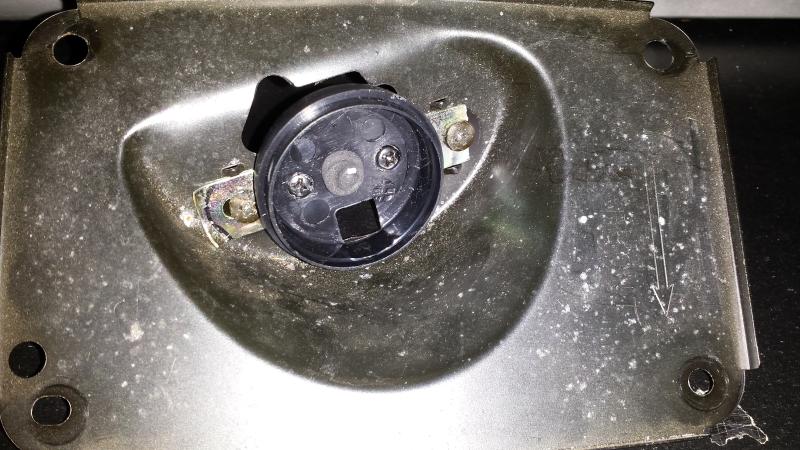
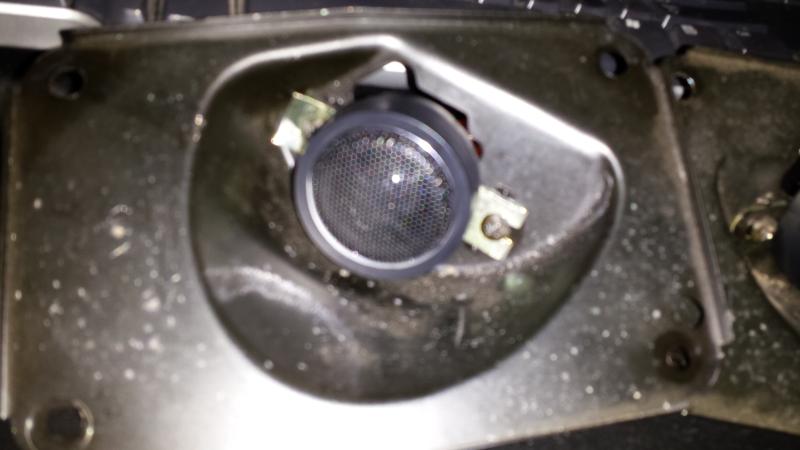
Here they are installed
Stock tweeters.
I thought all those spots were dust or something but it doesn't seem to come off. It may just be some discoloration. I think I will just paint them to appease my OCD.
Measuring and mounting the strapping.
Here are the tweeters
Here are the cups mounted to the strapping. I used the supplied hardware for now, but I think I will use some small nuts and bolts before I finally install them.
Here they are installed
Last edited by Tajohns34; Oct 9, 2014 at 08:49 AM.

Thread Starter
|
Super Member
Joined: Jul 2012
Posts: 1,542
From: Glen Rock, PA
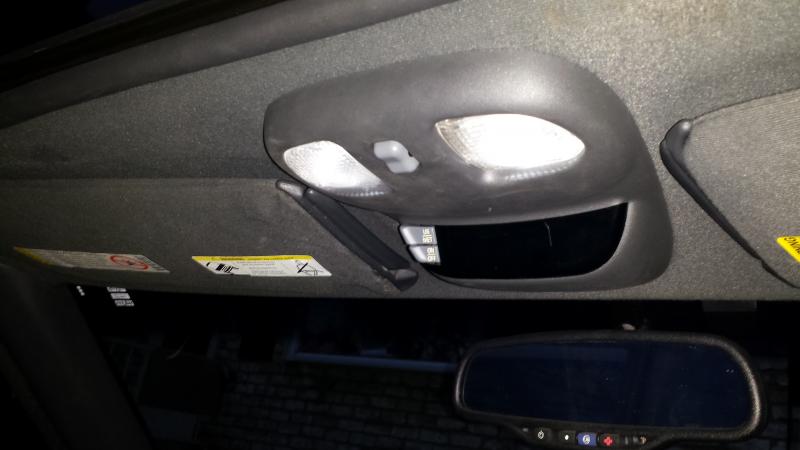
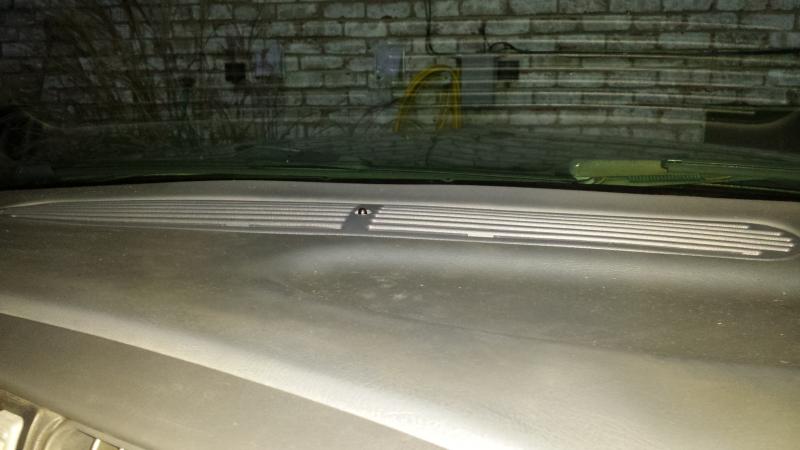
I decided that I was tired of looking at my busted up defroster vent. So I called my local Chevy dealer and got on ordered. After tax it was $29. Unfortunately I have automatic headlights but the ones with the holes are discontinued. So I ordered one without the hole and just drilled it out and hot glued the sensor in place.

Last edited by Tajohns34; Nov 14, 2014 at 02:21 PM.
Thread Starter
|
Super Member
Joined: Jul 2012
Posts: 1,542
From: Glen Rock, PA
On the way to pick up my vent things got interesting. I stopped at a red light and when it turned green I couldn't go forward, the all off the sudden I heard a pop and then a loud scraping sound. So I pulled into the gas station that was conveniently right next to the Chevy dealer.
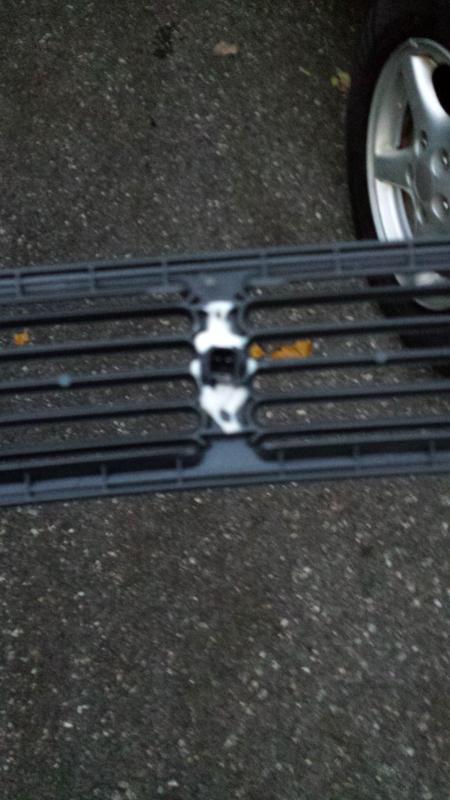
Then this happened
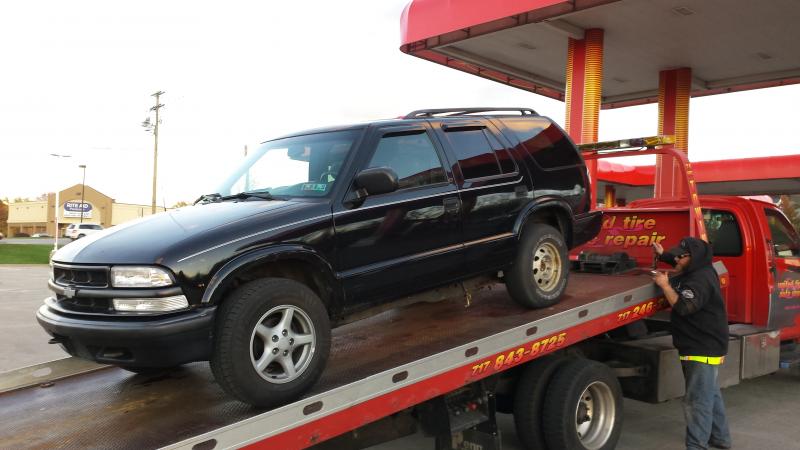
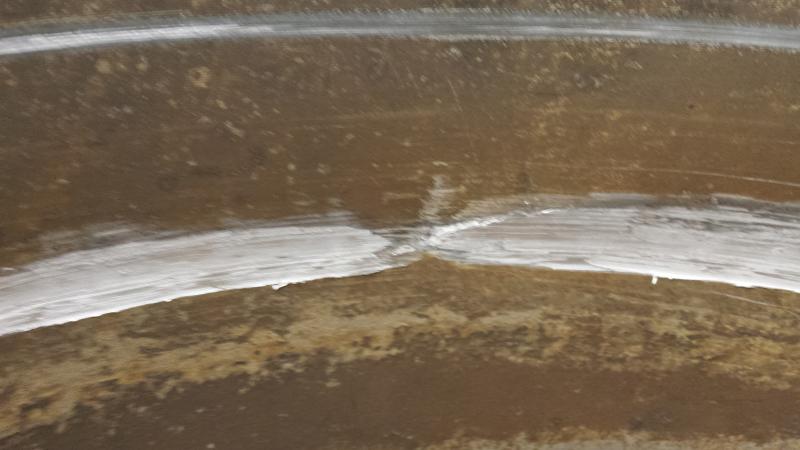
Apparently the top caliper bracket bolt came out and the calliper and bracket fell forward. and got caught on the wheel. It cut a groove in the wheel and actually cracked it in one spot. After this it actually broke the bottom caliper bolt off and the caliper just hung out inside the wheel.


Here is where I got lucky in all this. When I got to the gas station I could hear the tire going flat. By the time I got the spare down it was completely flat. I jacked it up and pulled the wheel off. The top bolt that fell out was still hanging on the brake line so I put that in finger tight just so that it wouldn't get in the way when it was being towed. The caliper and bracket were not damaged. So I put the spare on and walked to chevy got my vent and asked for a price on the broken bolt. $38!, No way. So I got it towed and went to home depot got a bolt (grade 10.9, same as factory) and bolted it back together. After I pulled the chunk of aluminum it had carved out of the wheel. I had a spare wheel so I had that mounted on the tire and all is well now.
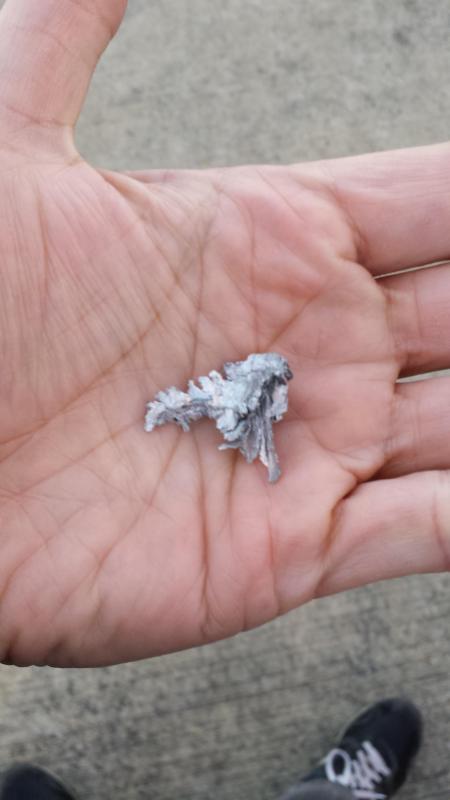
Here is the aluminum that was in the caliper bracket that was once part of my wheel.
Then this happened
Apparently the top caliper bracket bolt came out and the calliper and bracket fell forward. and got caught on the wheel. It cut a groove in the wheel and actually cracked it in one spot. After this it actually broke the bottom caliper bolt off and the caliper just hung out inside the wheel.
Here is where I got lucky in all this. When I got to the gas station I could hear the tire going flat. By the time I got the spare down it was completely flat. I jacked it up and pulled the wheel off. The top bolt that fell out was still hanging on the brake line so I put that in finger tight just so that it wouldn't get in the way when it was being towed. The caliper and bracket were not damaged. So I put the spare on and walked to chevy got my vent and asked for a price on the broken bolt. $38!, No way. So I got it towed and went to home depot got a bolt (grade 10.9, same as factory) and bolted it back together. After I pulled the chunk of aluminum it had carved out of the wheel. I had a spare wheel so I had that mounted on the tire and all is well now.
Here is the aluminum that was in the caliper bracket that was once part of my wheel.
Last edited by Tajohns34; Nov 14, 2014 at 02:23 PM.
Thread Starter
|
Super Member
Joined: Jul 2012
Posts: 1,542
From: Glen Rock, PA
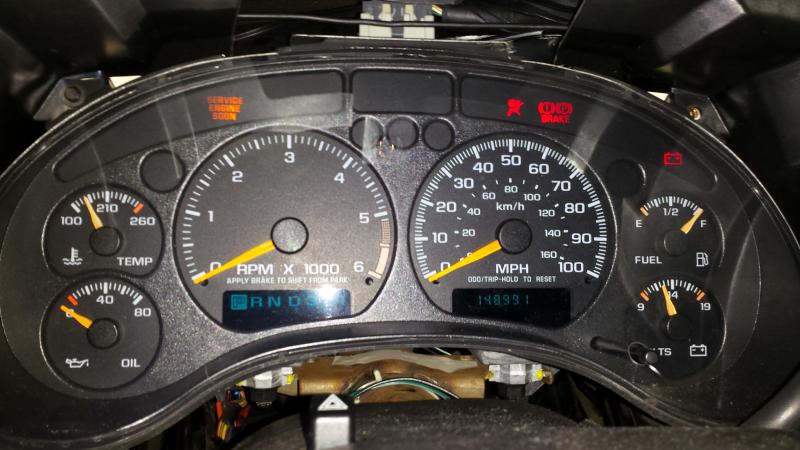
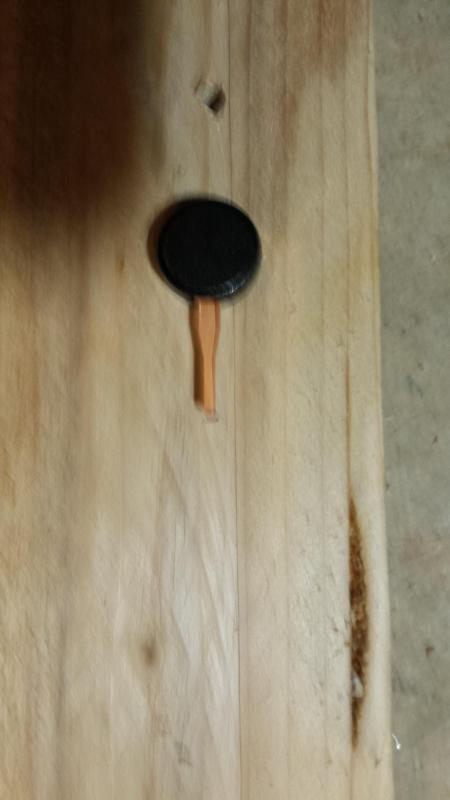
I got some camaro gauge needles so I decided to install them this evening.
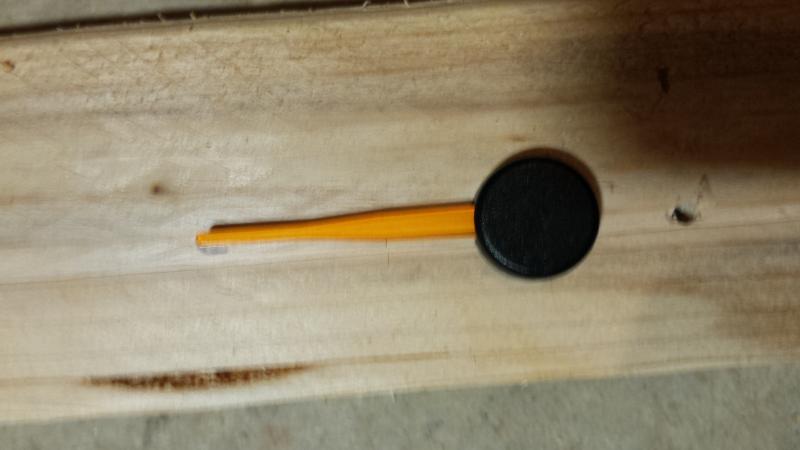
Here are the fat orange factory needles.
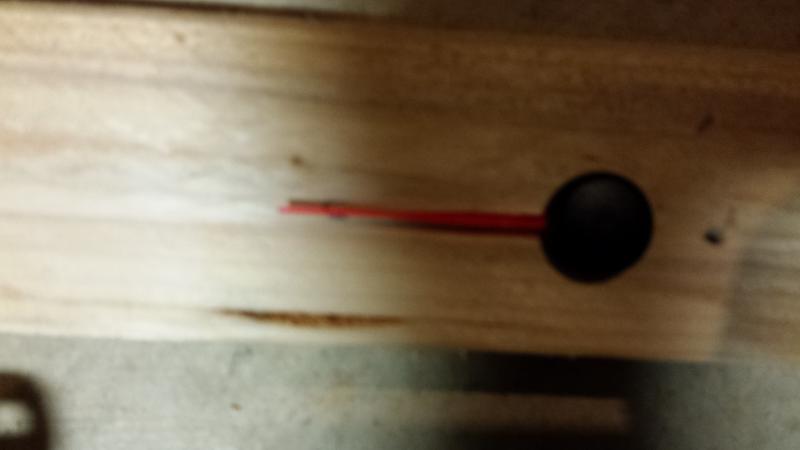
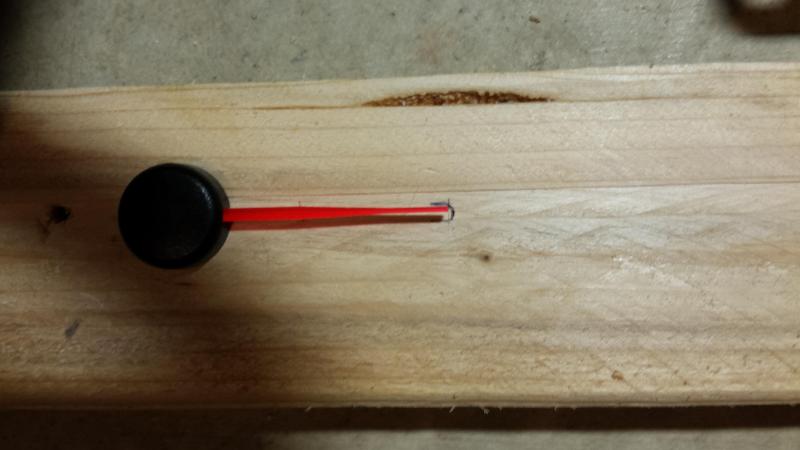
So to trim the needles I drilled a 1/8 hole in a piece of scrap wood and marked the location of the factory needs. Then I put the camaro needles in and trimmed them to match that mark with a razor blade. Sorry for the blurry pictures, I didn't realize until I was done.
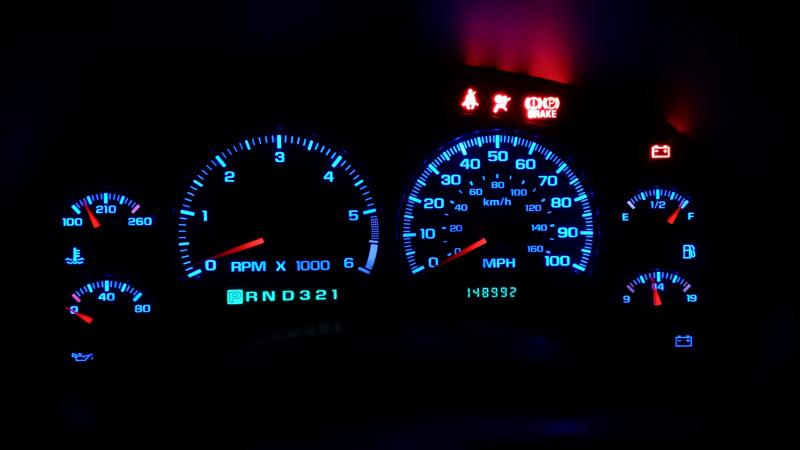
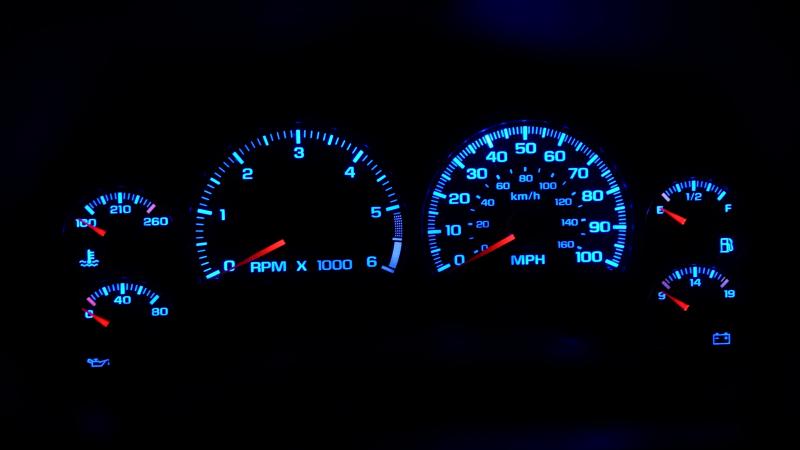
Here is a shot of them with the flash on, they do look much better. My tach is somehow about 100 RPMs off but I am not that concerned about it.

here is a couple of shot with the flash off. I don't like how the light doesn't reach the end of the needle. I need to come up with something for that.
Here are the fat orange factory needles.
So to trim the needles I drilled a 1/8 hole in a piece of scrap wood and marked the location of the factory needs. Then I put the camaro needles in and trimmed them to match that mark with a razor blade. Sorry for the blurry pictures, I didn't realize until I was done.
Here is a shot of them with the flash on, they do look much better. My tach is somehow about 100 RPMs off but I am not that concerned about it.
here is a couple of shot with the flash off. I don't like how the light doesn't reach the end of the needle. I need to come up with something for that.
Thread Starter
|
Super Member
Joined: Jul 2012
Posts: 1,542
From: Glen Rock, PA
It has been a long time since I have updated. I did a few minor things. I'll start posting pictures at some point. I had an issue with overheating a while back. There is a post in General tech help all about it. Anyway, basically my coolant was brown muck and I flushed it a few times and it has been getting slightly better. Also my temp gauge never gets above 160 - 165 while driving. I decided to check my coolant again on Friday, and as expected it was still a greenish brown color. So on Saturday I drained it, removed the thermostat, filled it with water and prestone flush and drove it all day and then drained it out again. I repeated this yesterday morning and checked it this morning, it is now mostly clear. So I will drive it for a couple more days, drain it and fill it with 50/50 water and coolant. I also picked up an AC Delco thermostat. While I had the engine drained I decided to replace the temp sensor since they are fairly cheap and figured after 2 thermostats that may be why it the reading is off.
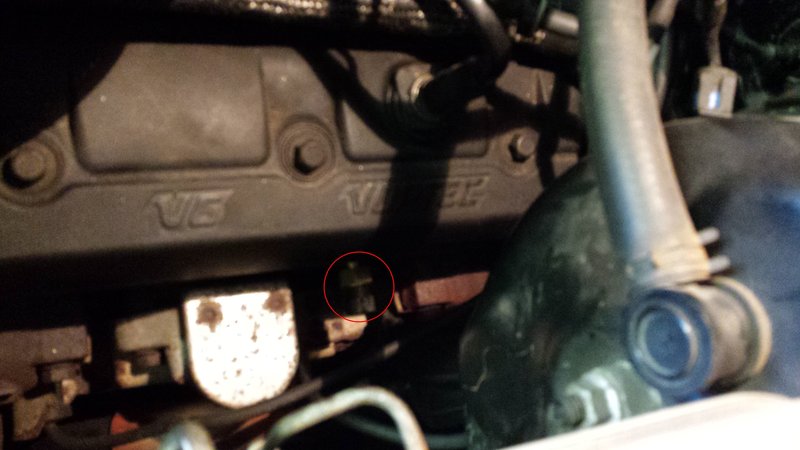
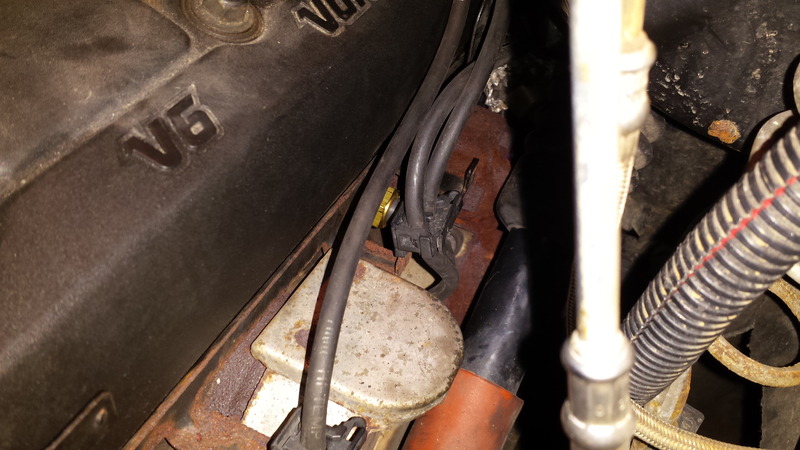
The sensor is on the outside of the drivers side cylinder head between the 3 & 5 cylinders. I removed the old sensor using a 19mm socket and it was a tight fit. So after that I unhooked the spark plug wires from the little clips that hold them in place and removed the metal bracket that holds them in. There is a 10mm bolt on each end, then it comes right out. After that I was able to easily get the new one in using a ratcheting wrench.
Old
Here is the new one in with the bracket off. you can see how much clearance there is compared to the last picture.
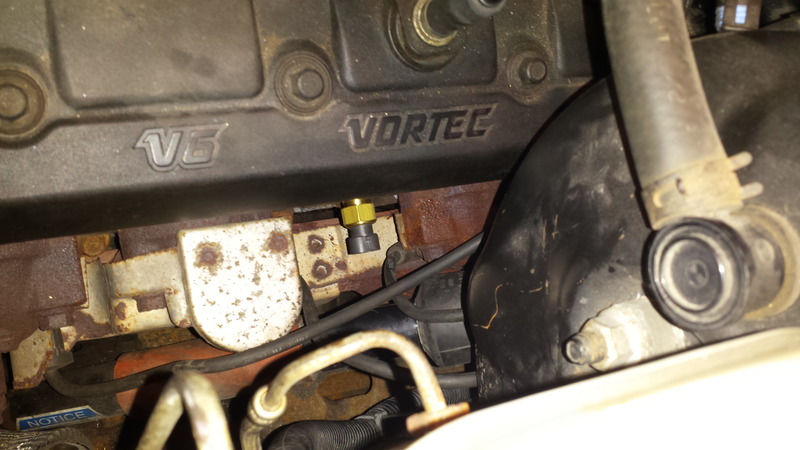

Here it is with the bracket back on. You can see how much less space there is.
The sensor is on the outside of the drivers side cylinder head between the 3 & 5 cylinders. I removed the old sensor using a 19mm socket and it was a tight fit. So after that I unhooked the spark plug wires from the little clips that hold them in place and removed the metal bracket that holds them in. There is a 10mm bolt on each end, then it comes right out. After that I was able to easily get the new one in using a ratcheting wrench.
Old
Here is the new one in with the bracket off. you can see how much clearance there is compared to the last picture.
Here it is with the bracket back on. You can see how much less space there is.
Last edited by Tajohns34; Apr 6, 2015 at 11:17 AM.