
My small 96 Blazer build

Thread Starter
|
Super Moderator
Joined: Sep 2011
Posts: 4,459
From: Northern VA

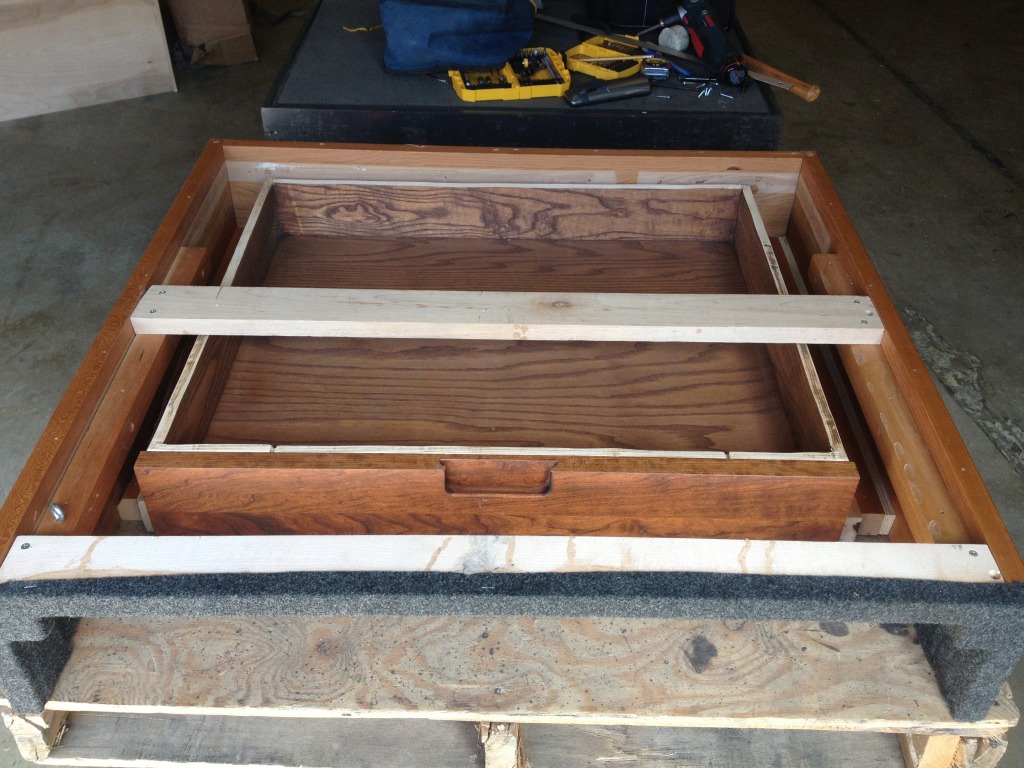
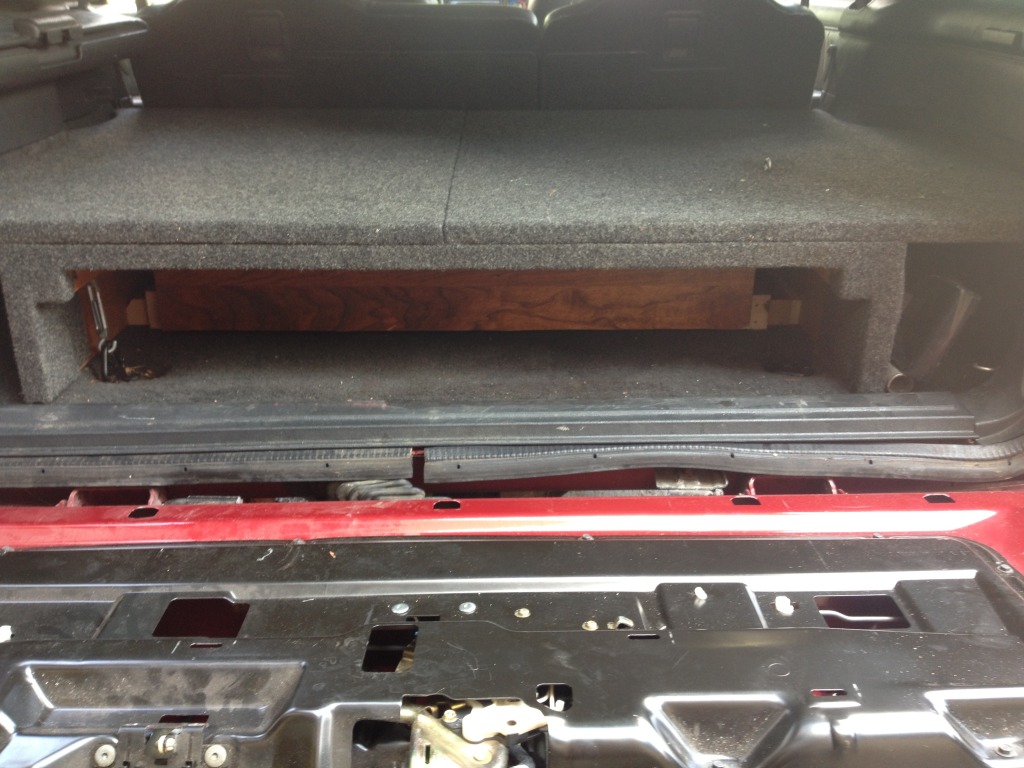
I decided I didn't want to do any actual work today but rather play with the Blazer and needed something that would give me some joy after the headache the headliner has been. I had the stuff necessary to build a drawer for the false floor in the back so that's what I did!
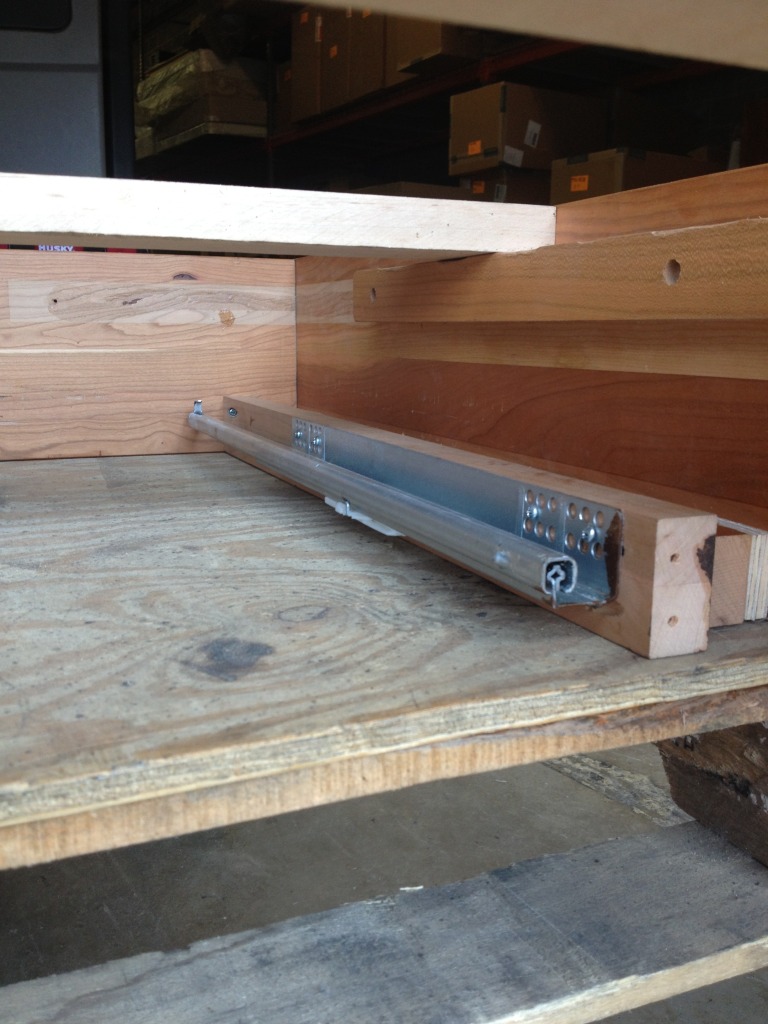
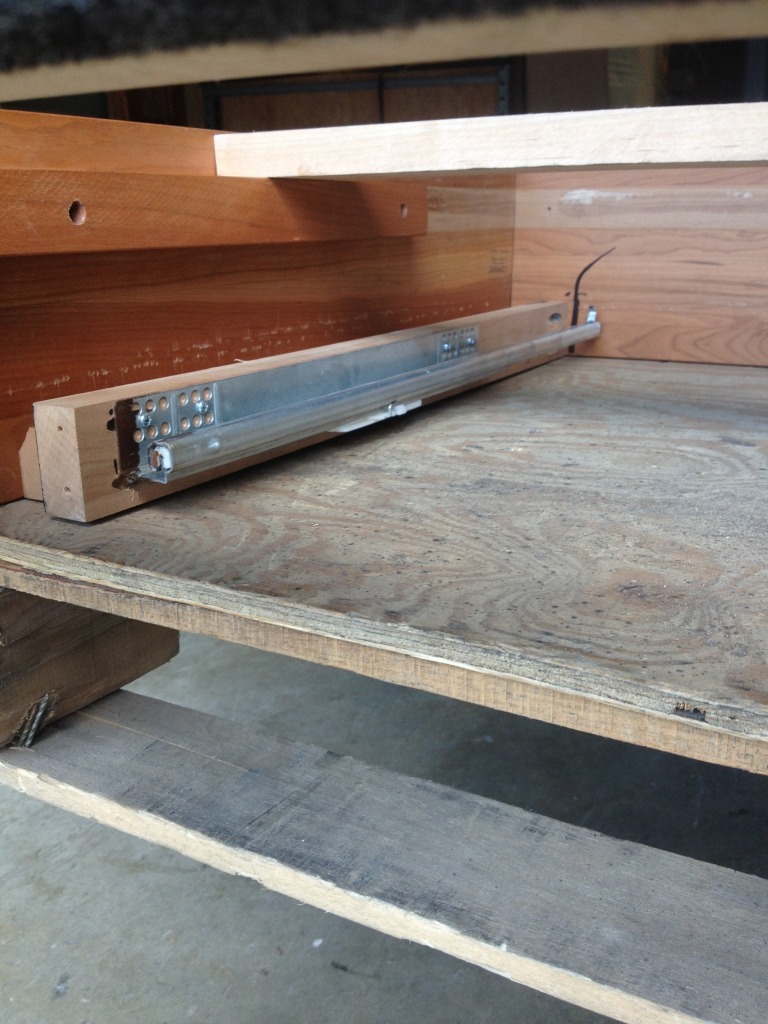
Here are the glides all mounted up. They lock closed as well so the drawer won't be slamming open and closed.
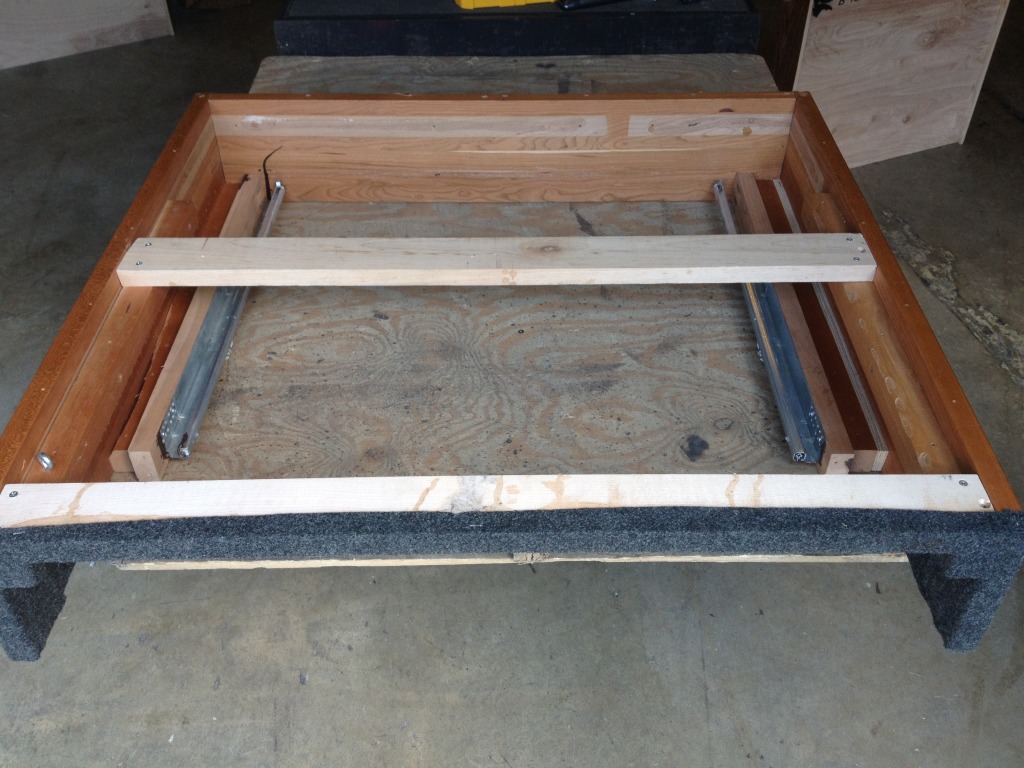
You can also see that I mounted the glides so the weight will be resting on the floor and not cause stress on the mounting points when loaded up.
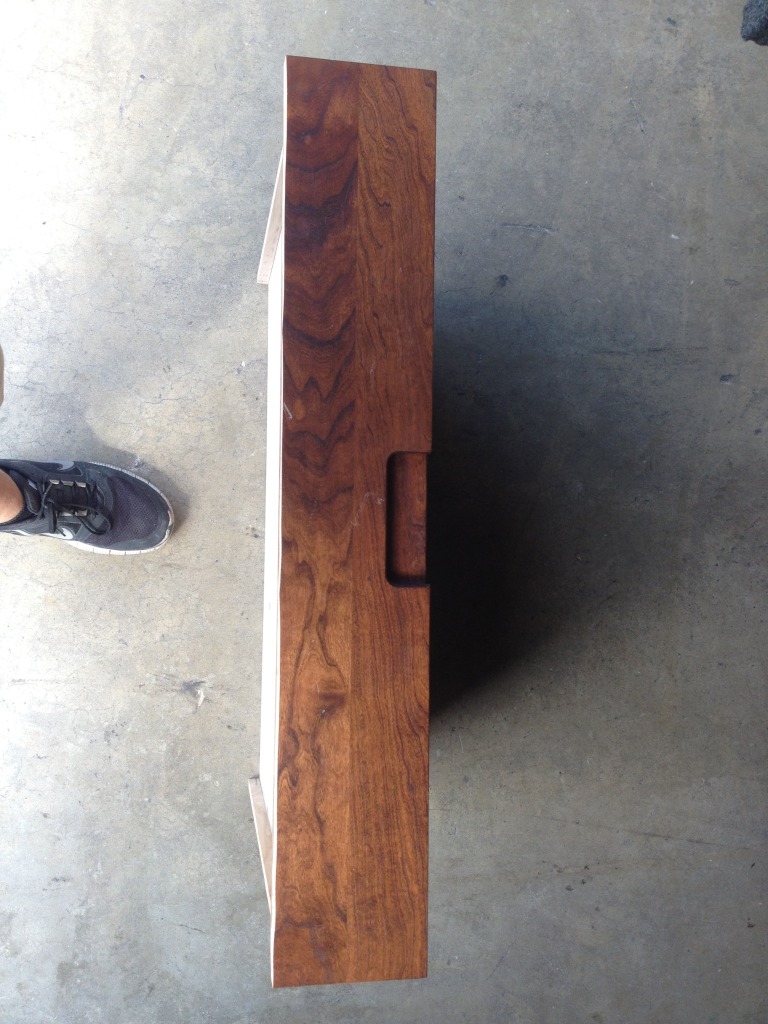
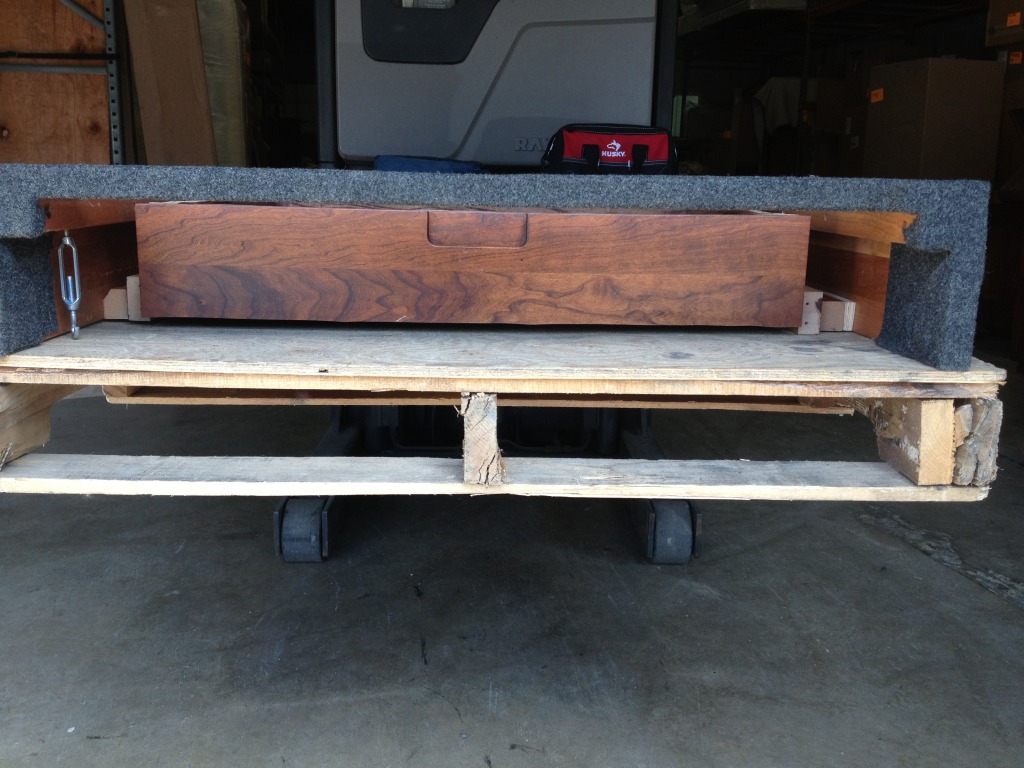
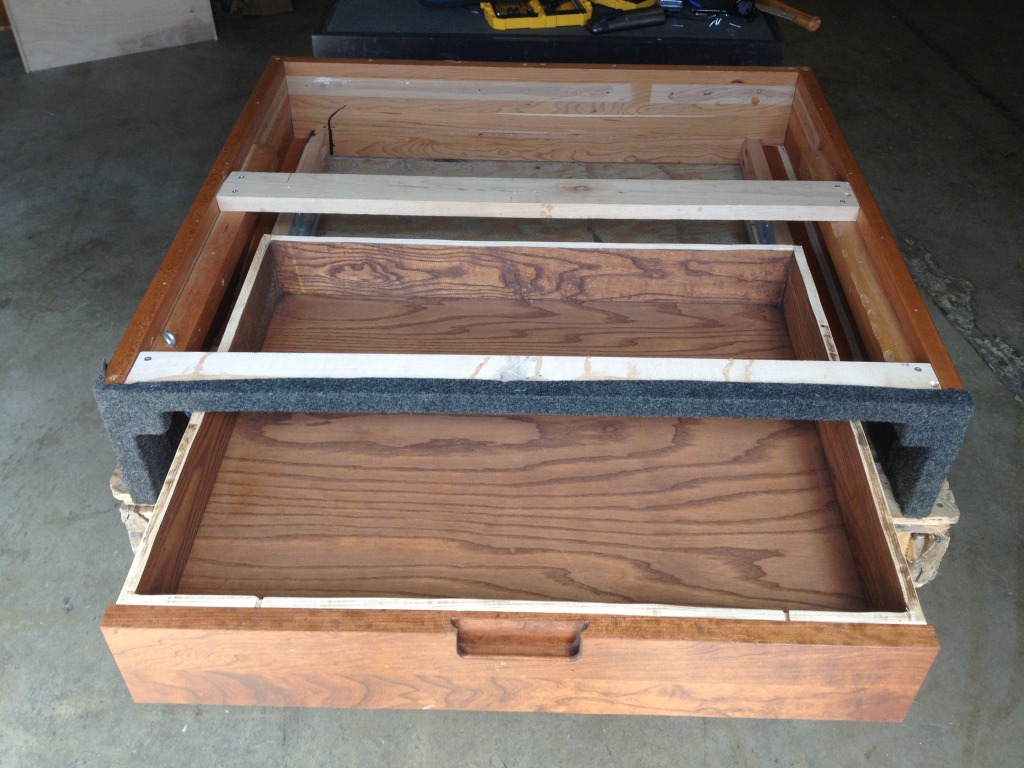
Here's the drawer with a nice recessed handle so it won't get smashed off (you will see what I'm talking about later)
and mounted in the frame
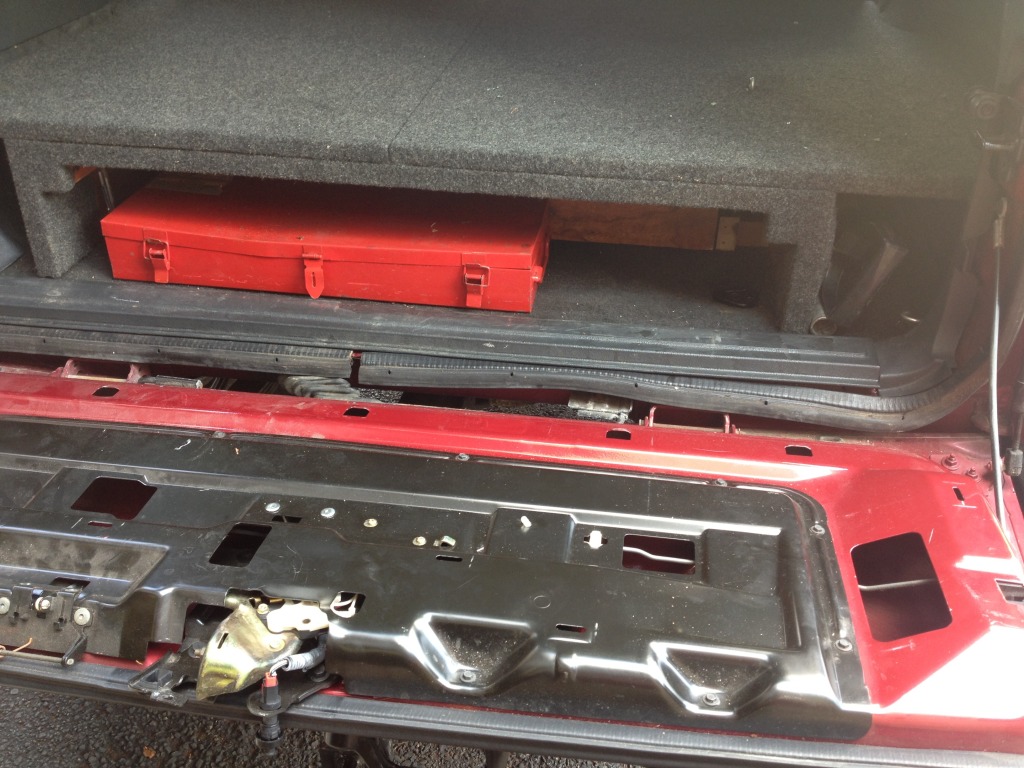
Here it is in the truck.

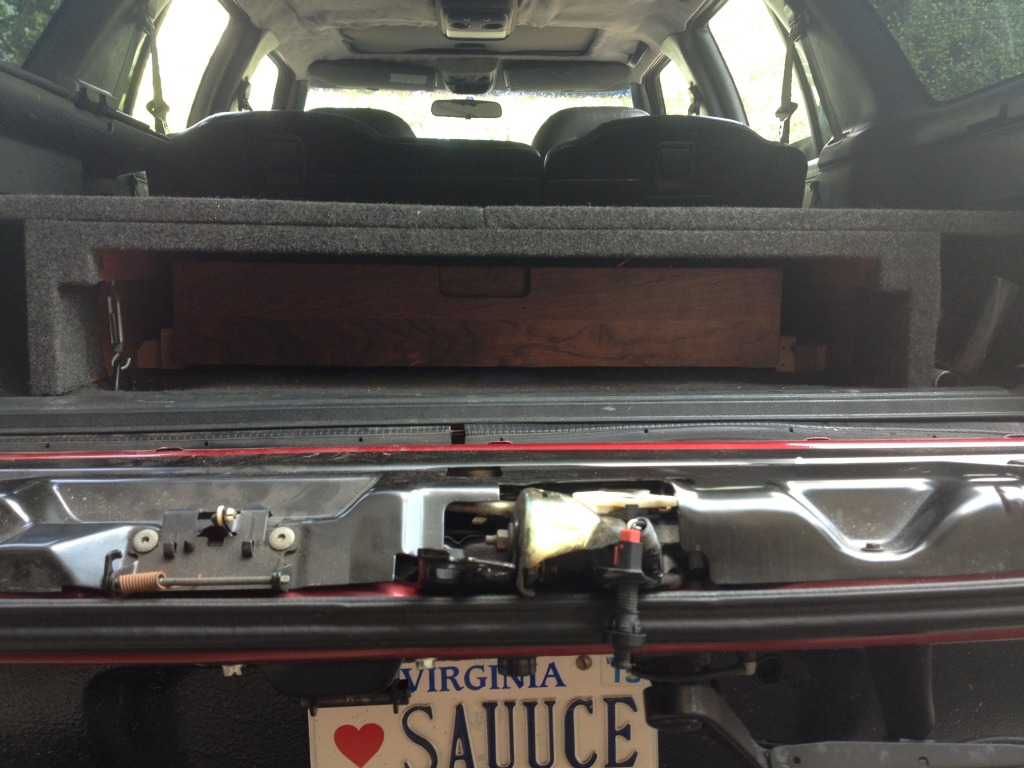
You can see that I mounted it deep in the frame to intentionally leave plenty of space in front of the drawer for other things like my heavy a** 3/4 drive socket set (also the reason for the recessed handle!).
Here are the glides all mounted up. They lock closed as well so the drawer won't be slamming open and closed.

You can also see that I mounted the glides so the weight will be resting on the floor and not cause stress on the mounting points when loaded up.


Here's the drawer with a nice recessed handle so it won't get smashed off (you will see what I'm talking about later)

and mounted in the frame


Here it is in the truck.


You can see that I mounted it deep in the frame to intentionally leave plenty of space in front of the drawer for other things like my heavy a** 3/4 drive socket set (also the reason for the recessed handle!).


Last edited by rexmburns; Aug 2, 2013 at 04:07 PM.
New Member
Joined: Feb 2013
Posts: 77
From: Mesa, Arizona
Hey Rex my 4x4 just failed on me last time I was out, Where did you get all your other parts for the posi lock mod at? I can't seem to find that Compression fitting anywhere.. Thanks!
Edit: Just saw this last page and that looks great! I've wanted to build a raised floor in my Blazer but I also sleep inside there when I go camping so I would actually have to pitch a tent.. Darn.. But I'm also looking at building a RTT type mod as I build my roof rack, so we'll see how it goes.. Keep the mods coming!
Edit: Just saw this last page and that looks great! I've wanted to build a raised floor in my Blazer but I also sleep inside there when I go camping so I would actually have to pitch a tent.. Darn.. But I'm also looking at building a RTT type mod as I build my roof rack, so we'll see how it goes..
Keep the mods coming!
Last edited by 1999BlueMobile; Aug 9, 2013 at 05:26 PM.
Thread Starter
|
Super Moderator
Joined: Sep 2011
Posts: 4,459
From: Northern VA
I got everything I used except the cable at Home Depot. My raised floor takes litterally 3 min to take so if you wanted to build one and just remove it when you go camping that may be an option as well.
Last edited by rexmburns; Aug 17, 2013 at 07:39 AM.

Beginning Member
Joined: May 2013
Posts: 26
From: Red Deer, Alberta
looks like the compression fitting would be from an air fitting, you might be able to find at almost any auto store, or anywhere that sells air tools. I've even seen them at truck stops. The one in the picture looks like an air line joiner for a split line.

New Member
Joined: Jul 2013
Posts: 76
From: Bryan, TX
Try going to a Fastenal or motorcycle shop and you can find fittings designed for this purpose.
Something like this... Cable Fittings Kit | Motion Pro
Or if you have a drill press with a good vice on it you can make one from a 7/16" bolt. Just drill a small pilot hole (1/8" +/-) all the way through the center. Then ream it out with a larger hole the cable housing will just fit into stopping 1/4" shy of going all the way through.
Or... Drill clean through the bolt with a hole large enough to fit the housing through, then drill and tap a couple smaller holes in the side to use as set screws. That way if the cable binds it won't get you stuck in 4wd.
Ideally, you'd want to have a bulkhead terminal crimped onto the end of the housing. It would be more reliable and look more factory.
edit: Please don't take this as being critical of how Rex did it, I've spent too much time around fabricators and engineers. My point is there are a lot of ways to go about doing this.
Last edited by Crackers; Aug 16, 2013 at 11:22 AM.

New Member
Joined: Jul 2013
Posts: 51
From: Battle Creek, Michigan
Thanks guys! I'm really happy with it so far. I did the door jambs just to clean it up a bit and I figure its a "high traffic" area with being stepped on all the time so I went ahead and took the time to do it. Plus this way when I open my doors it looks beautiful LOL. MikeRo I used this Monstaliner do-it-yourself roll-on truck bed liner outperforms Herculiner Bed Liner, Duplicolor and Rustoleum Road Warrior. I like that it is UV resistant so it won't fade right away. I think its like a 5 yr minimun guarantee against fading and chalking. I used the 1 gallon kit with 2 solid coats and had it not been cold and dark when I finished the second coat I would have done a third since I had enough left for it.
Thread Starter
|
Super Moderator
Joined: Sep 2011
Posts: 4,459
From: Northern VA
Excuse me if I'm wrong, but he's only using that fitting as a cable stop to hold the cable housing in place. You just need something the cable housing will fit into with a smaller center hole.
Try going to a Fastenal or motorcycle shop and you can find fittings designed for this purpose.
Something like this... Cable Fittings Kit | Motion Pro
Or if you have a drill press with a good vice on it you can make one from a 7/16" bolt. Just drill a small pilot hole (1/8" +/-) all the way through the center. Then ream it out with a larger hole the cable housing will just fit into stopping 1/4" shy of going all the way through.
Or... Drill clean through the bolt with a hole large enough to fit the housing through, then drill and tap a couple smaller holes in the side to use as set screws. That way if the cable binds it won't get you stuck in 4wd.
Ideally, you'd want to have a bulkhead terminal crimped onto the end of the housing. It would be more reliable and look more factory.
edit: Please don't take this as being critical of how Rex did it, I've spent too much time around fabricators and engineers. My point is there are a lot of ways to go about doing this.
Hey Rex, great thread Bro! Hoping to do bed liner before the winter hits. I see that you posted this in 2011. I was just wondering (I haven't finished reading your thread yet) how well the Monstiliner has held up over the last couple years. Also; did you spray it on or was like roll and paint brush??
 I have zero complaints about it.
Thread Starter
|
Super Moderator
Joined: Sep 2011
Posts: 4,459
From: Northern VA
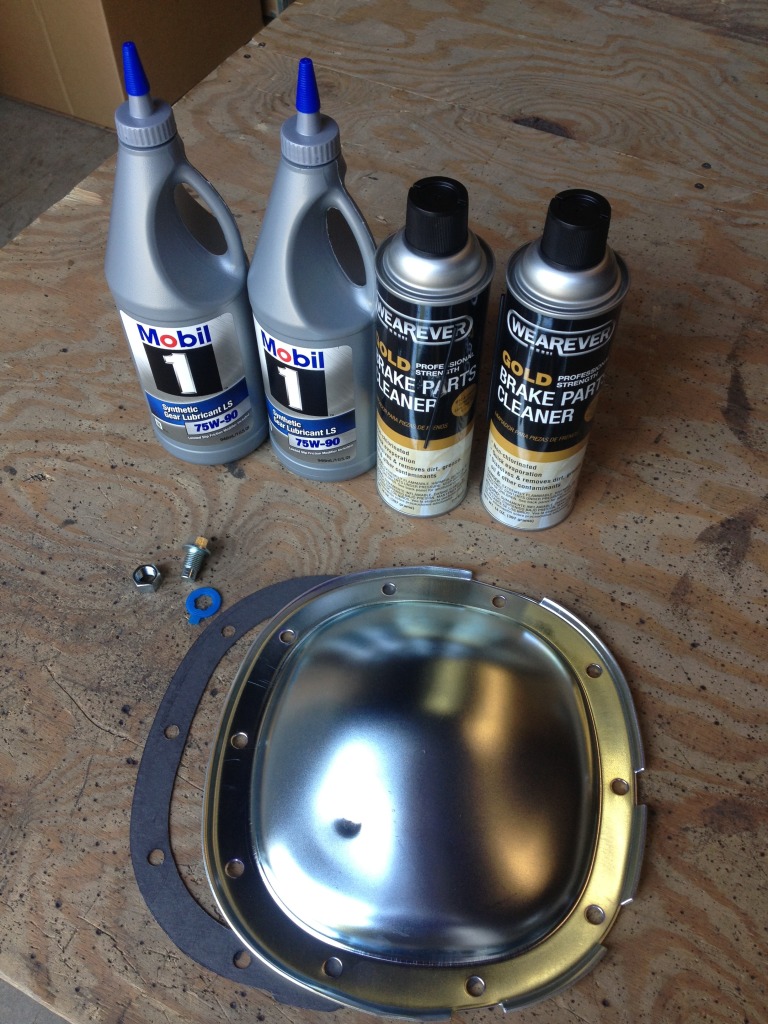
I needed to do a rear diff service so I decided I would do that today. I went a little further and bought a new cover and the required hardware to make my diff fluid serviceable without pulling the entire cover. Here's the pics...
Picked up all this for $33 with a %30 off online coupon at Advance
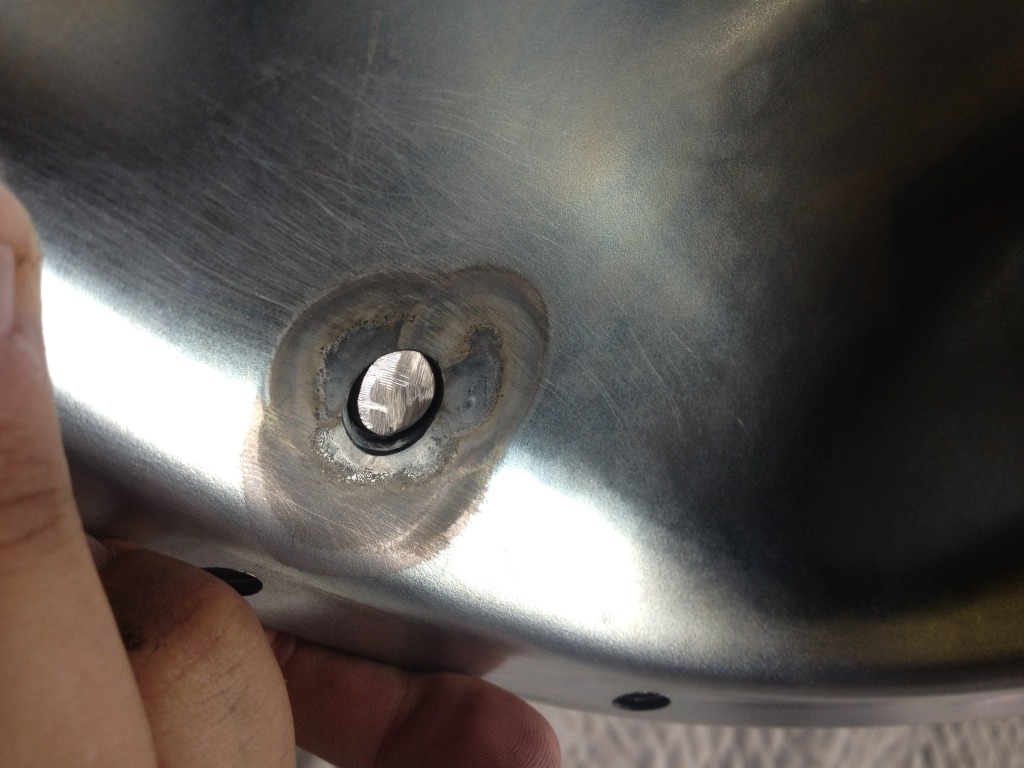
After a little thought towards future plans I drilled a hole in the cover.
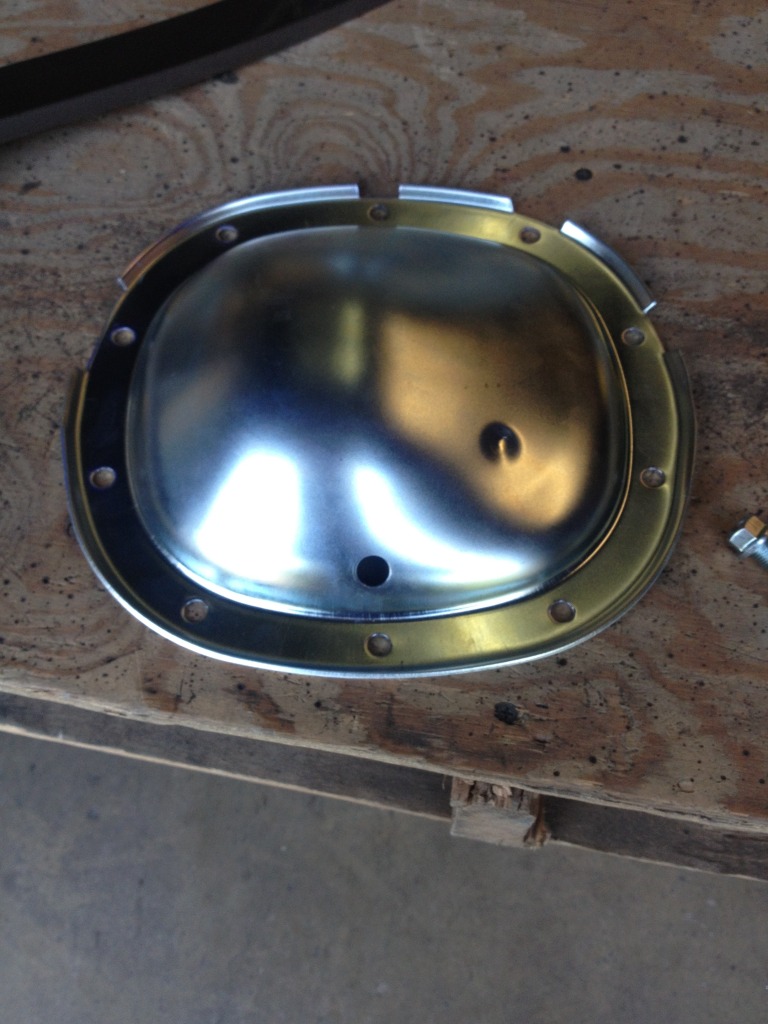
Thread the nut on with the bolt from the inside and welded it up
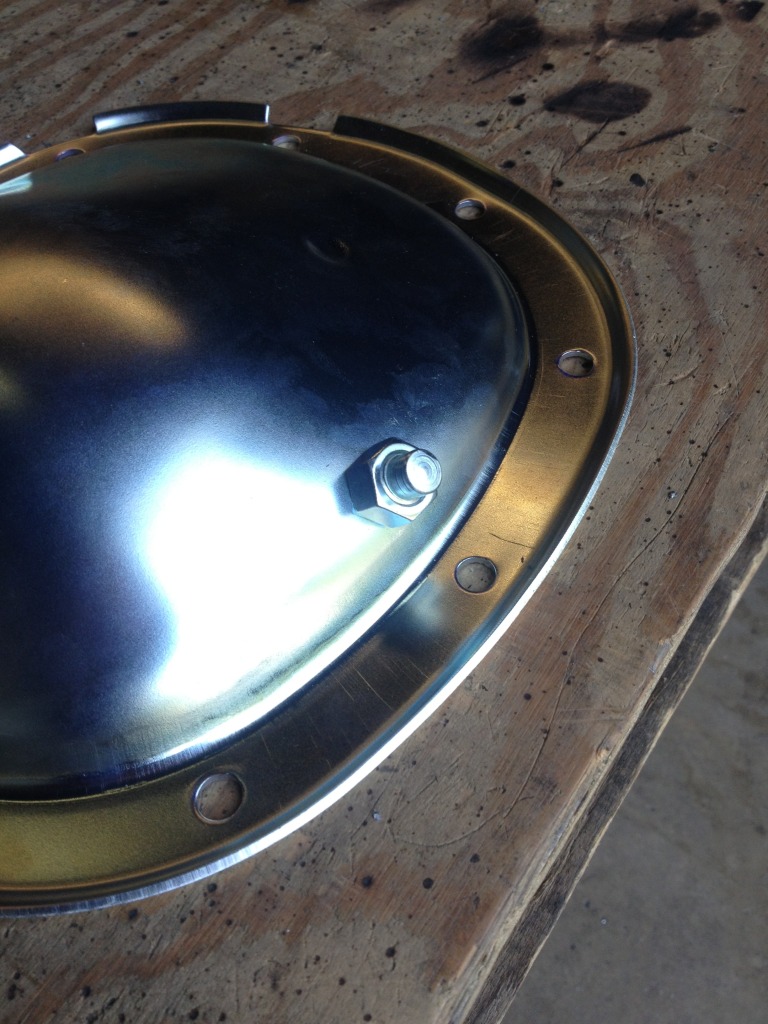
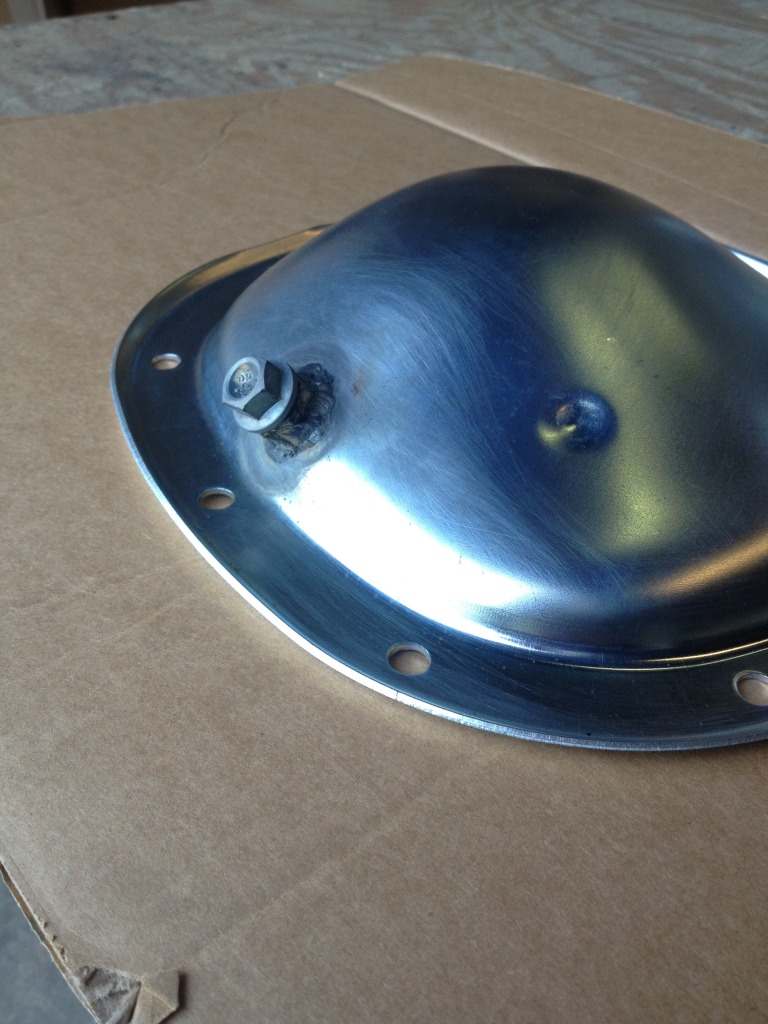
I also cut the bolt off so it would sit flush with the cover and not obstruct any moving parts.
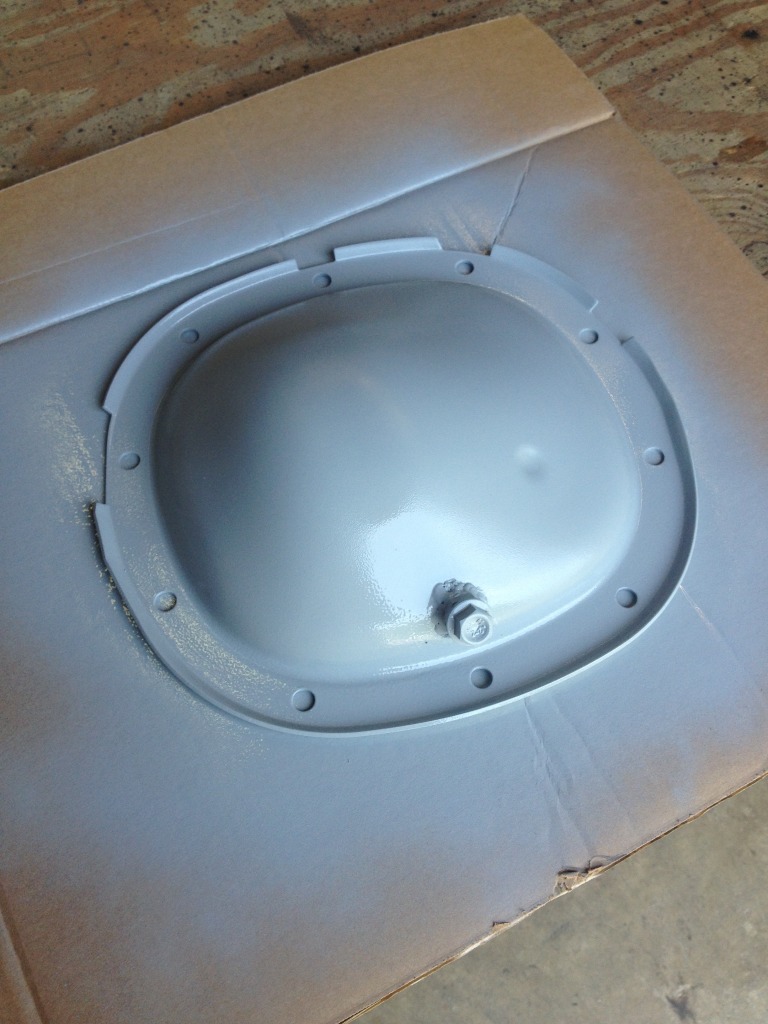
Then some primer
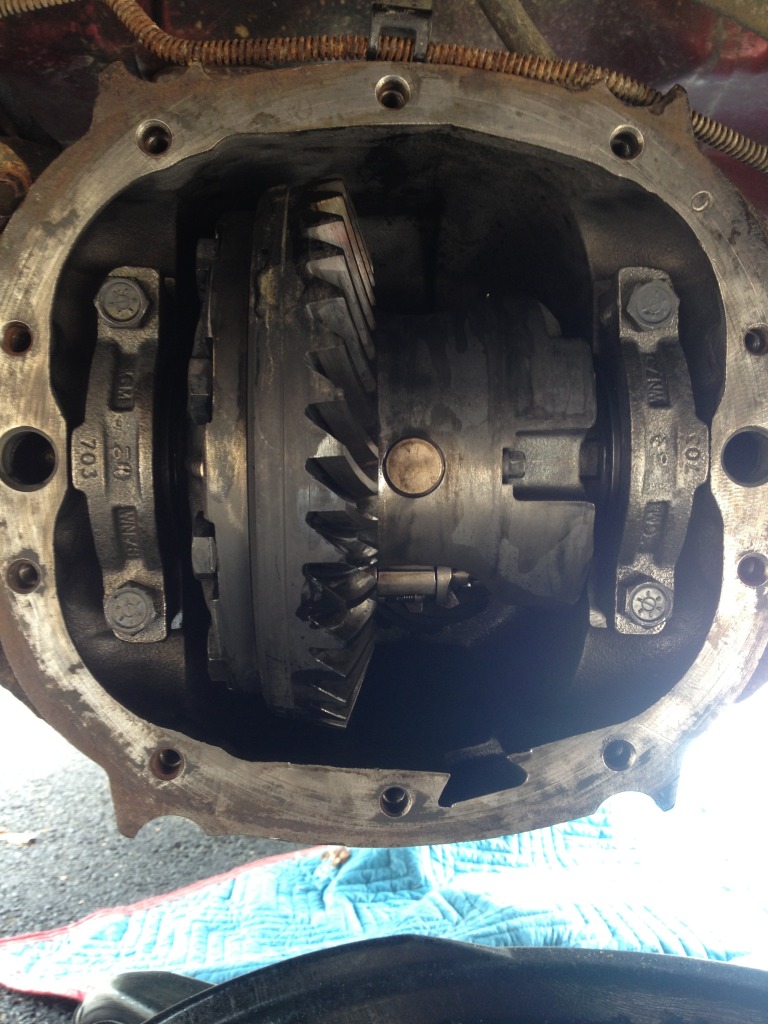
In between coats of paint I went and pulled the old cover and drained the fluid. This is what was behind the cover. Burnt smelling black nasty crap!!

After almost two cans of brake cleaner and some compressed air its nice and clean
And here's the cover after 3 coats of black and 3 coats of clear.
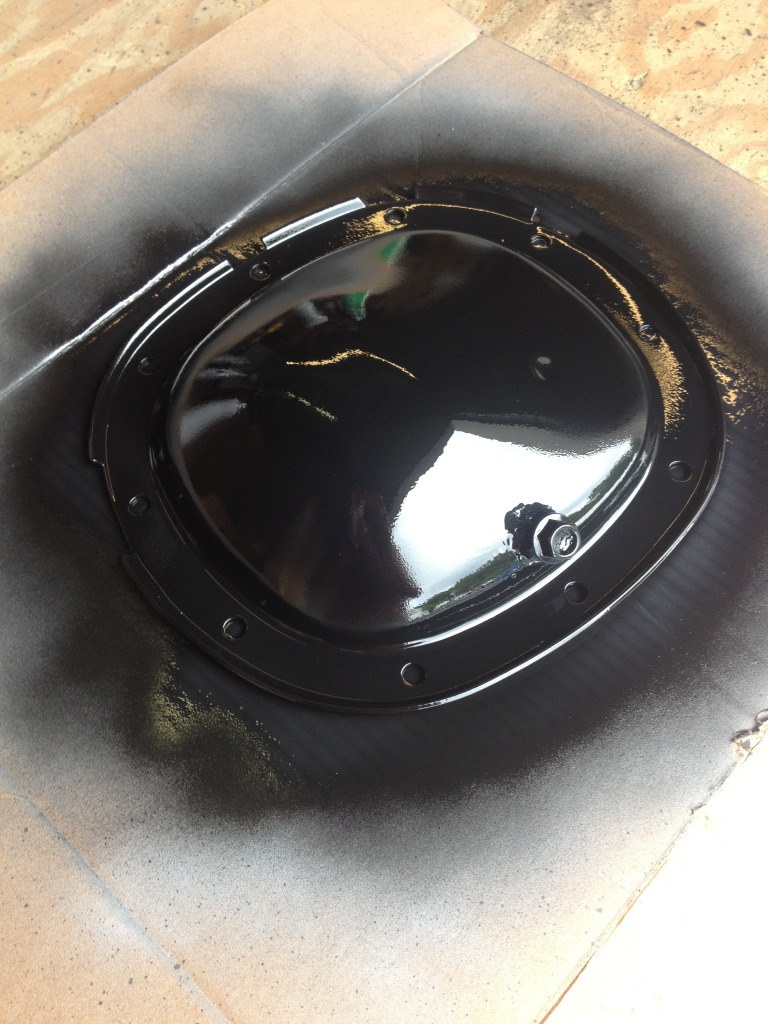
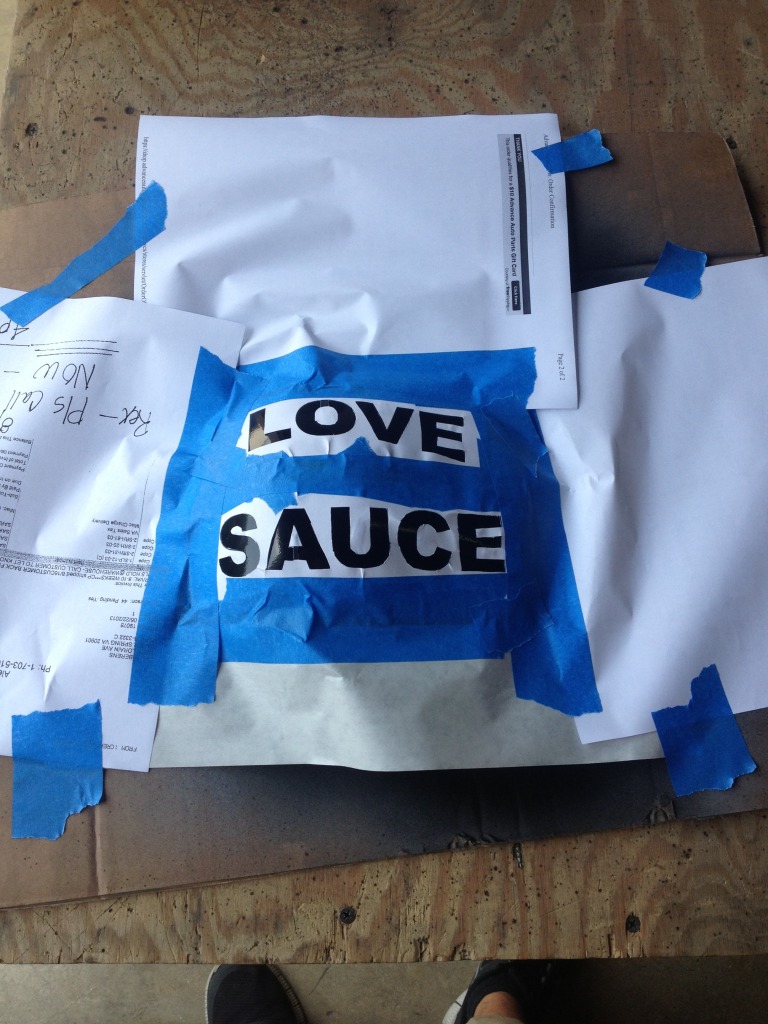
I figured since I'm doing it I may as well do a little extra
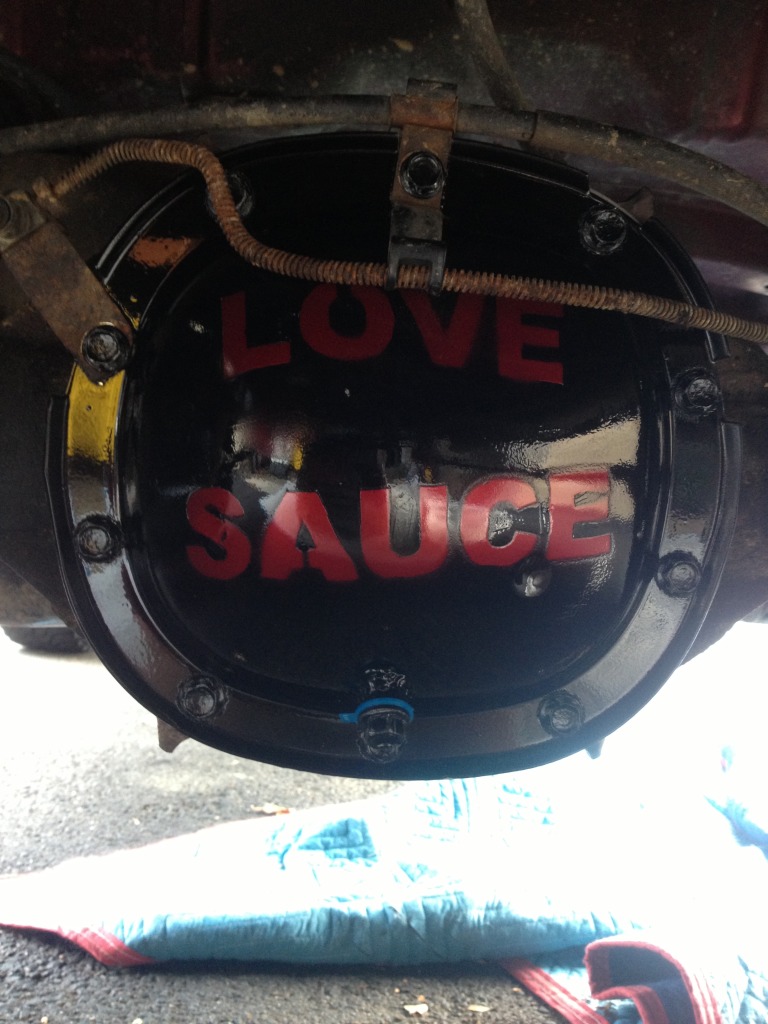
And now the fun part! I got in to much of a rush and it was an after thought so its not perfect but owell!
And here it is installed
Then I filled it up with some fluid.
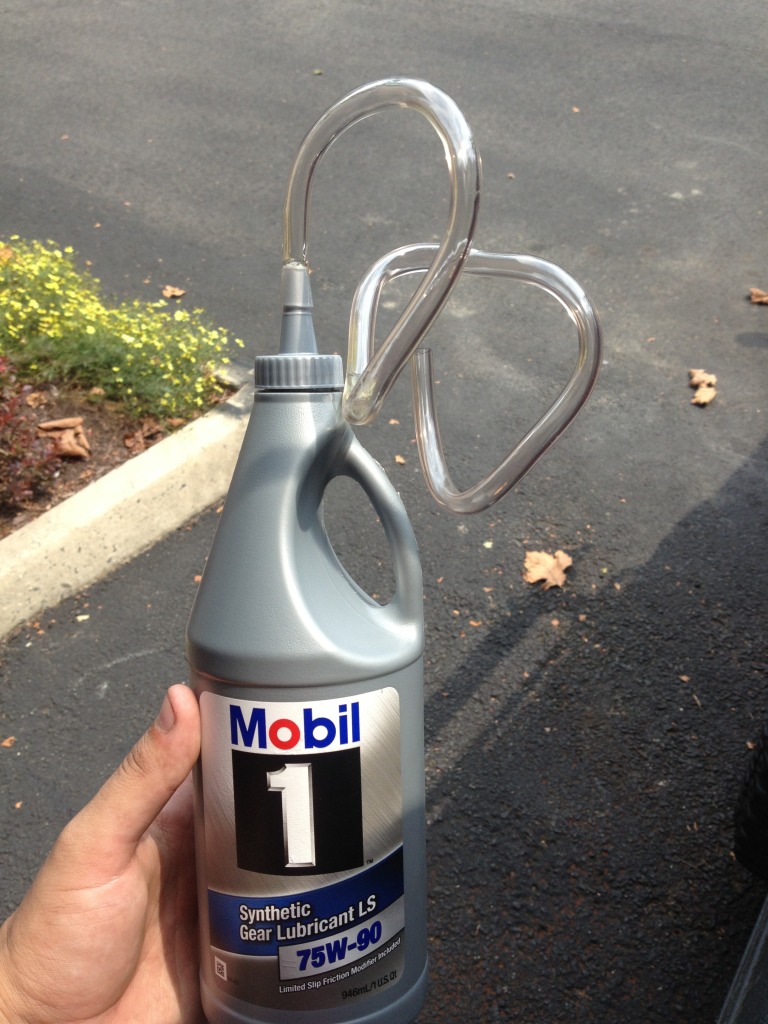
I left it on jack stands and ran it in gear and not a single noise from the rear
Picked up all this for $33 with a %30 off online coupon at Advance

After a little thought towards future plans I drilled a hole in the cover.

Thread the nut on with the bolt from the inside and welded it up


I also cut the bolt off so it would sit flush with the cover and not obstruct any moving parts.

Then some primer

In between coats of paint I went and pulled the old cover and drained the fluid. This is what was behind the cover. Burnt smelling black nasty crap!!

After almost two cans of brake cleaner and some compressed air its nice and clean

And here's the cover after 3 coats of black and 3 coats of clear.

I figured since I'm doing it I may as well do a little extra


And now the fun part! I got in to much of a rush and it was an after thought so its not perfect but owell!

And here it is installed

Then I filled it up with some fluid.

I left it on jack stands and ran it in gear and not a single noise from the rear