
My small 96 Blazer build
#531
 06-12-2013, 04:13 PM


Very nice blazer thanks for the build. Gave me some great ideas. Love the safari rack. Thanks again!

#534
06-13-2013, 10:58 AM
Here's a quick write up on the Corvette servo install I did yesterday. Total time was about 45 min start to finish including jacking up the pass side of the truck. I have a BL so it gave me a bit more clearance.
I used this servo for my install. If you order from them expect to wait a while for it to arrive (mine took 3.5 weeks) and don't expect much in the way of customer service if you email them. Also they won't charge you for shipping at checkout in fact there wasn't even an option but rest assured you will be charged for it when they run your CC they charged me around $8 which isn't bad but would have been nice to know up front! Ok rant over!!!
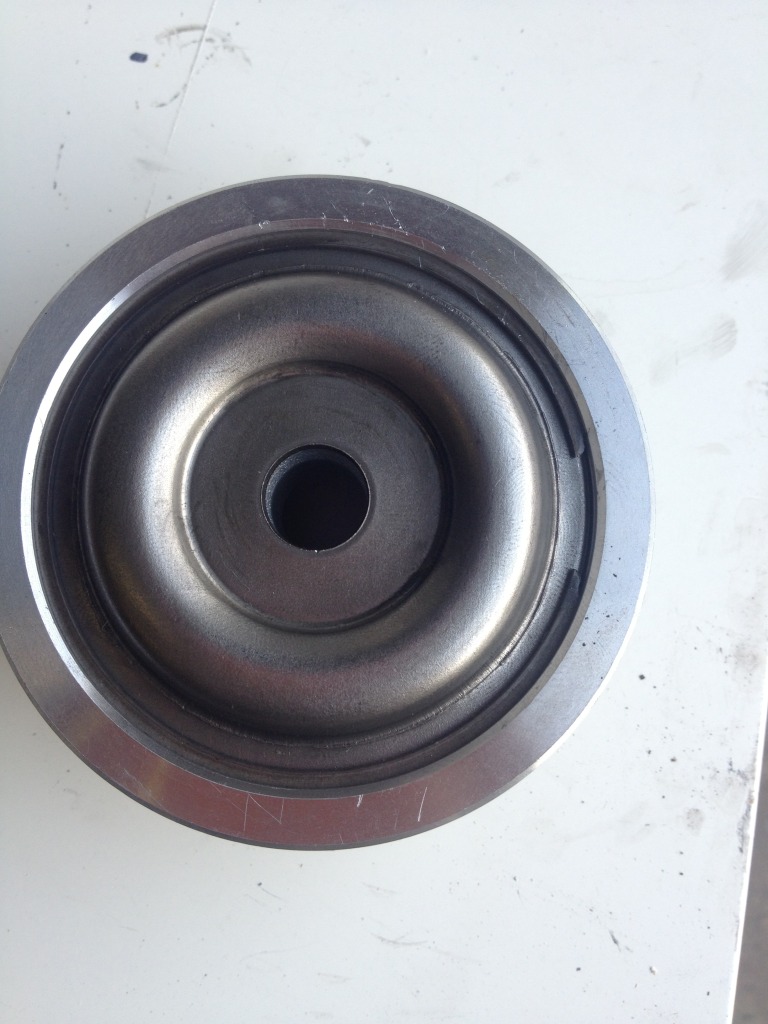
Start by locating the servo on the passenger side of the trans. Then I used a pry bar to press in on the cover and remove the large wire clip that holds it in place.

After that is off you need to pull the cover/outer portion of the servo. You can see in this pic where I had vice grips on it trying to get it removed. The exhaust is in the way so its hard to get any leverage with a screw driver unless you have a long one which I have but it was at home I modified my short screwdriver and between that and the vice grips it finally came off! This was the hardest part of the entire thing lol.

Its ugly but it worked


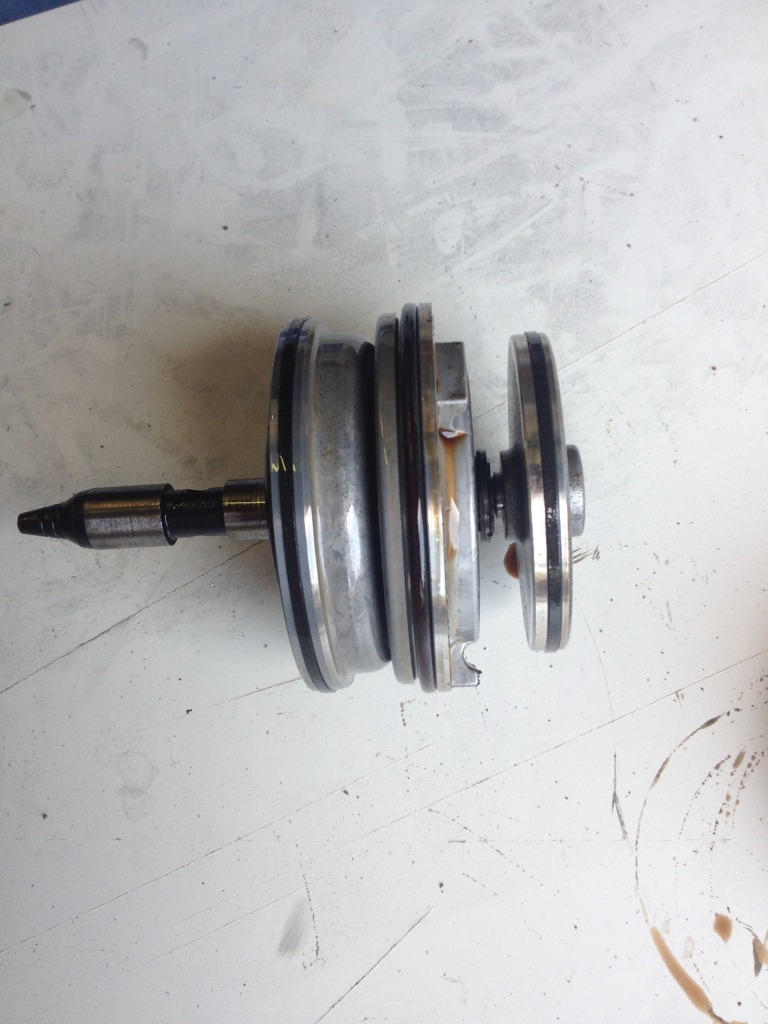
Once the cover is out of the way you can pull out the rest of the servo. Pay attention to how it comes out and which direction the pieces face.
It should look like this on the bench.
once all is removed you will need to remove the E clip from the shaft to remove all of the parts from it. Again pay attention to part orientation. I was able to just push it out with a flat screwdriver without issue but be careful it may fly.
I laid all of my parts out in the order they came off.

The two bottom pieces are the Corvette servo and are there so I know what order to put them back in at.
Next you need to depress the spring inside the larger servo part (sorry don't know the actual name and I'm not looking it up lol) I used a socket and a large clamp. A C clamp would be ideal but like my long screwdriver that to was at home so this is what I used.

In this pic you can see the retainer clip that needs to be removed.
Under there is a large spring so be careful when releasing the pressure.

Now just transfer that spring, cover, and clip to the new servo and put it back together in the same order that it came apart.
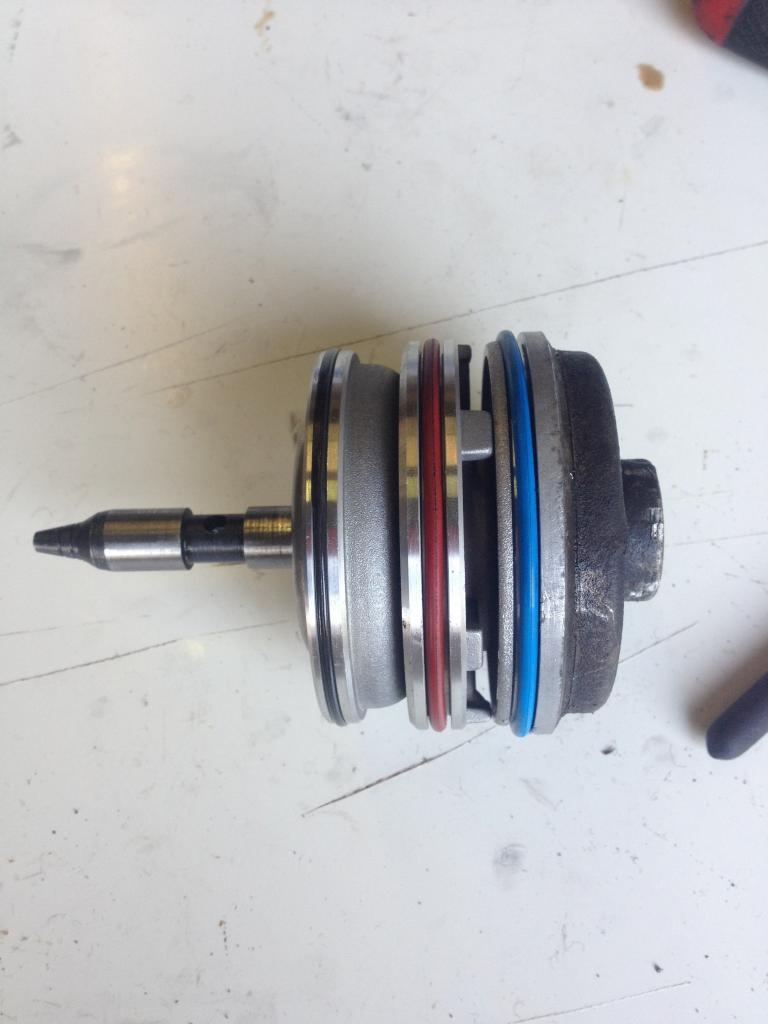
Now you have to install the new seals on all of the pieces. Its pretty straight forward just make sure they are all seated properly so they don't move or tear when putting it back in the trans.
When everything is put back together it should look like this sitting on the bench ready to go back in.
Now all that's left to do is put it back in the trans. When you do this you will find a spring in the servo location and you can feel inside there is a "home" that the spring will sit around and then the servo shaft slides inside. I put a bit of fresh trans fluid on all of the new seals to halp ensure they went into place without issue. Then just put the cover back on press it in and install the large wire clip. Turn the truck on look for leaks, cycle thru the gears look for leaks, and finally go for a drive and come back and look for leaks. All in all it was an easy job to do and seems to have helped my weak shifts even with the electronic shift kit turned off.
If anyone has any questions feel free to ask. I'm no expert but I will help out if I can!
Next project/maintenance is the internal electric servos and filter change
I used this servo for my install. If you order from them expect to wait a while for it to arrive (mine took 3.5 weeks) and don't expect much in the way of customer service if you email them. Also they won't charge you for shipping at checkout in fact there wasn't even an option but rest assured you will be charged for it when they run your CC they charged me around $8 which isn't bad but would have been nice to know up front! Ok rant over!!!
Start by locating the servo on the passenger side of the trans. Then I used a pry bar to press in on the cover and remove the large wire clip that holds it in place.

After that is off you need to pull the cover/outer portion of the servo. You can see in this pic where I had vice grips on it trying to get it removed. The exhaust is in the way so its hard to get any leverage with a screw driver unless you have a long one which I have but it was at home
I modified my short screwdriver and between that and the vice grips it finally came off! This was the hardest part of the entire thing lol.
Its ugly but it worked


Once the cover is out of the way you can pull out the rest of the servo. Pay attention to how it comes out and which direction the pieces face.
It should look like this on the bench.

once all is removed you will need to remove the E clip from the shaft to remove all of the parts from it. Again pay attention to part orientation. I was able to just push it out with a flat screwdriver without issue but be careful it may fly.
I laid all of my parts out in the order they came off.

The two bottom pieces are the Corvette servo and are there so I know what order to put them back in at.
Next you need to depress the spring inside the larger servo part (sorry don't know the actual name and I'm not looking it up lol) I used a socket and a large clamp. A C clamp would be ideal but like my long screwdriver that to was at home so this is what I used.

In this pic you can see the retainer clip that needs to be removed.

Under there is a large spring so be careful when releasing the pressure.

Now just transfer that spring, cover, and clip to the new servo and put it back together in the same order that it came apart.
Now you have to install the new seals on all of the pieces. Its pretty straight forward just make sure they are all seated properly so they don't move or tear when putting it back in the trans.
When everything is put back together it should look like this sitting on the bench ready to go back in.

Now all that's left to do is put it back in the trans. When you do this you will find a spring in the servo location and you can feel inside there is a "home" that the spring will sit around and then the servo shaft slides inside. I put a bit of fresh trans fluid on all of the new seals to halp ensure they went into place without issue. Then just put the cover back on press it in and install the large wire clip. Turn the truck on look for leaks, cycle thru the gears look for leaks, and finally go for a drive and come back and look for leaks. All in all it was an easy job to do and seems to have helped my weak shifts even with the electronic shift kit turned off.
If anyone has any questions feel free to ask. I'm no expert but I will help out if I can!
Next project/maintenance is the internal electric servos and filter change
#535
06-13-2013, 11:00 AM
#536
06-13-2013, 04:32 PM
Well it's officially happening!!! I had an itch to do something to the blazer this afternoon and didn't feel like getting dirty with a welder and grinder so this happened!
Got everything lined up and level and went to work first with a small pilot bit then with a step drill.


Close enough

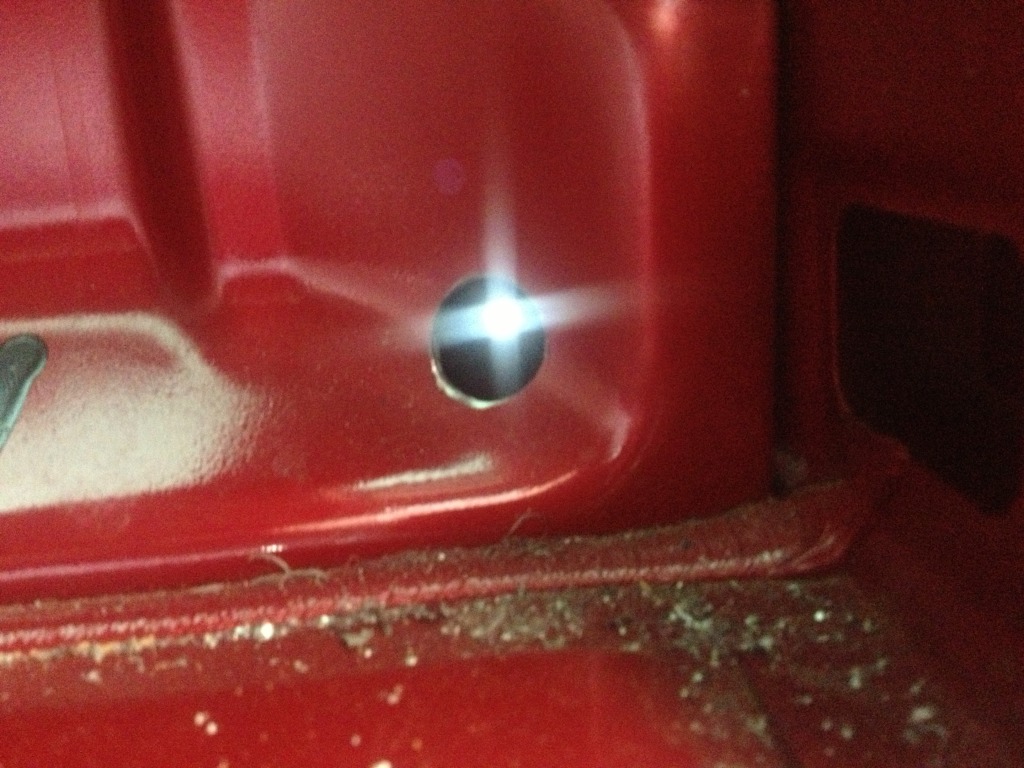
Once I had the pilot holes drilled I opened them up just enough to fit a screwdriver in the hole then gave the screwdriver a few taps to punch thru the interior sheet metal so I didn't have to guess where the holes were


then I opened up the interior holes just a bit for right now
Don't walk into the white light lol!
And here is where I left it for tonight

I'm debating running to the yard and grabbing the interior brackets and modding them like diata did or just getting some steel and making my own. I'll give it some thought tonight and go from there I guess.
Got everything lined up and level and went to work first with a small pilot bit then with a step drill.
Close enough
Once I had the pilot holes drilled I opened them up just enough to fit a screwdriver in the hole then gave the screwdriver a few taps to punch thru the interior sheet metal so I didn't have to guess where the holes were
then I opened up the interior holes just a bit for right now
Don't walk into the white light lol!
And here is where I left it for tonight
I'm debating running to the yard and grabbing the interior brackets and modding them like diata did or just getting some steel and making my own. I'll give it some thought tonight and go from there I guess.
Last edited by rexmburns; 06-13-2013 at 08:58 PM.
#539
06-14-2013, 04:55 AM
Rex, so what did the corvette servo do to the
Transmission, as far driving differences.
Excellent right up btw
Transmission, as far driving differences.
Excellent right up btw
#540
06-14-2013, 02:20 PM
Well a trip to HD and $30 later I have the hardware I need to actually bolt this thing on! So I got a bit more done today but not finished yet had to leave to go to daddy's day at Bentley's daycare
Took some 2"x3/16 steel I had cut it to length and bent it to fit the quarter panel


Drilled a couple holes

Test fit to make sure everything lines up

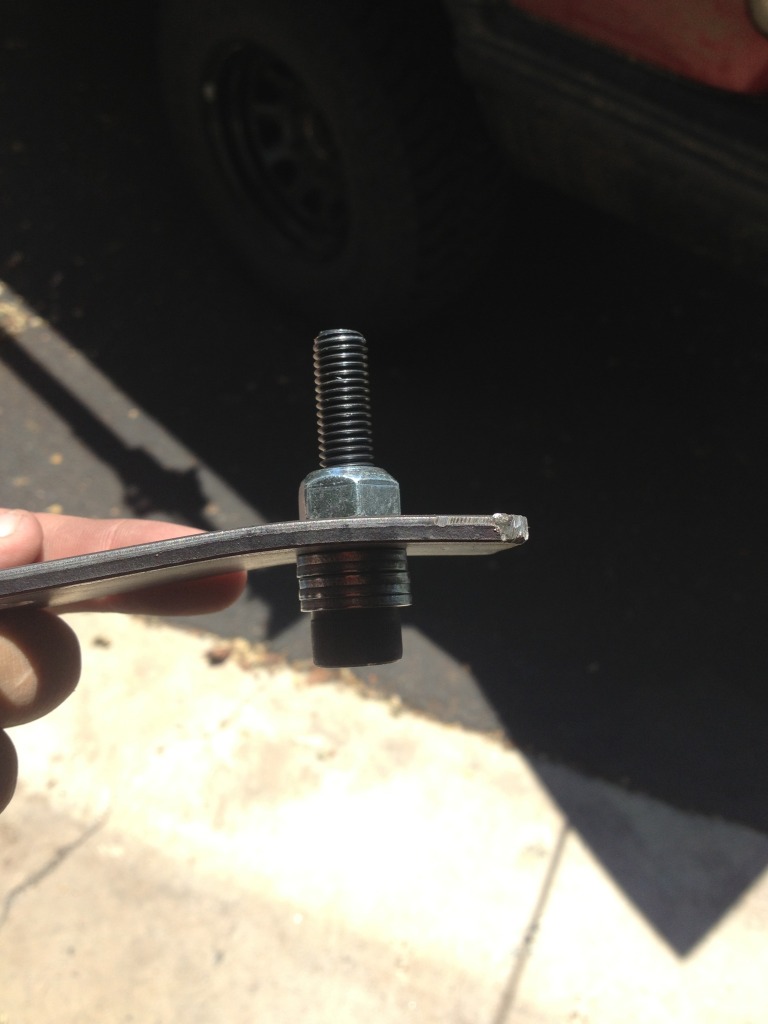
Then I used a bolt and some washers to hold the nut in place and welded the nuts to the steel making them captured nuts
Some ugly welds cause I just didn't care
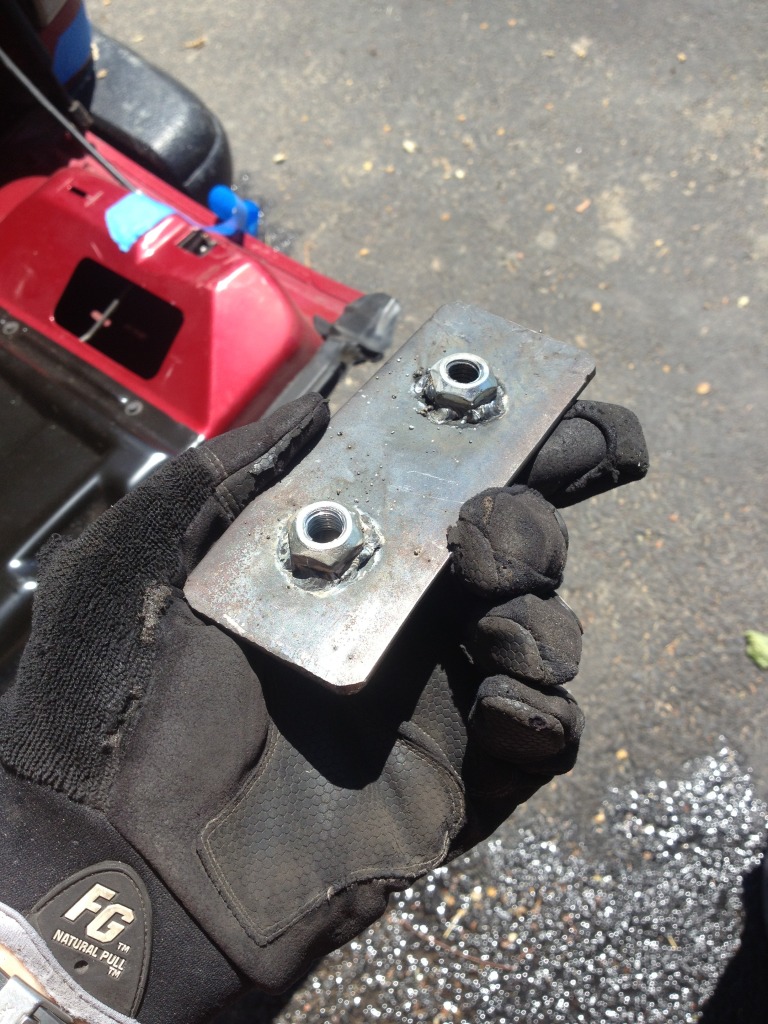
Did the same thing for the third hole but a smaller piece of steel

Painted the bare steel

Also added some weather stripping to the feet of the carrier


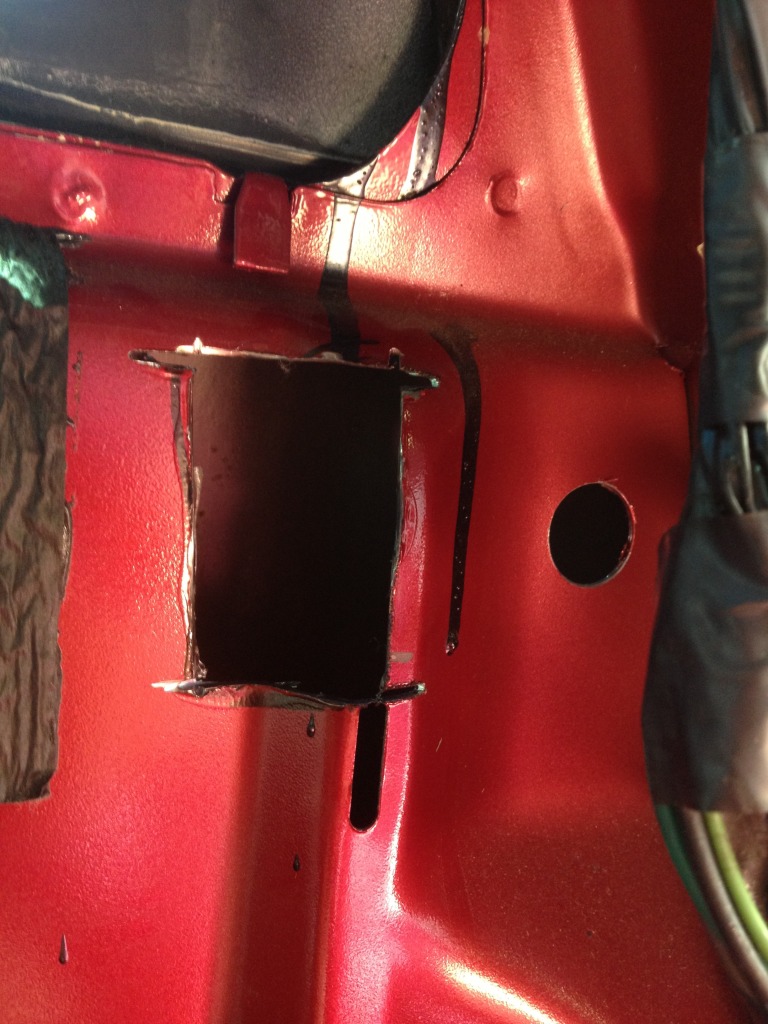
Then I cut an access hole just large enough to get the steel thru
I also got smart and attached a piece of wire to the steel incase I dropped it! (Which I did on my first attempt lol)

Here's the top foot bolted on.

I have the brackets bent and welded for the bottom foot as well. It's separated and ready to be bolted on then put the pins back in along with the carrier then I will tighten the feet down. After that all that's left is the lock plate and I will be a member of the four door tire carrier club!
Took some 2"x3/16 steel I had cut it to length and bent it to fit the quarter panel
Drilled a couple holes
Test fit to make sure everything lines up
Then I used a bolt and some washers to hold the nut in place and welded the nuts to the steel making them captured nuts
Some ugly welds cause I just didn't care
Did the same thing for the third hole but a smaller piece of steel
Painted the bare steel
Also added some weather stripping to the feet of the carrier
Then I cut an access hole just large enough to get the steel thru
I also got smart and attached a piece of wire to the steel incase I dropped it! (Which I did on my first attempt lol)
Here's the top foot bolted on.
I have the brackets bent and welded for the bottom foot as well. It's separated and ready to be bolted on then put the pins back in along with the carrier then I will tighten the feet down. After that all that's left is the lock plate and I will be a member of the four door tire carrier club!